Feels like an age since I started this project. Today after many delays the hens are doing their job admirably laying waste to the fields of cat head sprouts that have sprung up after the recent rain. There were lots of delays some quite unavoidable but three months from inception it is done. There are plenty of other projects waiting in line and I’m planning on attempting video of one or two.
For this evening here is the build process. There were a number of design alterations along the way. It all started with a rusted out old motorcycle crate piled among the bricks.
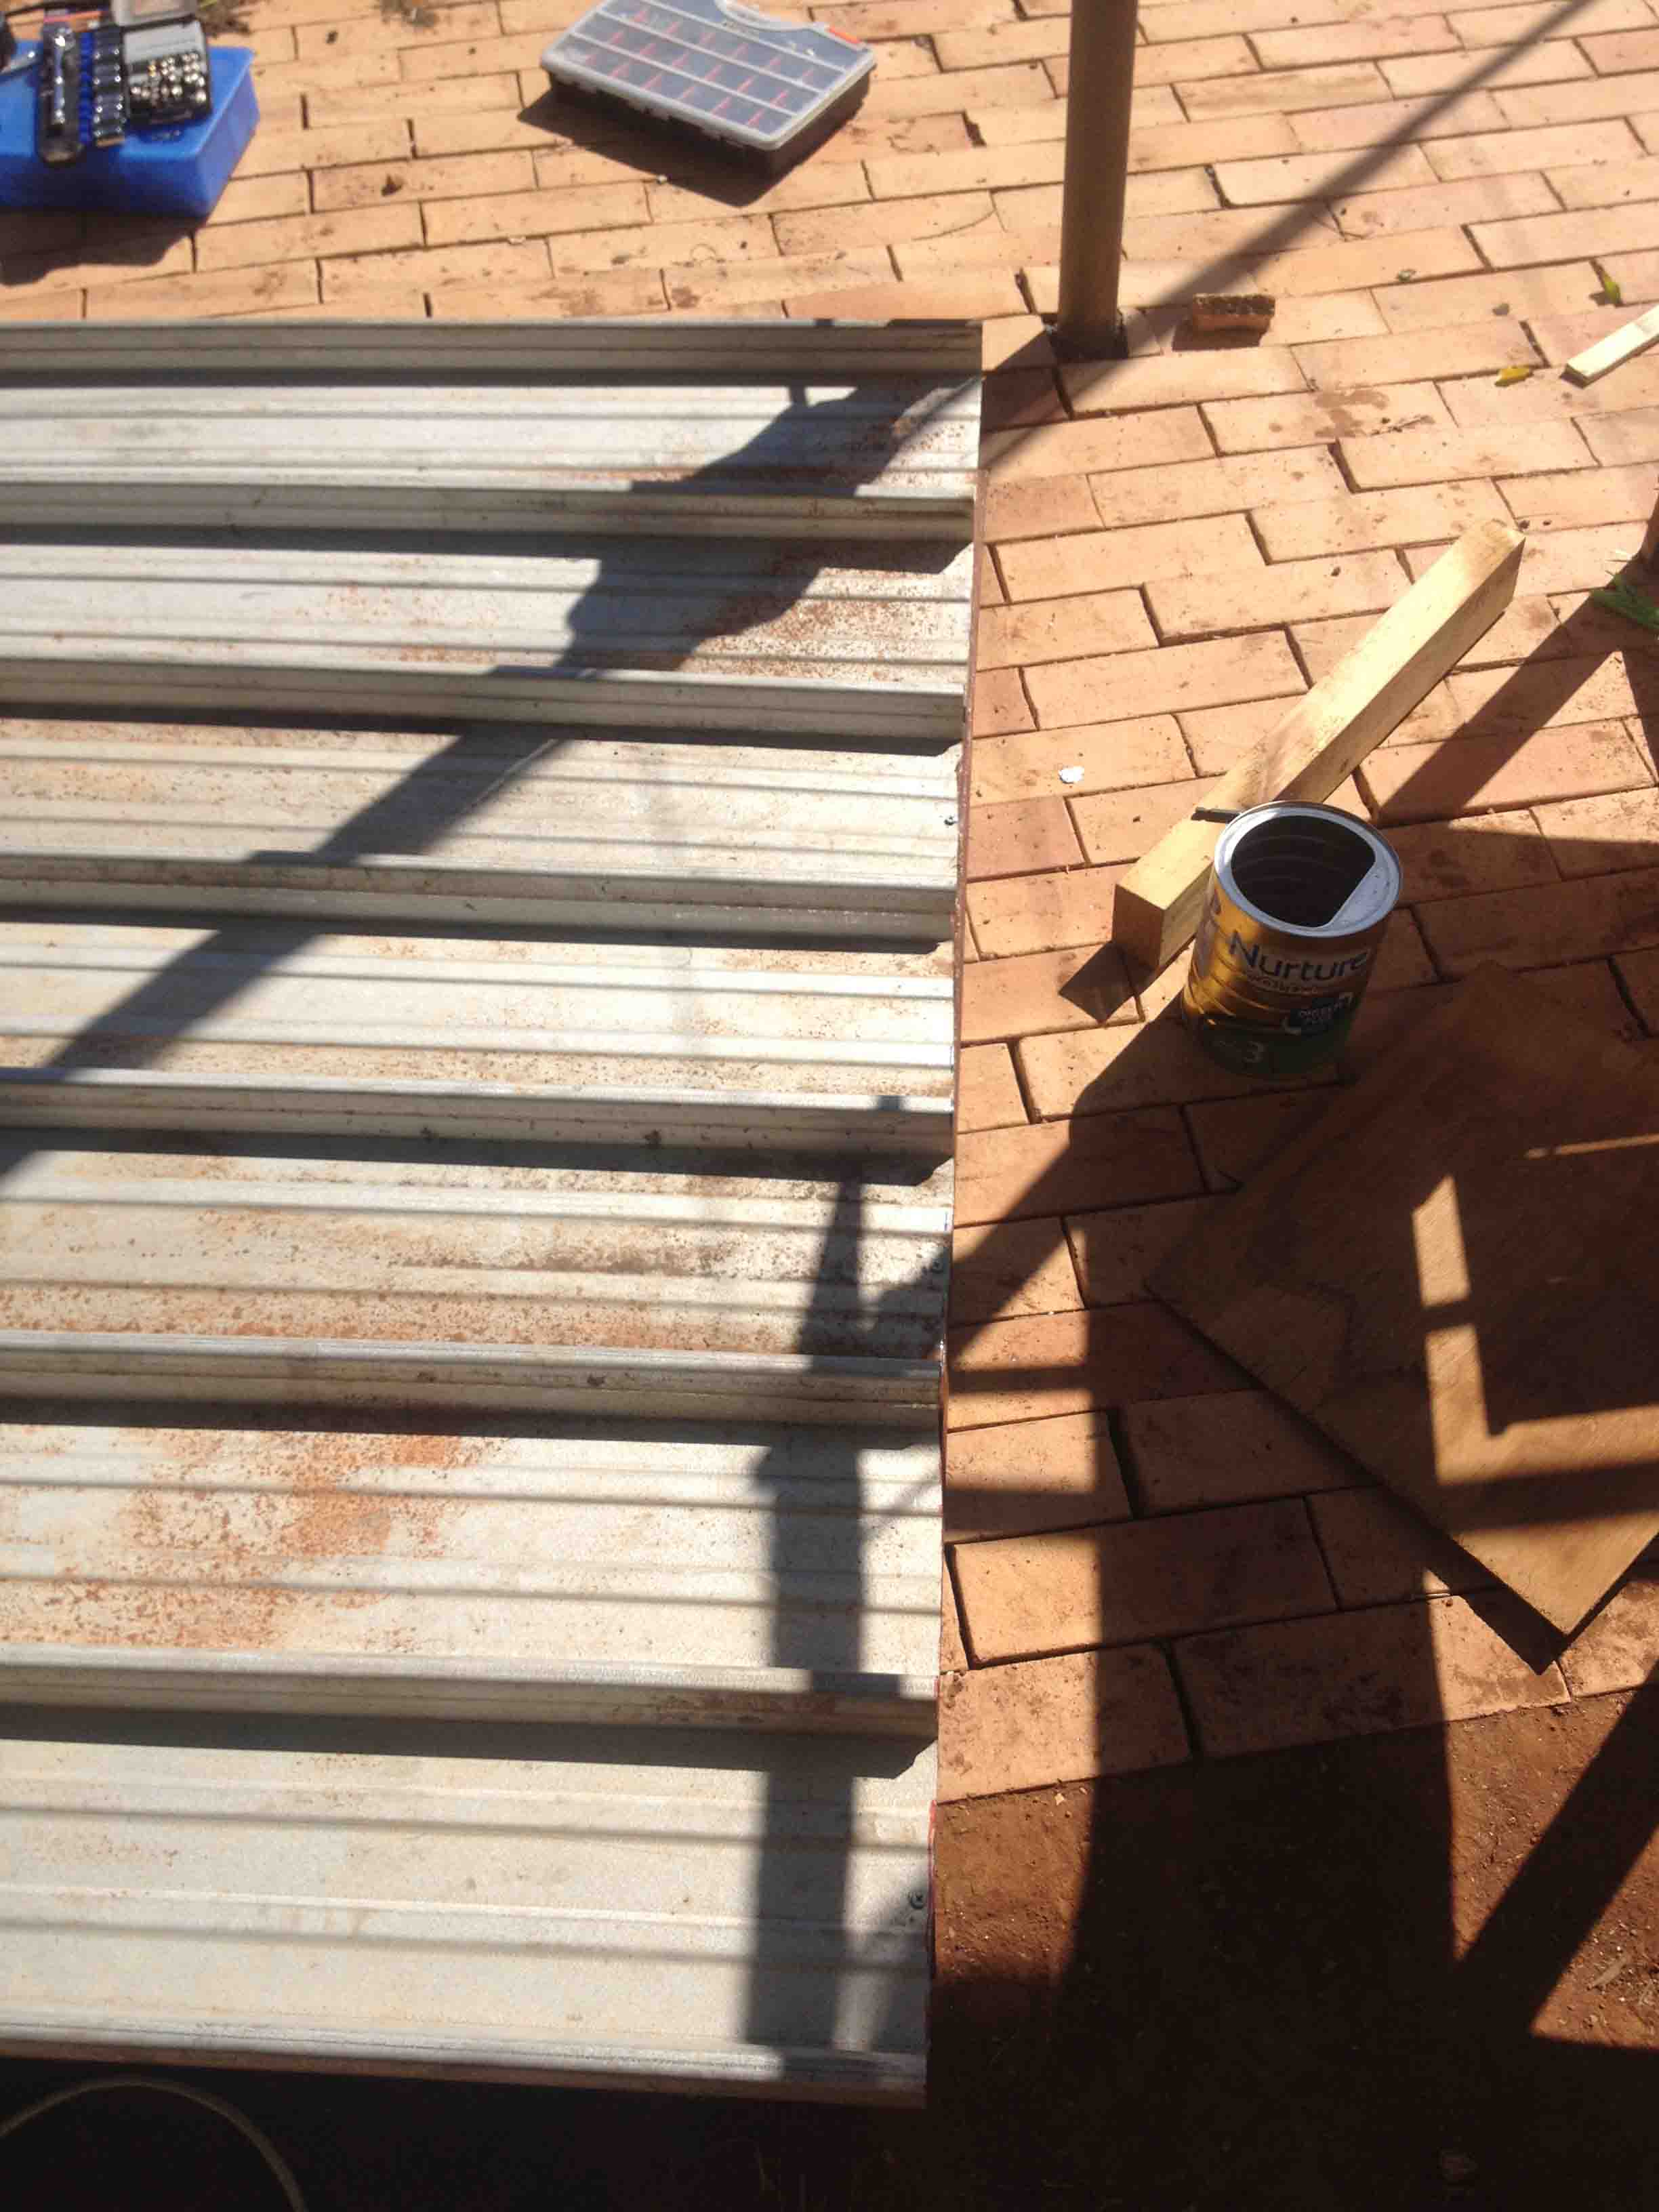
The crate is visible to the right of this panorama of the yard as we found it. 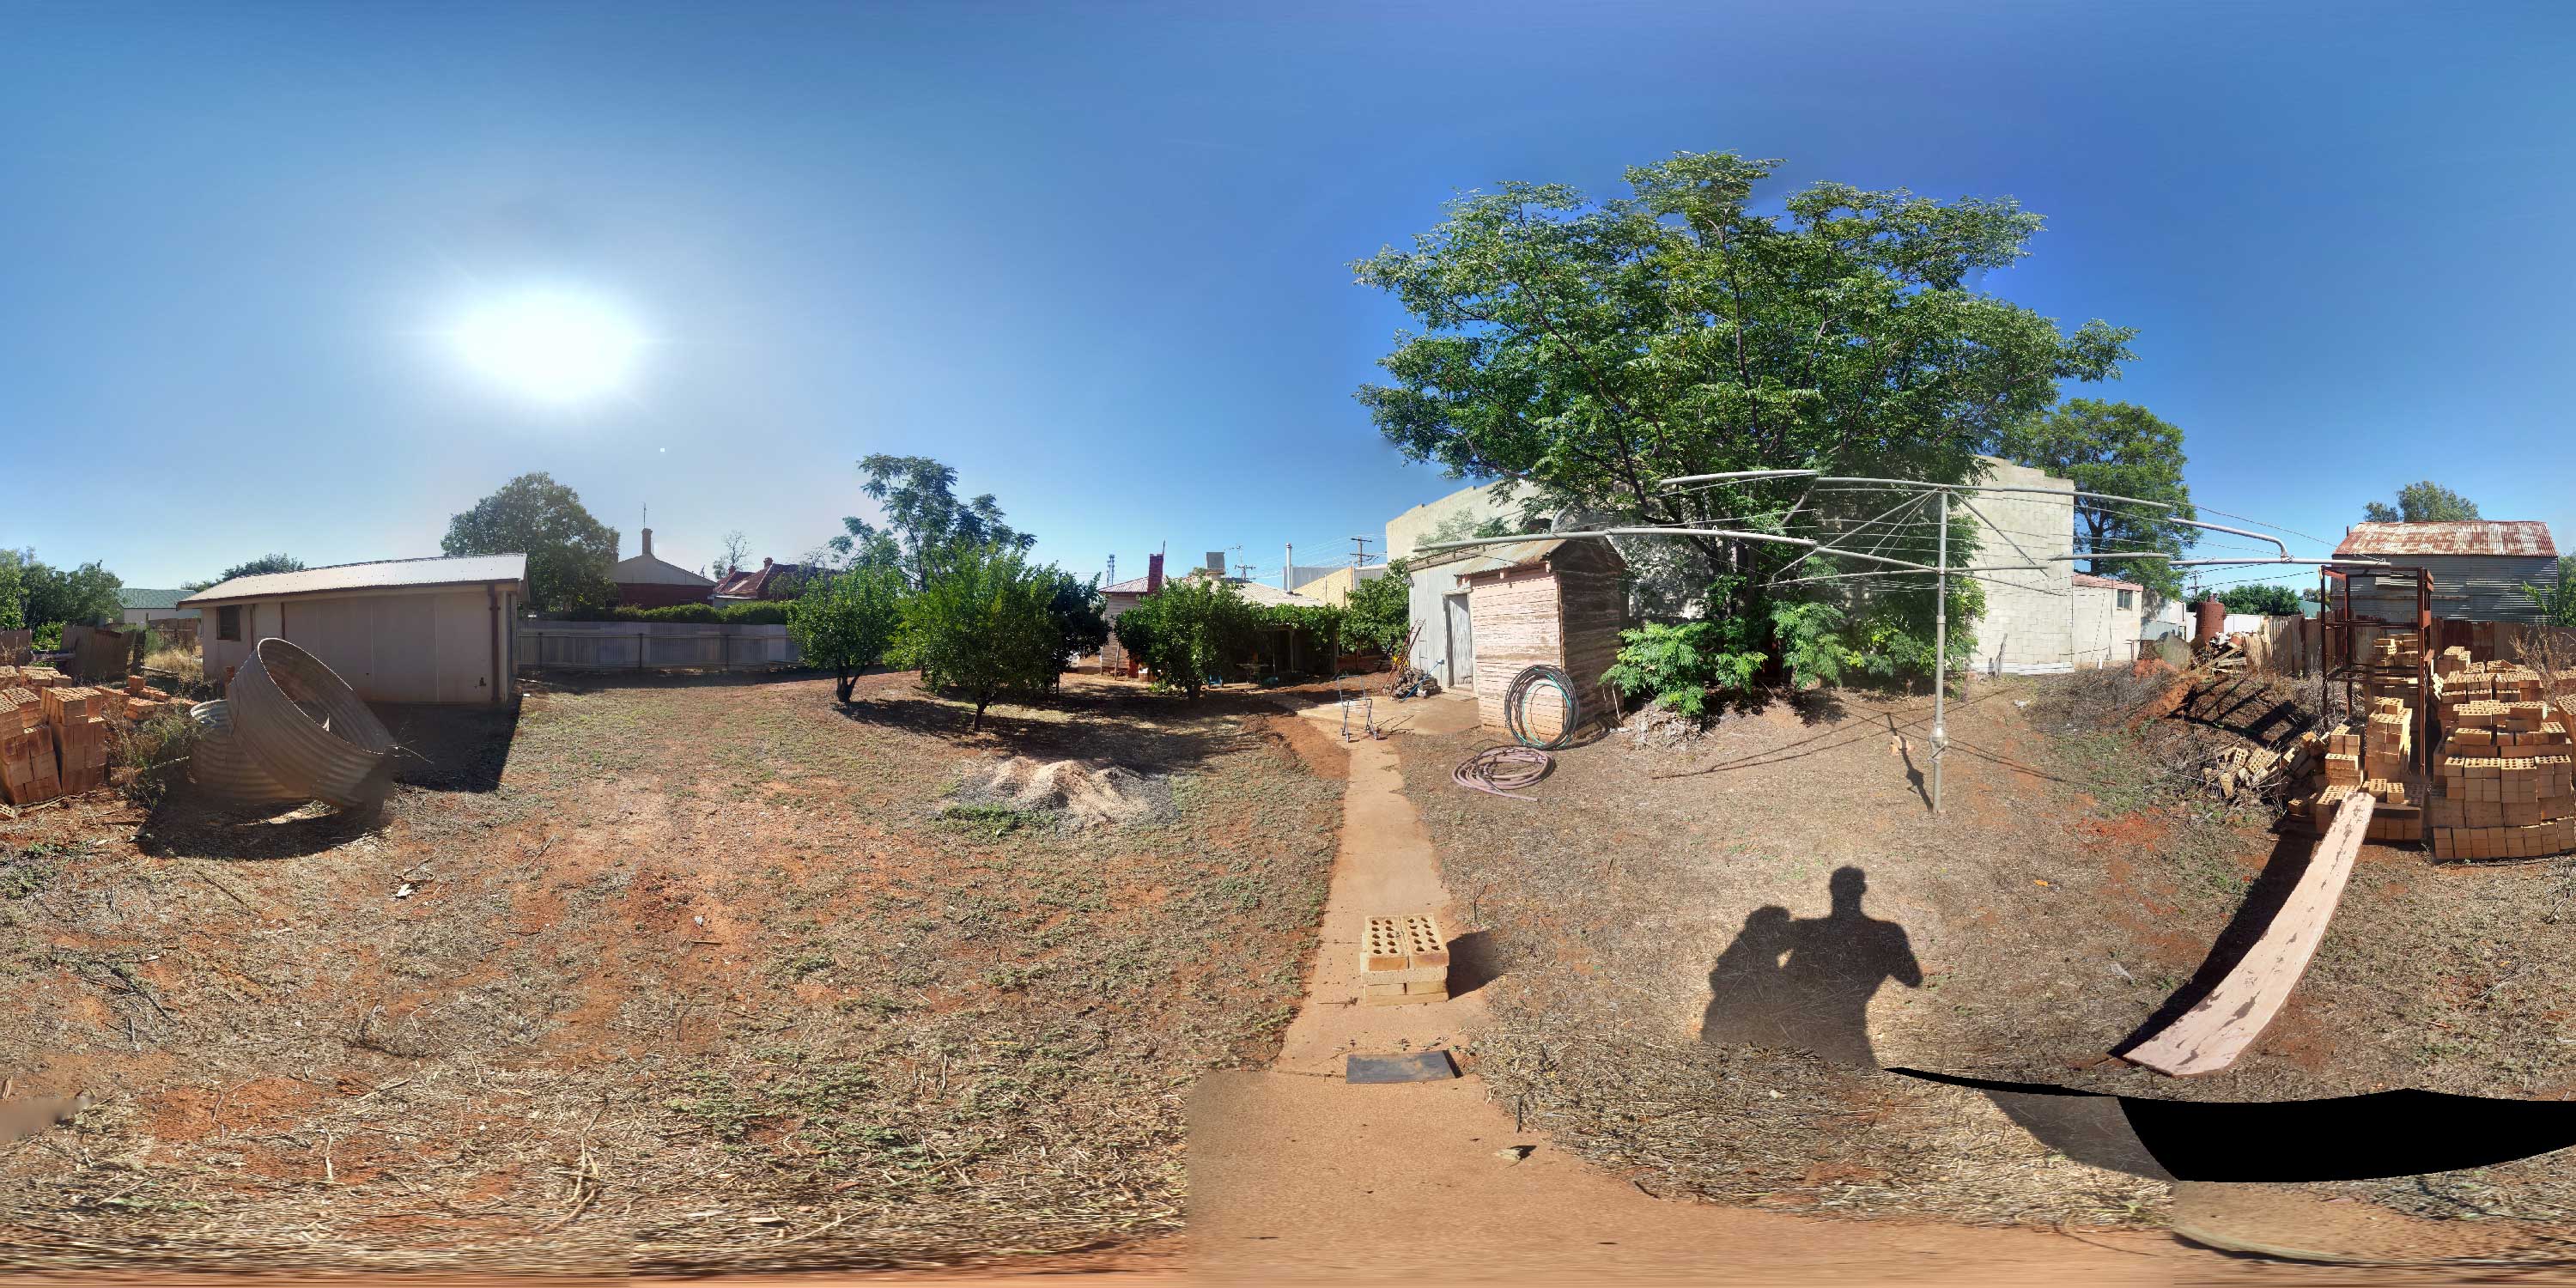 In speaking to our neighbors, the local motorcycle shop and family friends they offered some newer crates free of charge.
I saved this quad bike crate from the scrap heap and began with the idea of a box without a base.
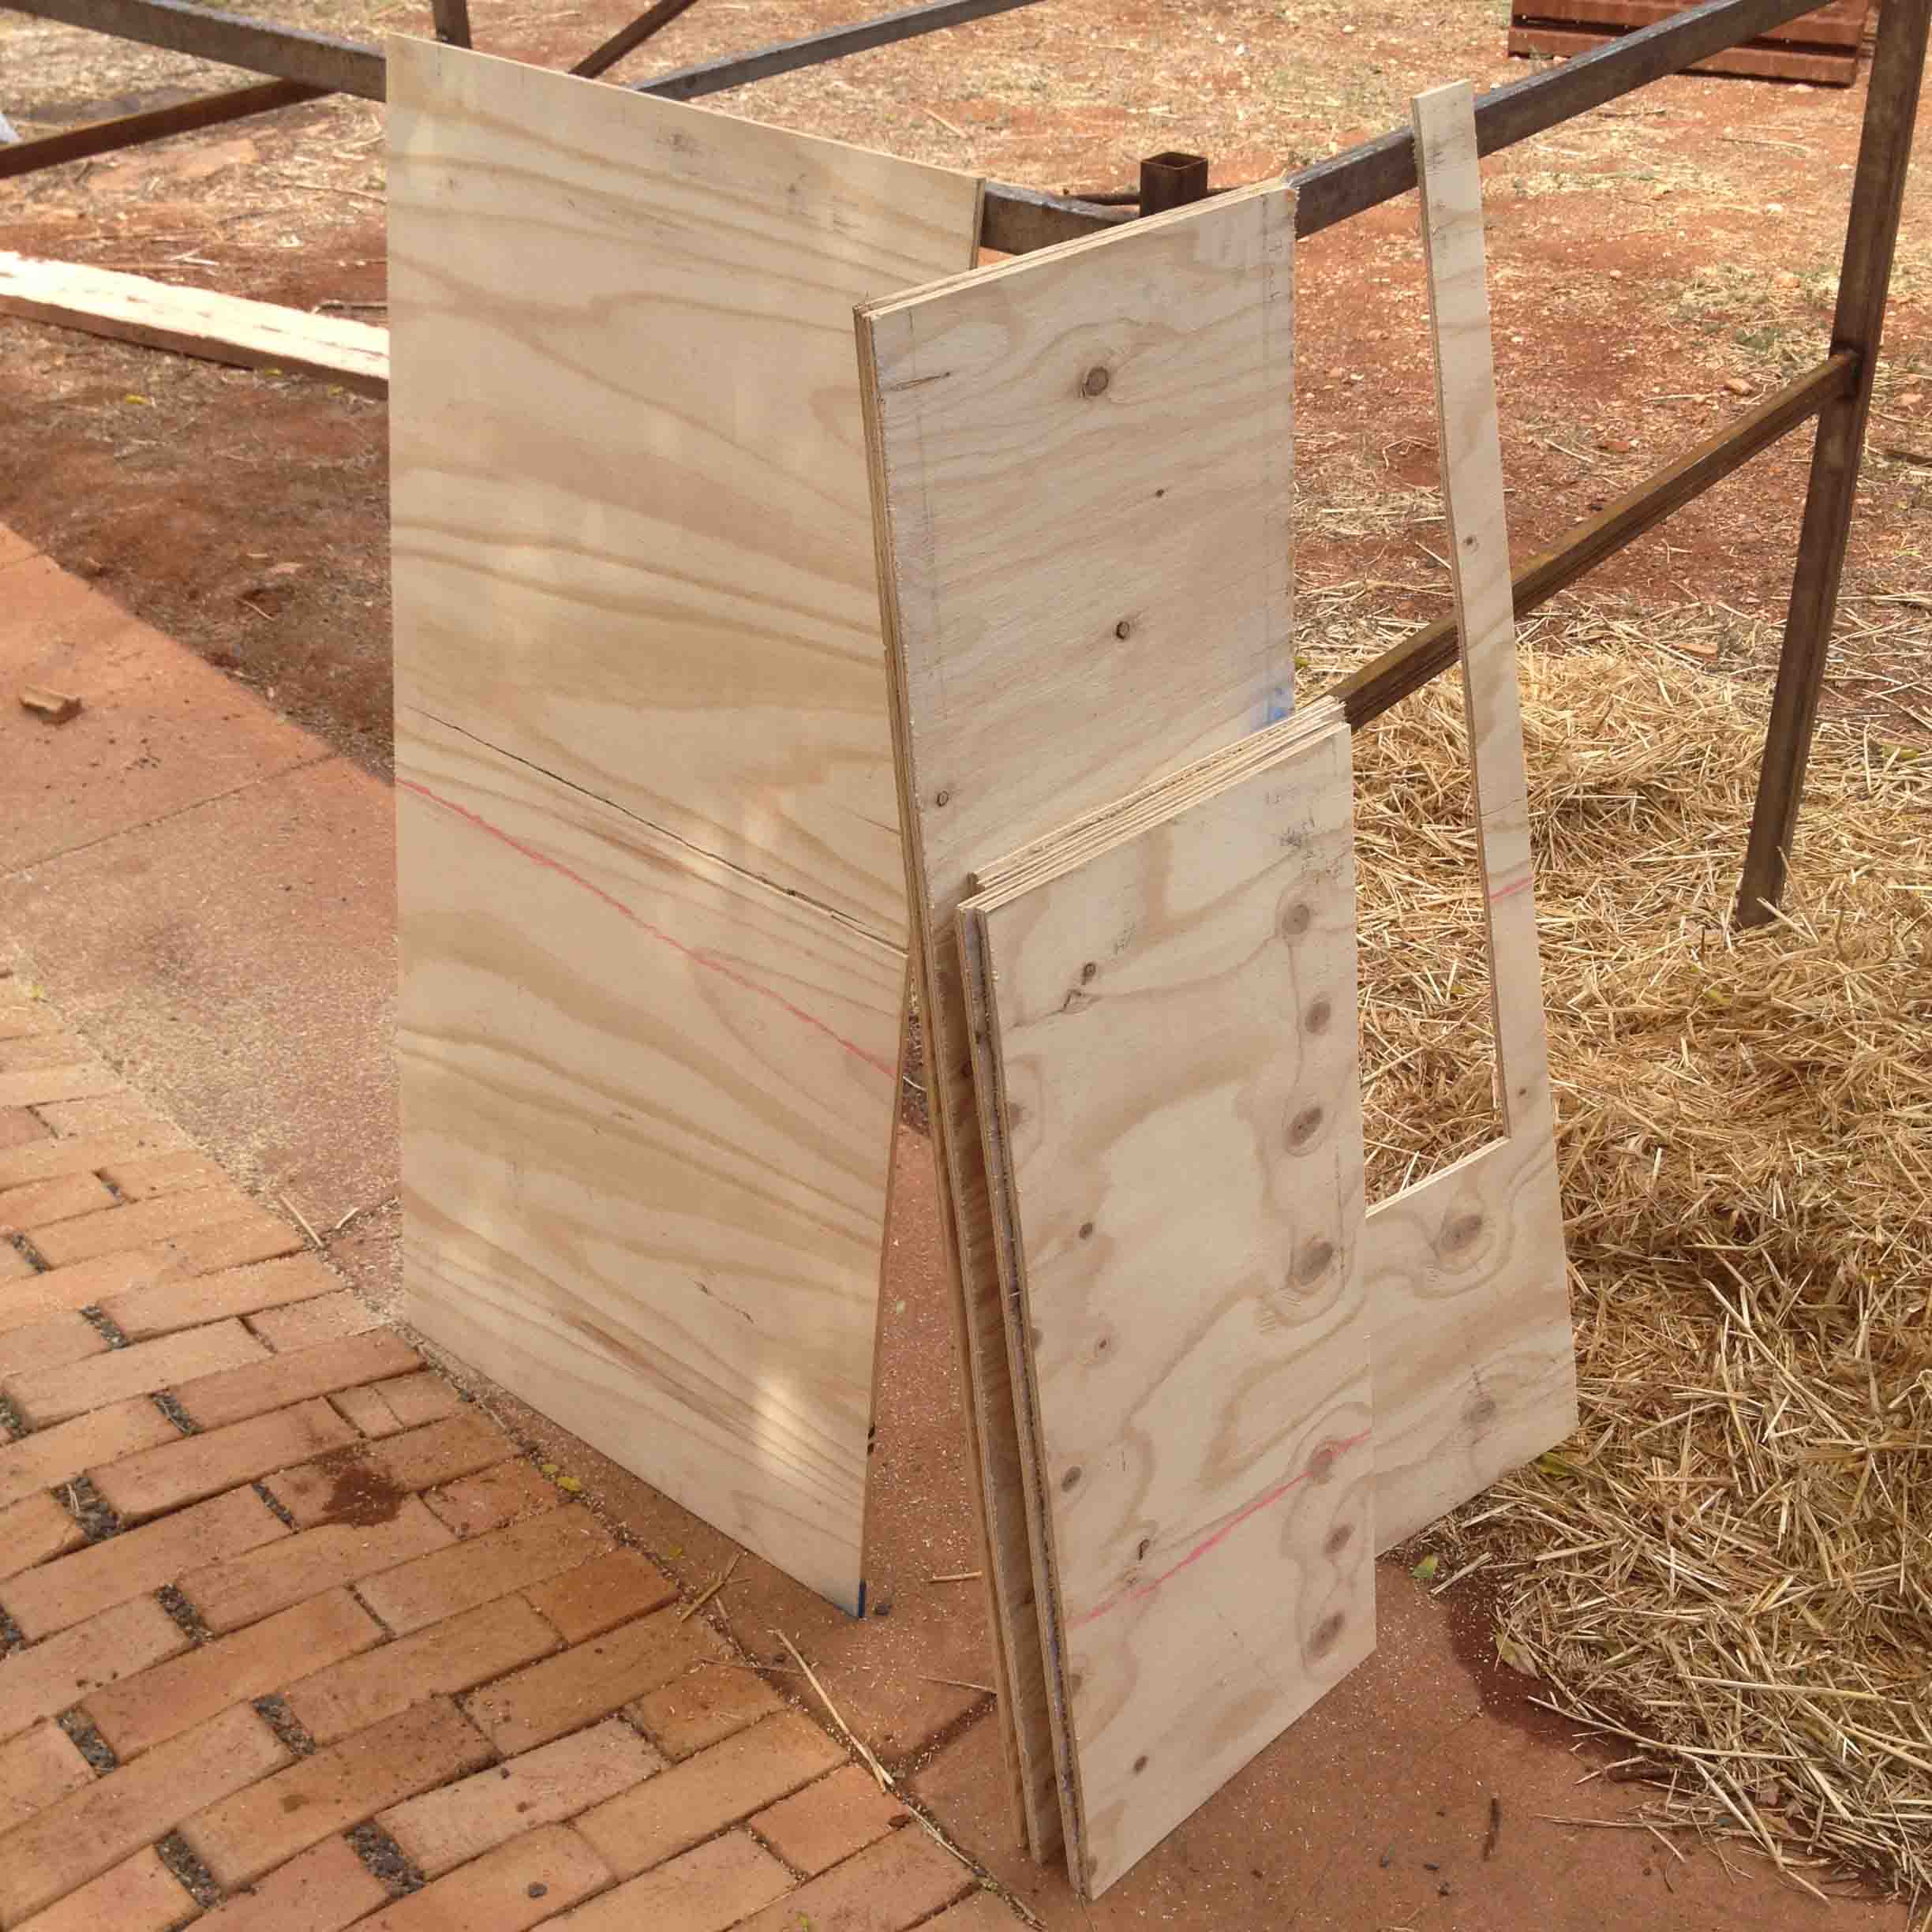
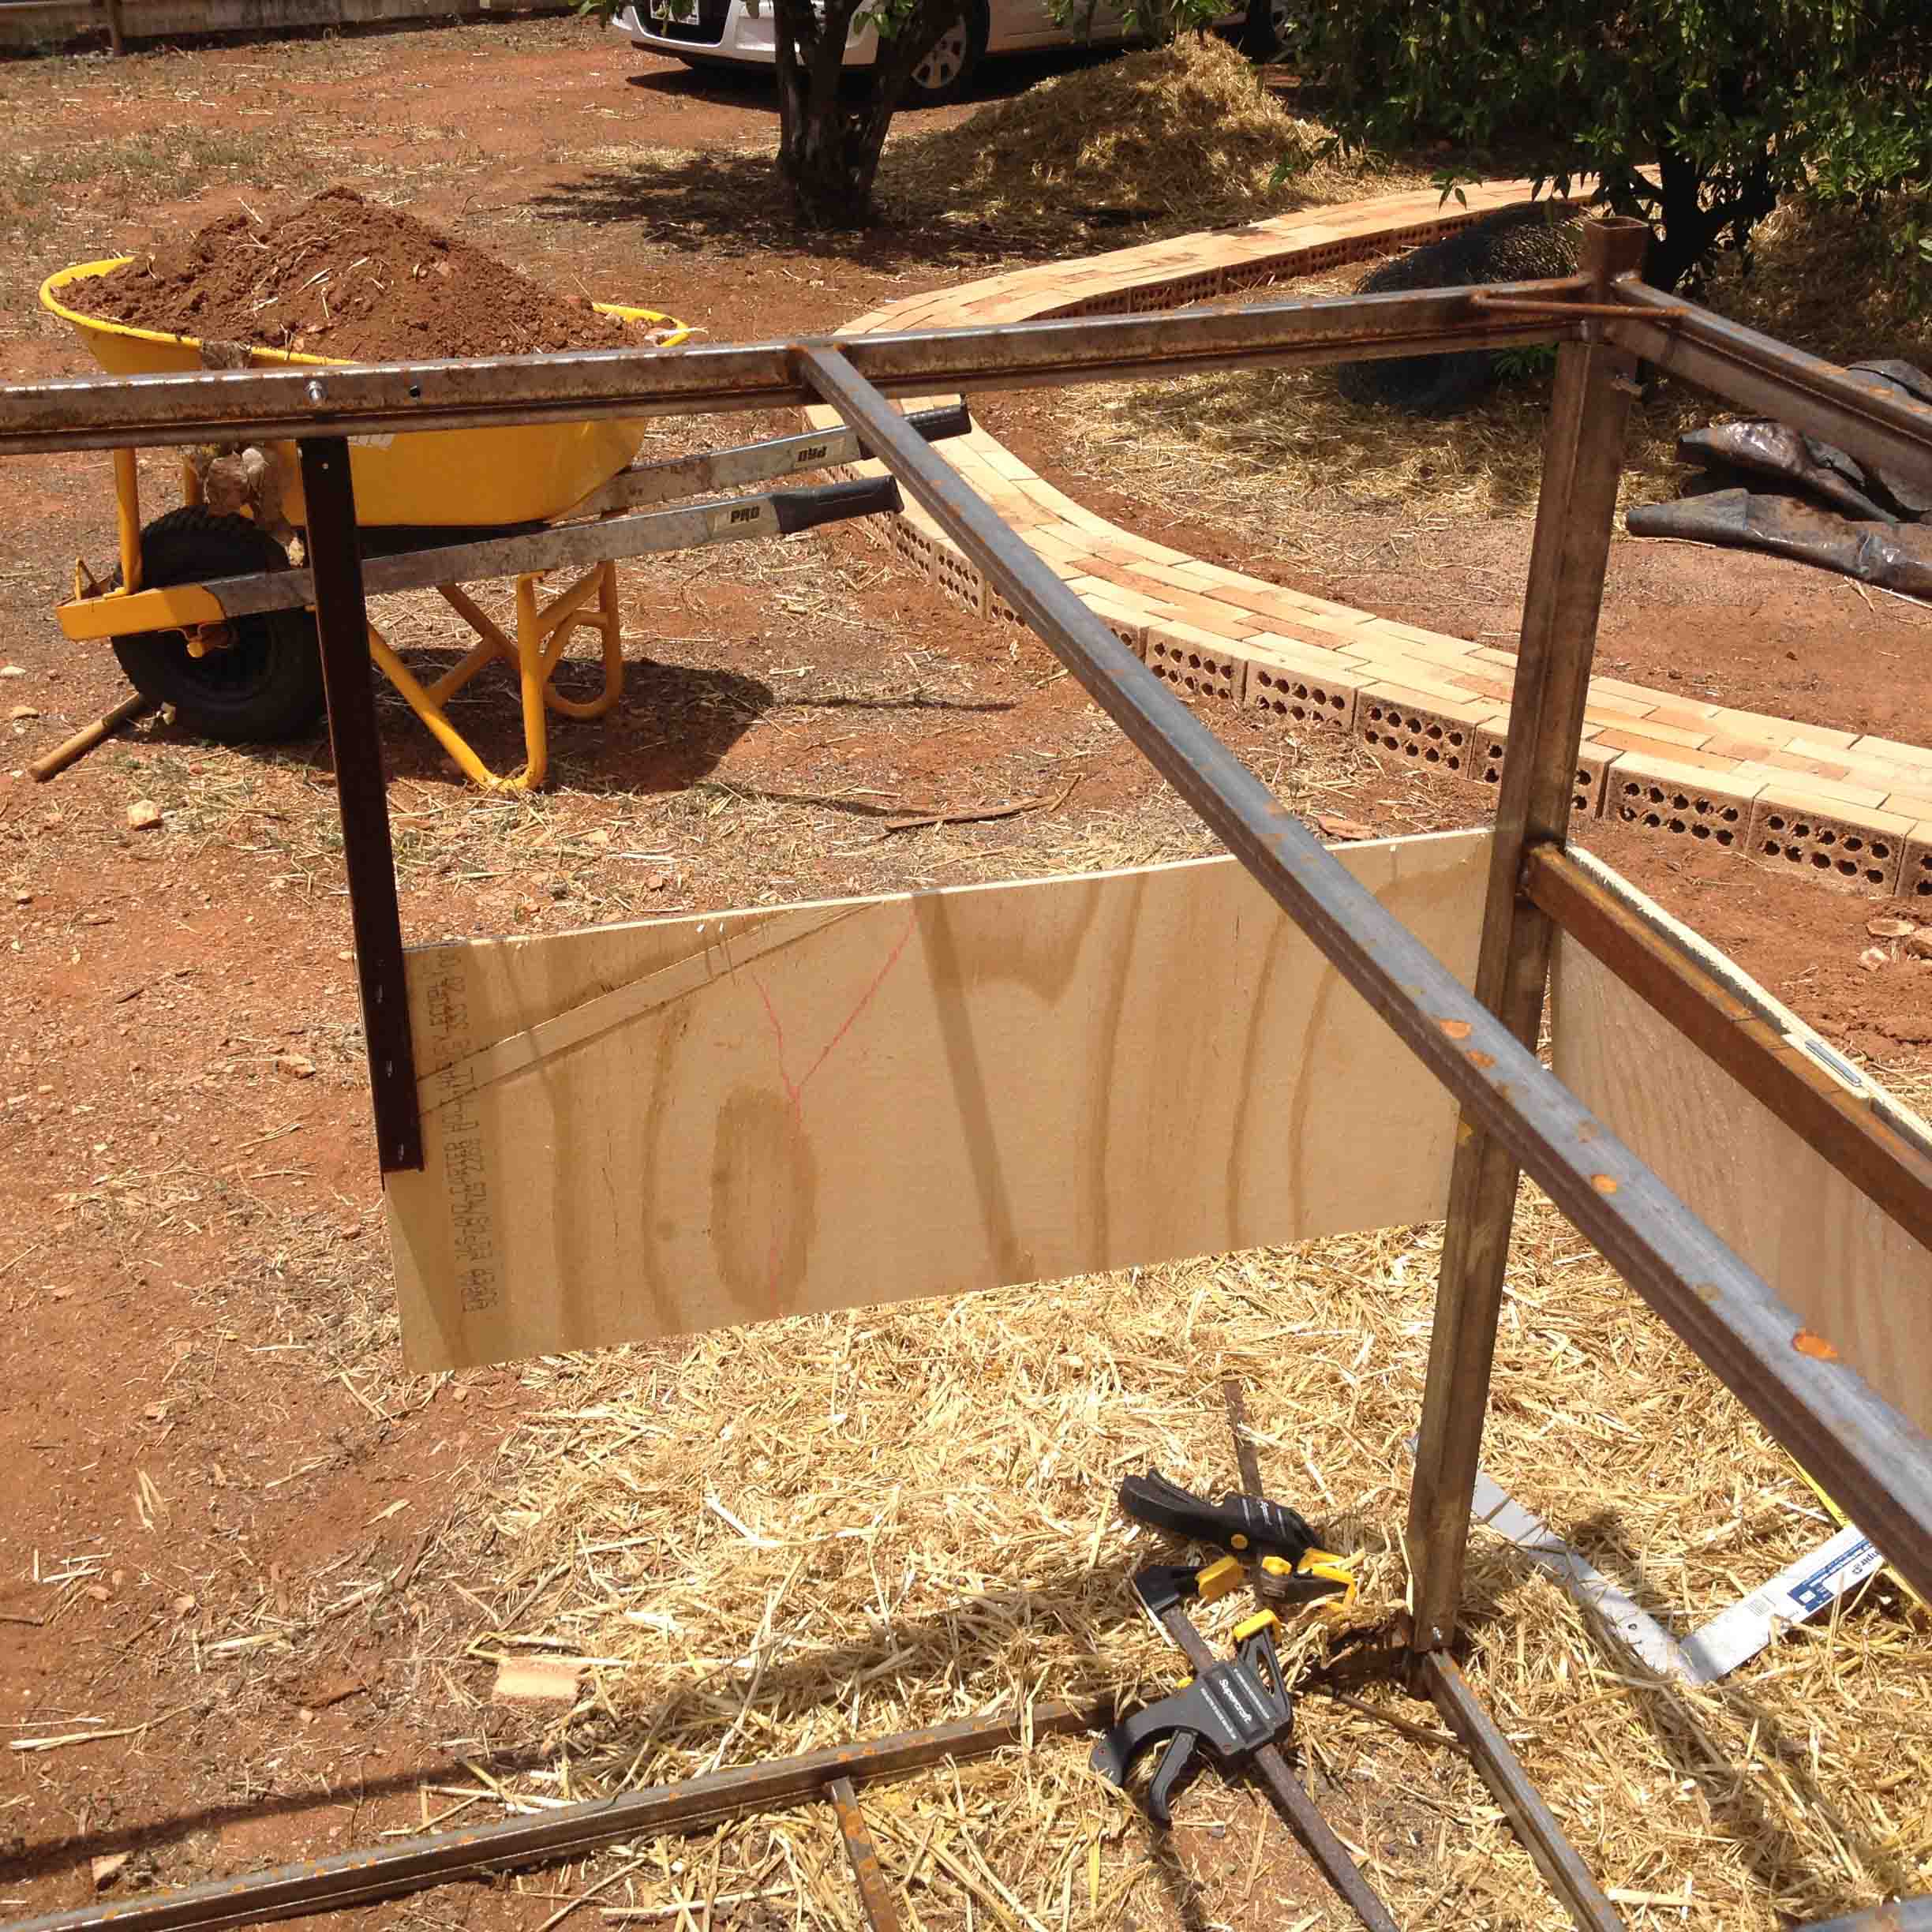
Of course there was no bloody ply at the tip when I went the looking this first time. So I had to buy one sheet. Being frugal I managed to find a layout that would give me all the pieces I need from that one sheet. My only electric saw is a jigsaw so my edges leave something to be desired in perfect straightness.

The old motorcycle crate was cannibalised for many parts including the gate beginning here.
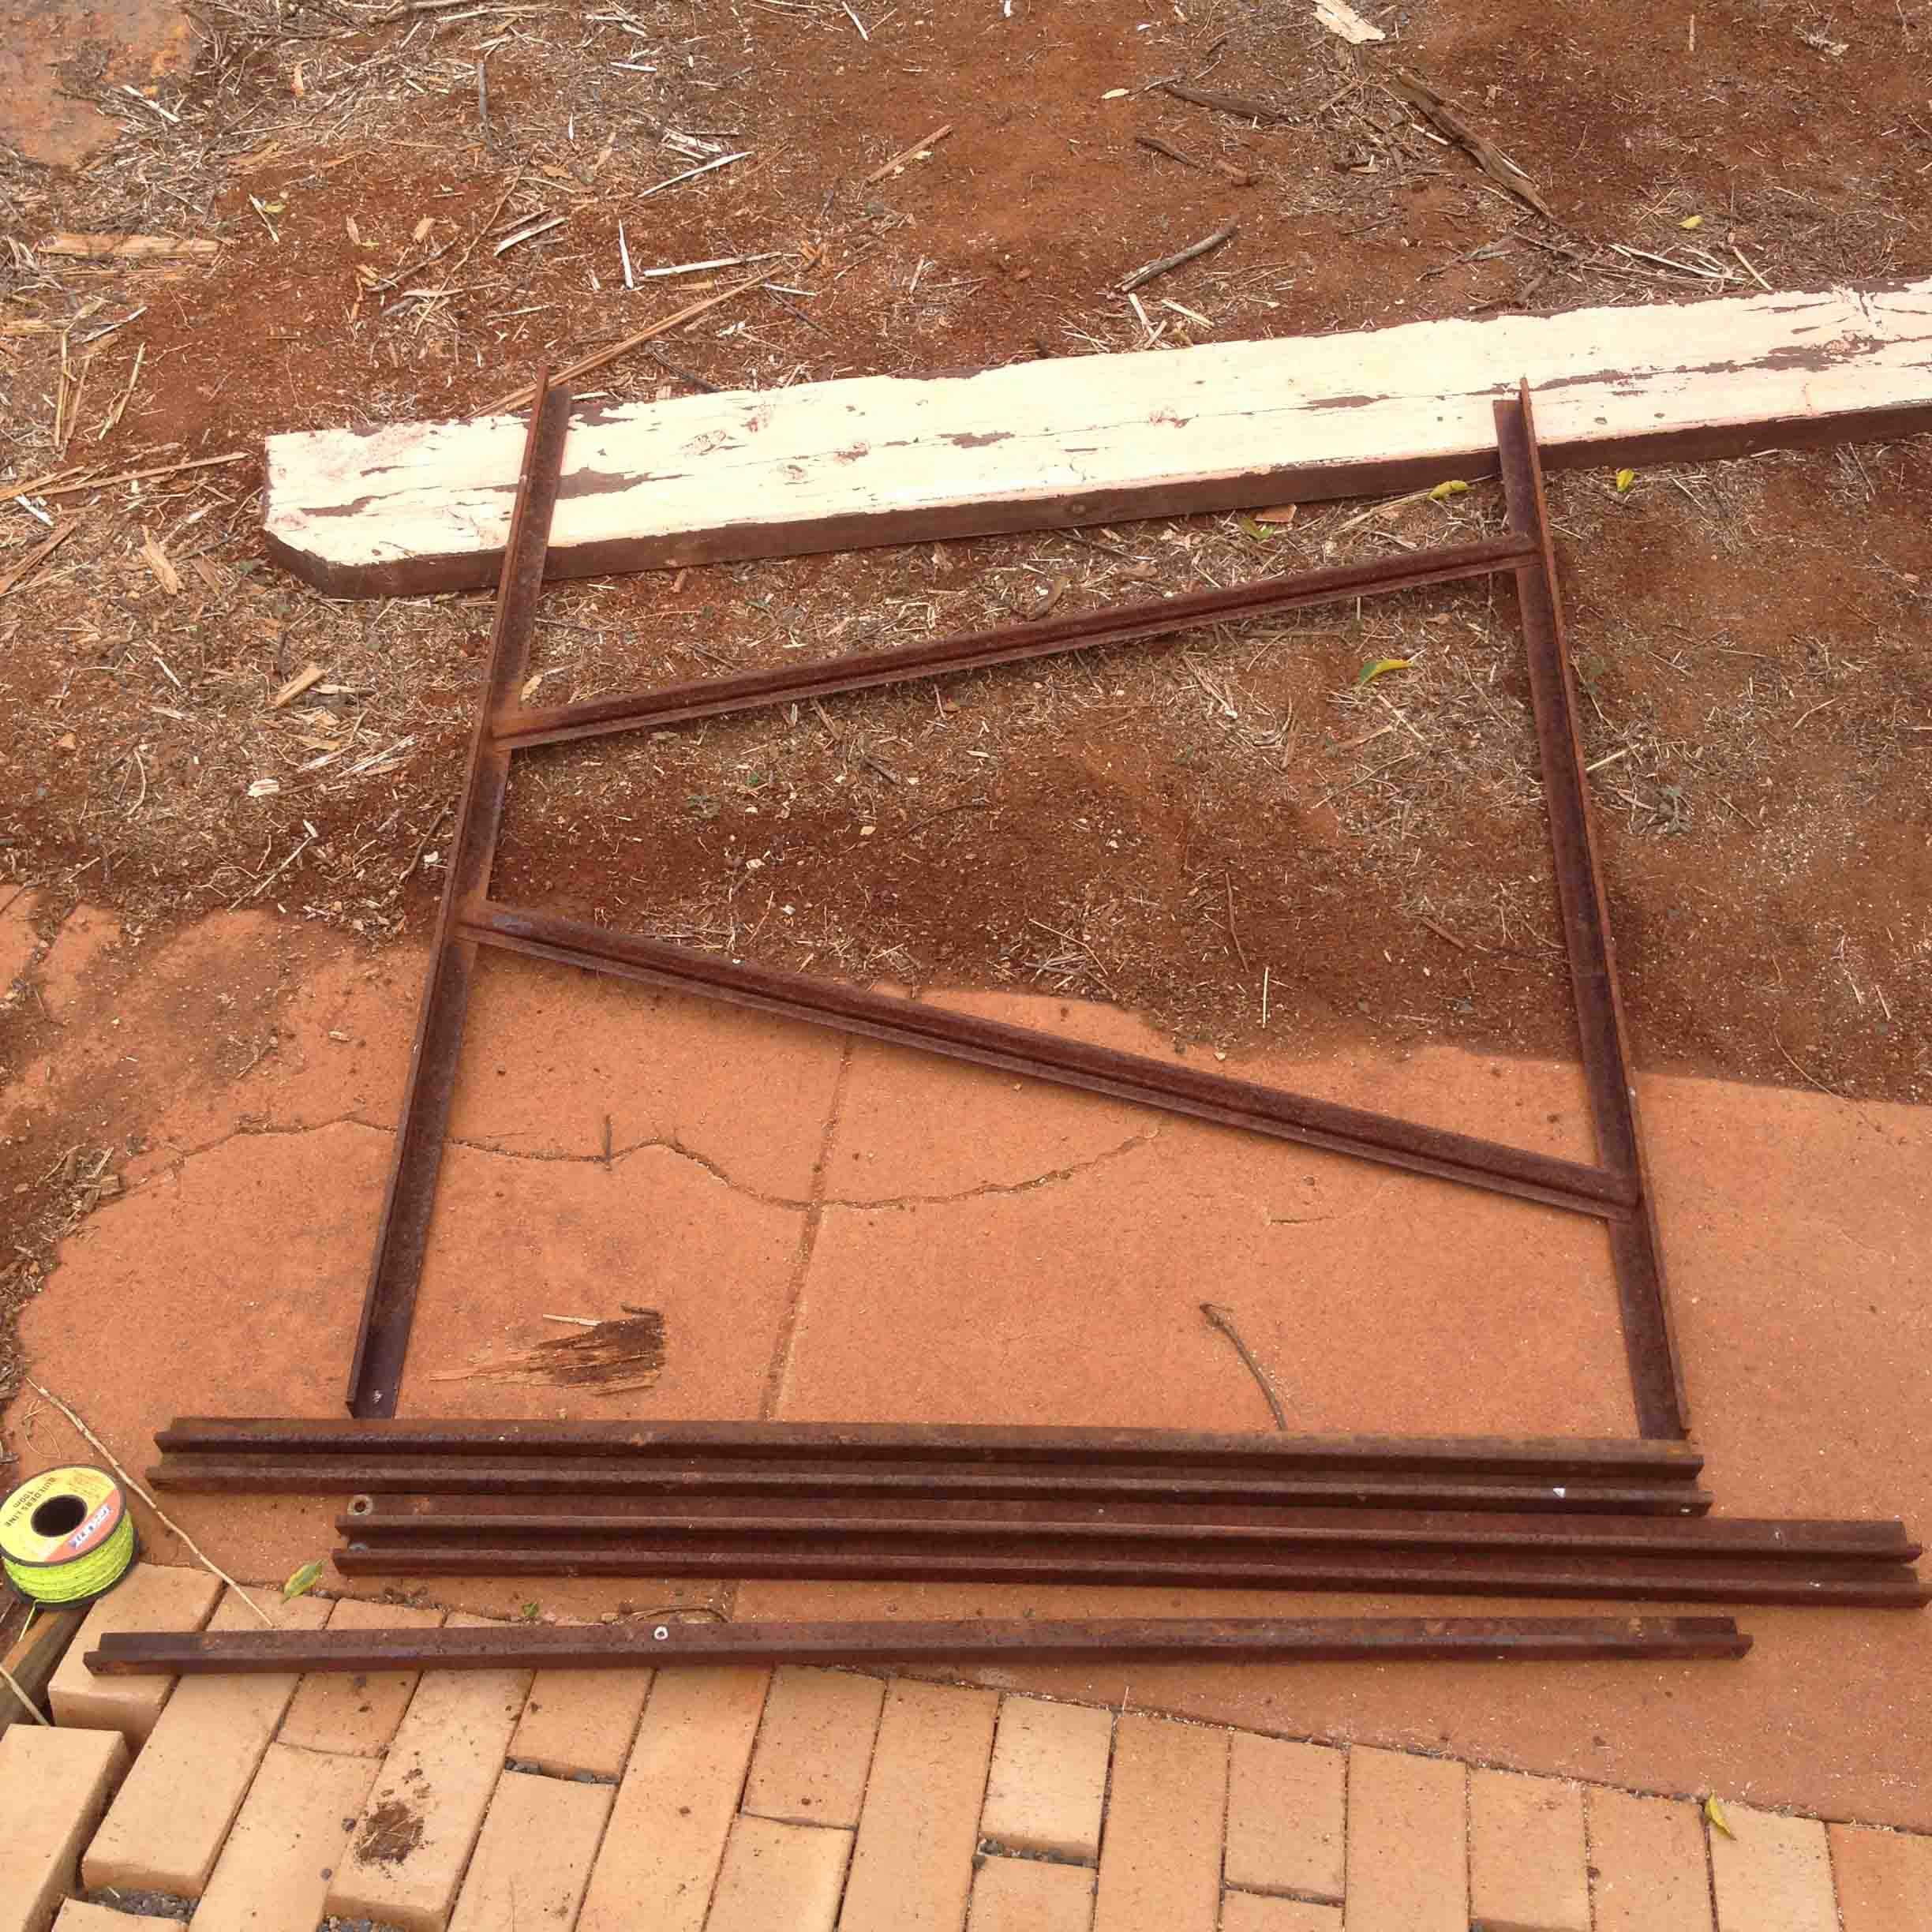
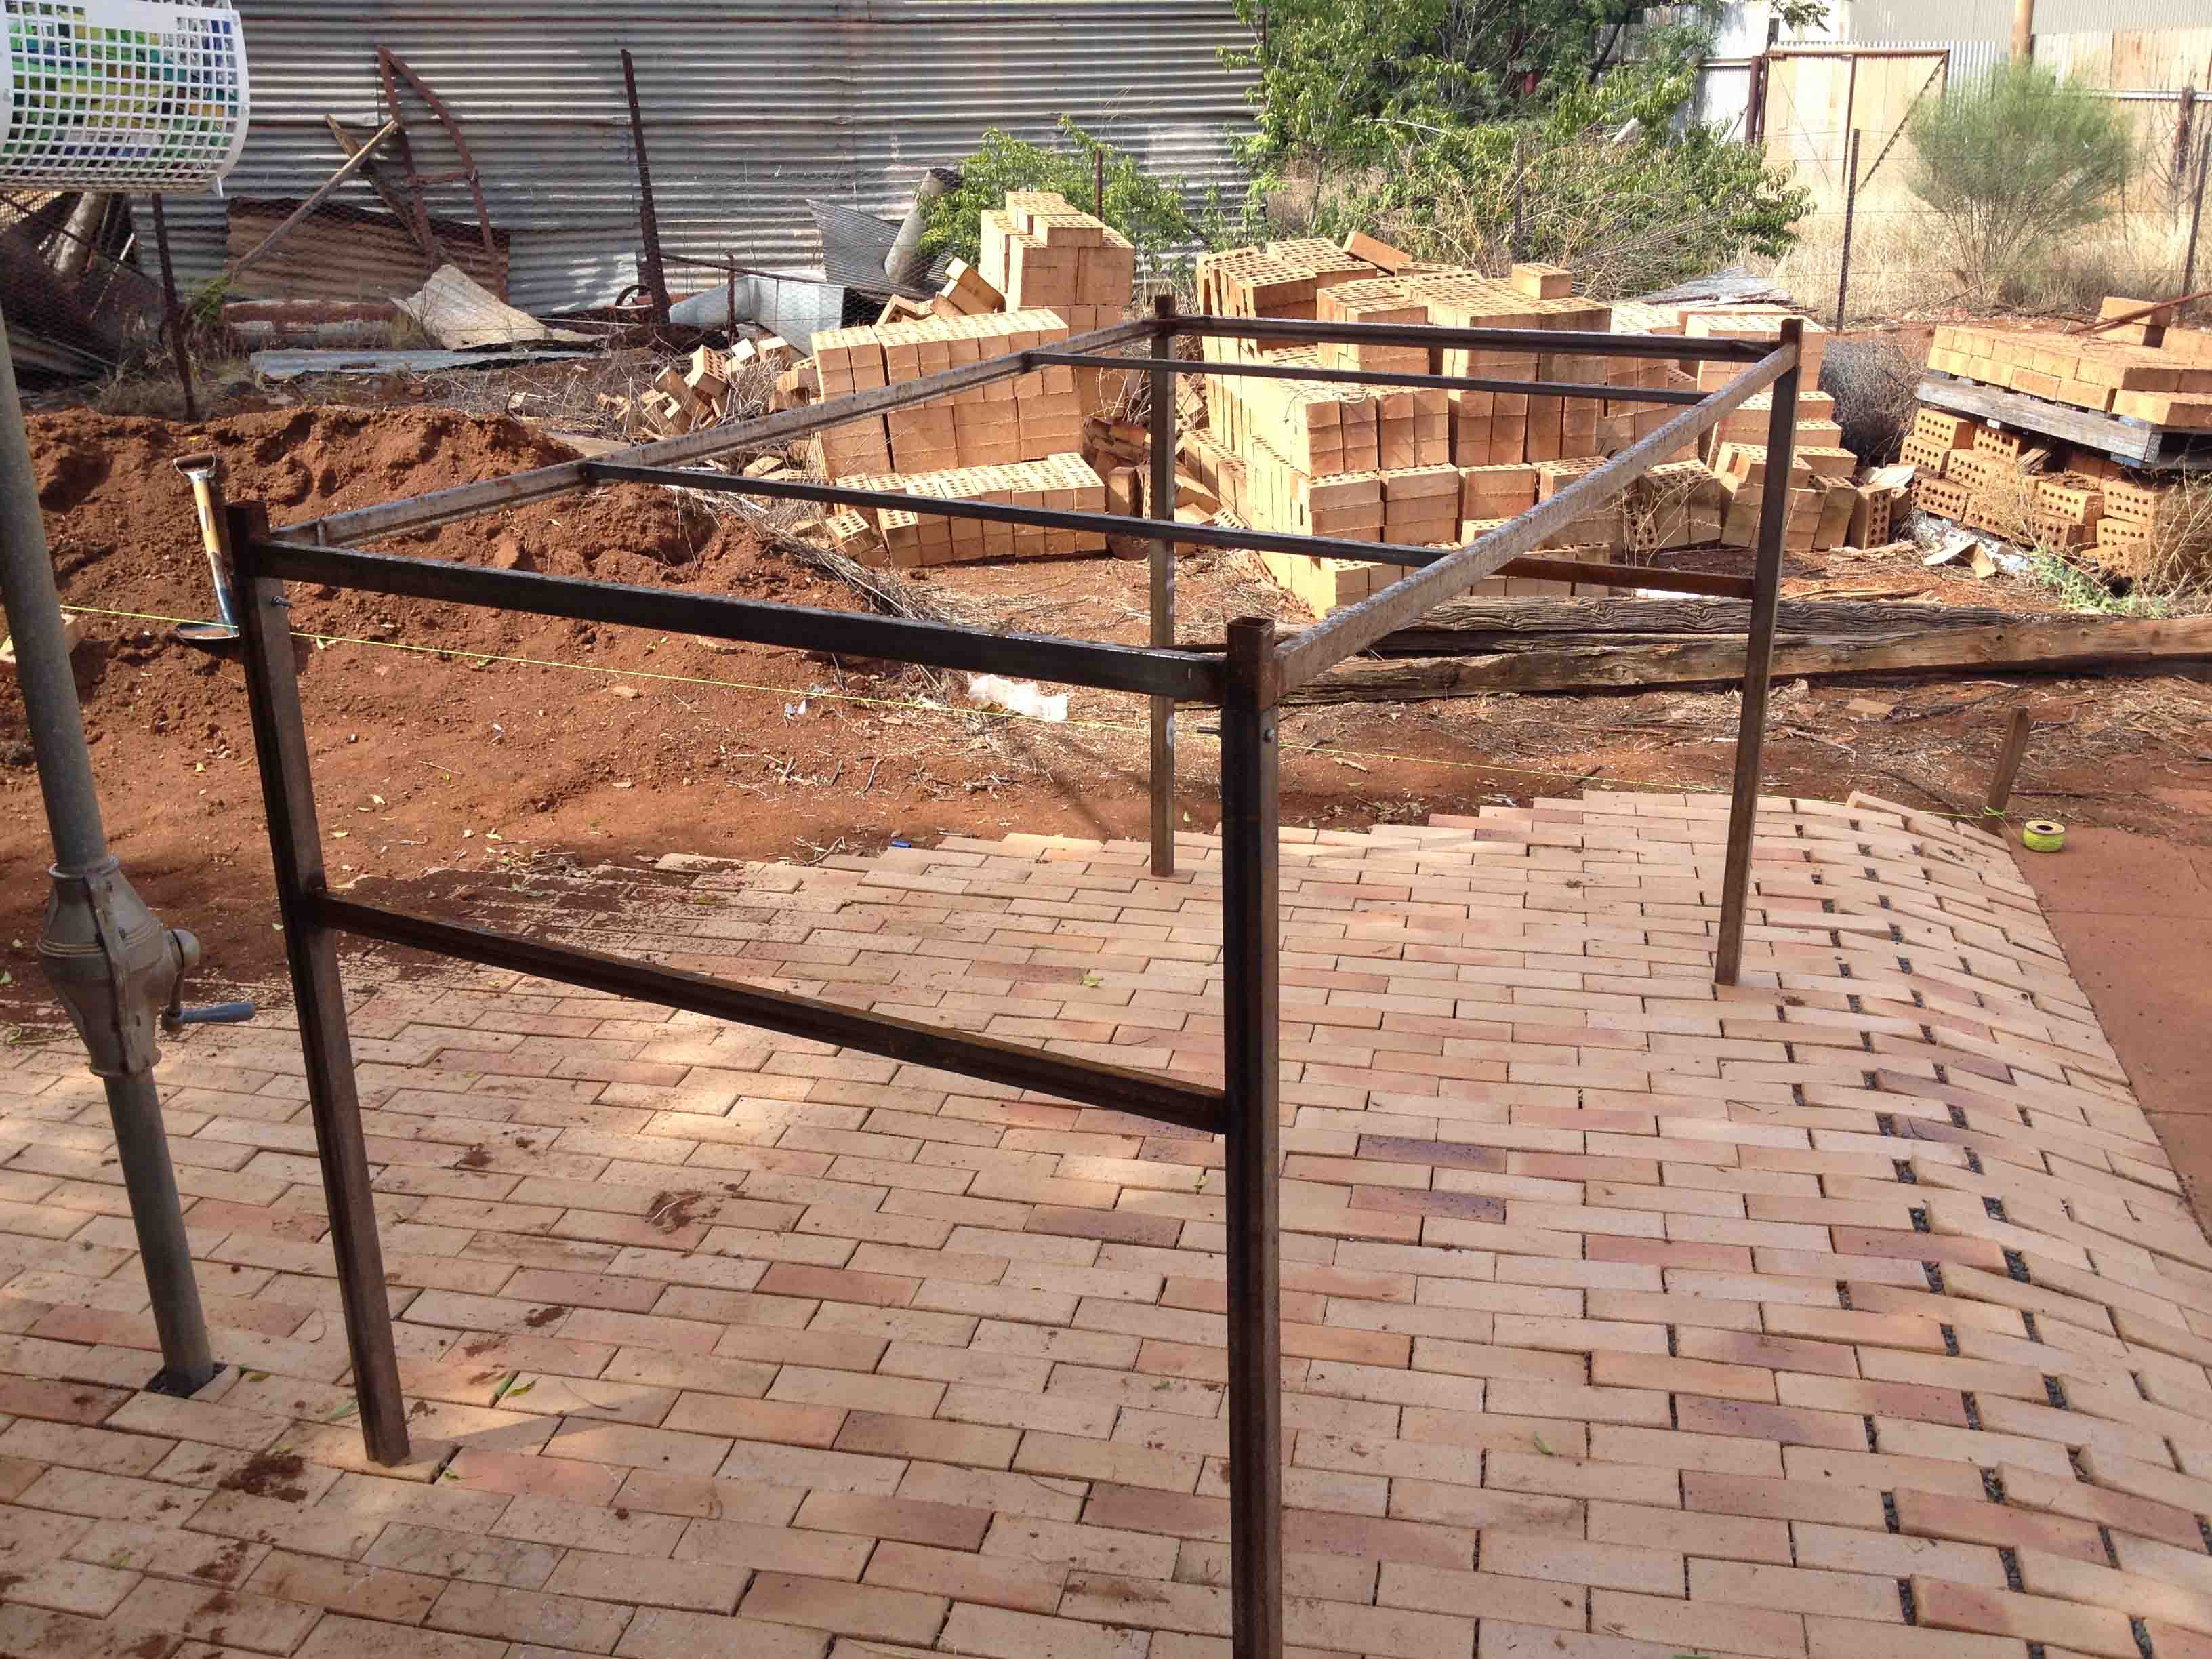
I built two the same, at the time it seemed unlikely that we would have the properties fences to a state where the hens would be allowed out during the day so I was planning on a primary tractor and an additional run section.
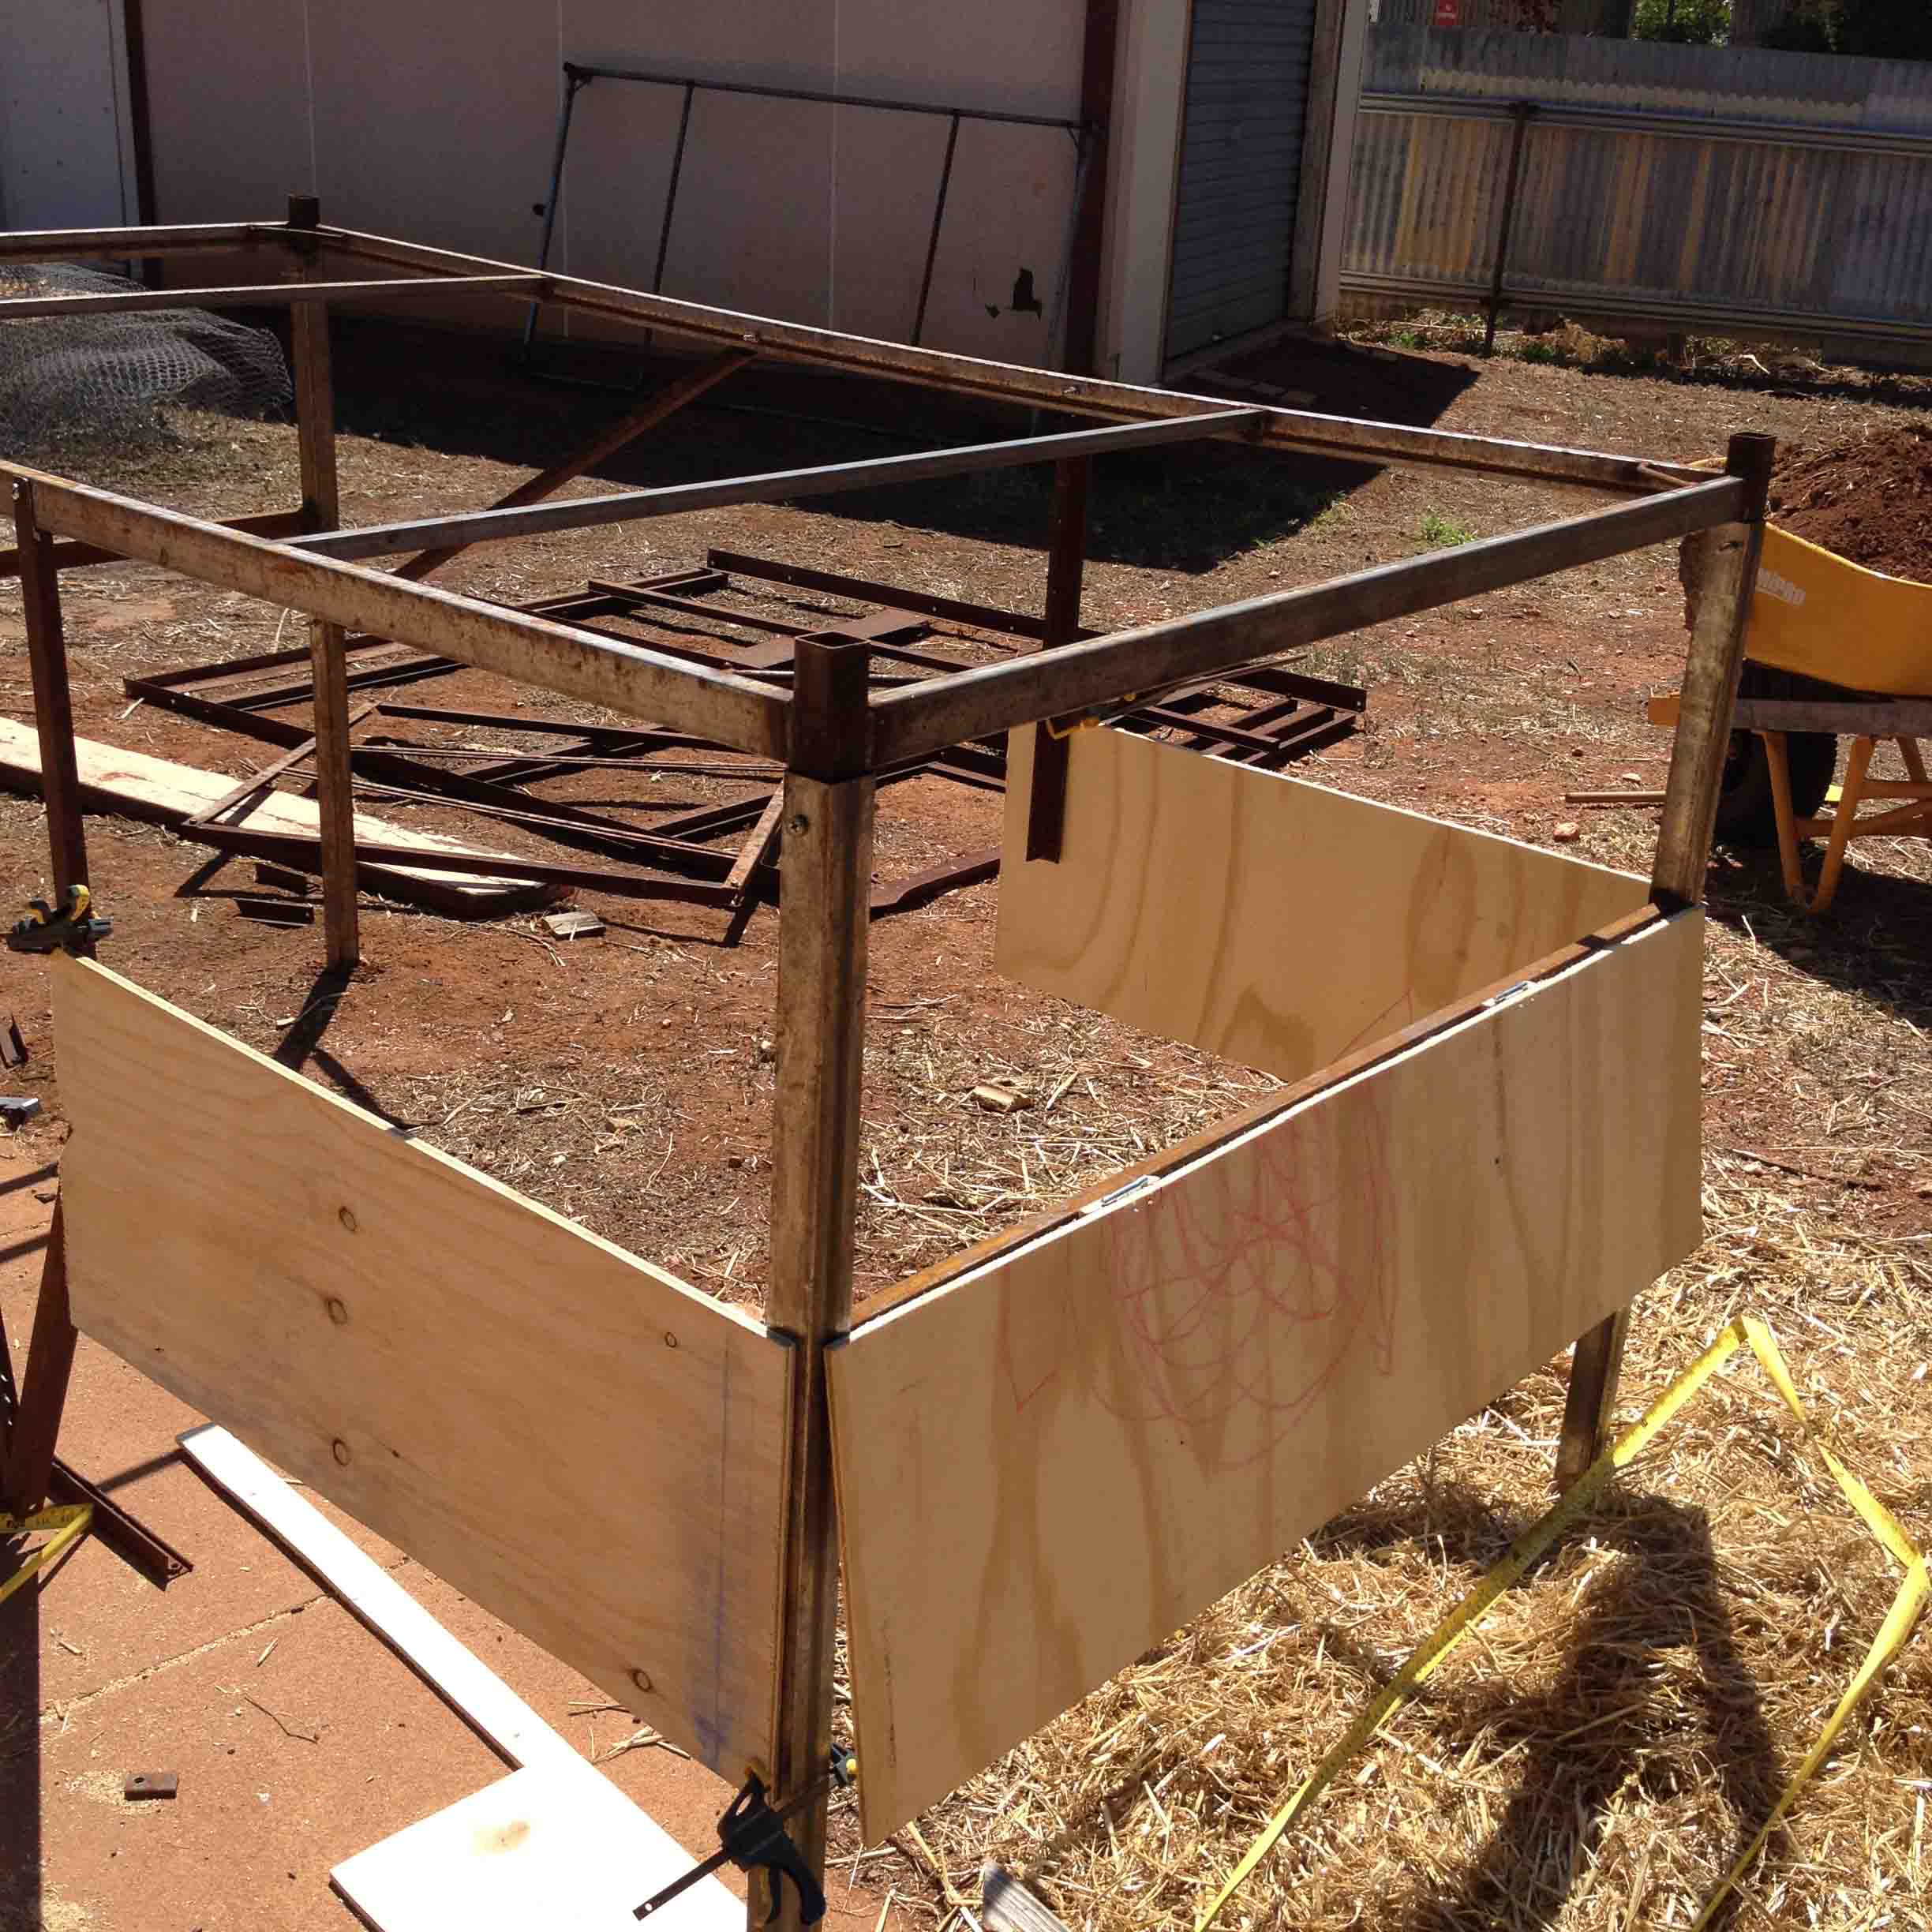
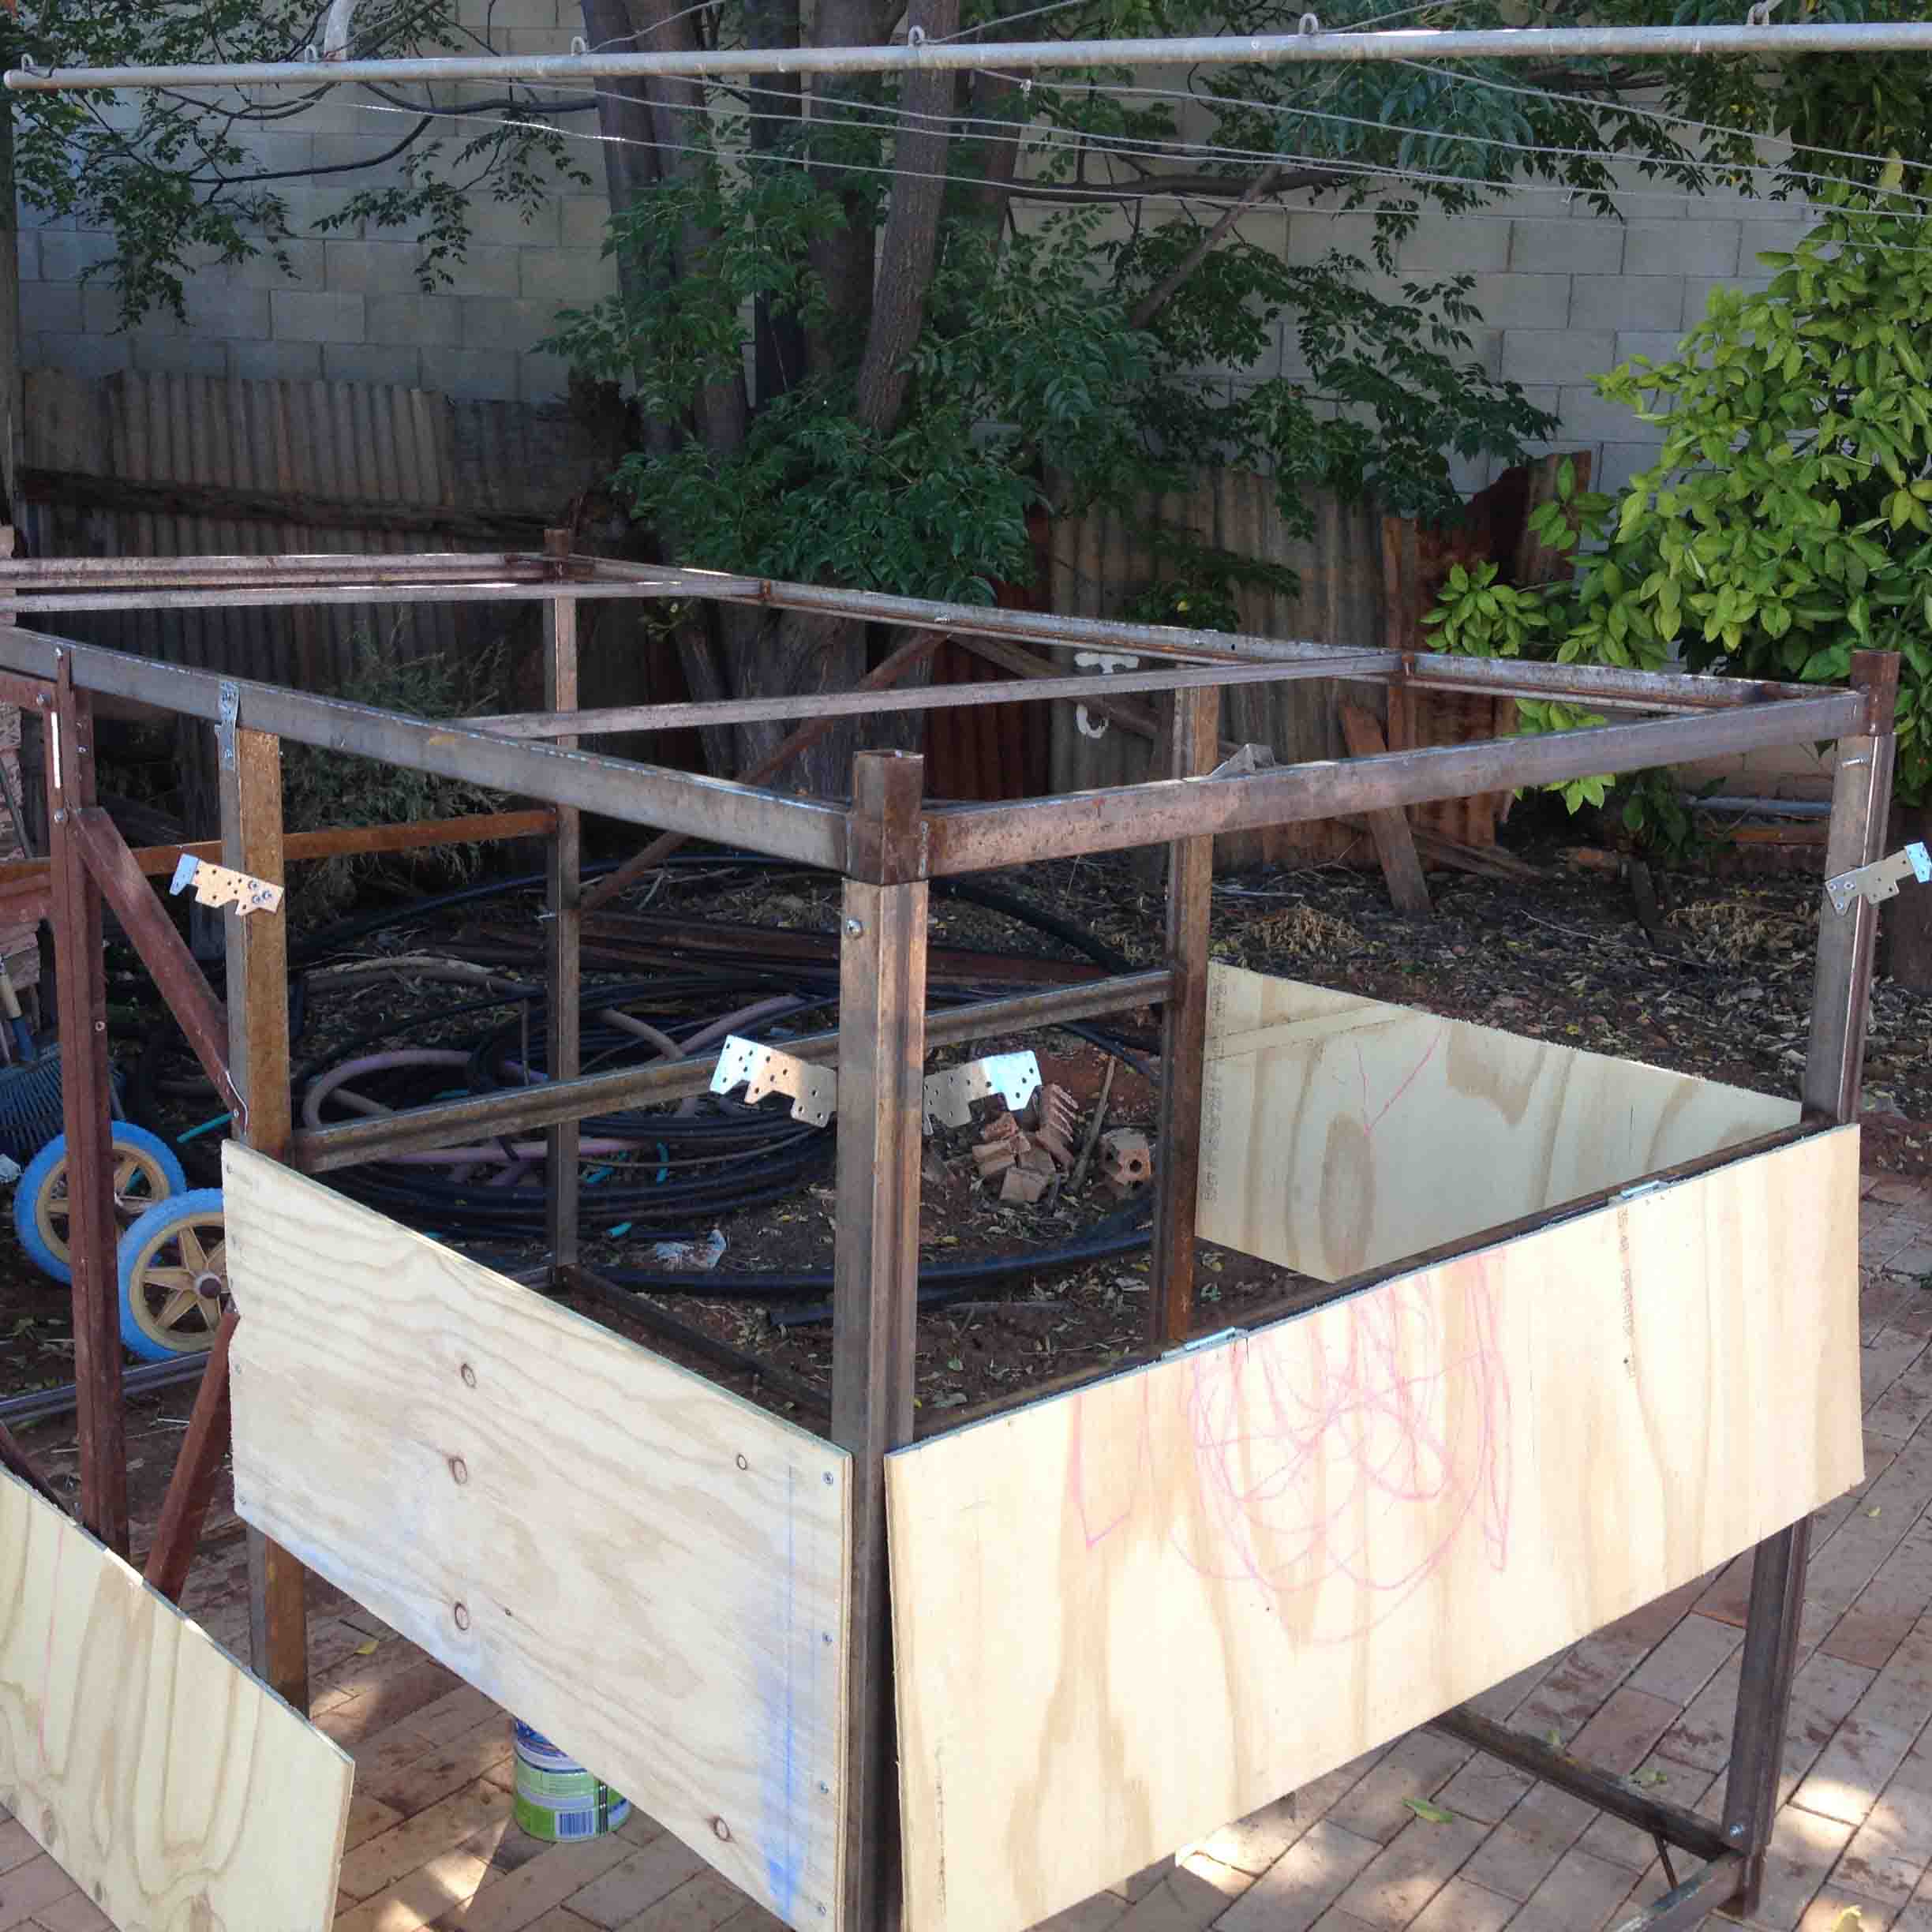
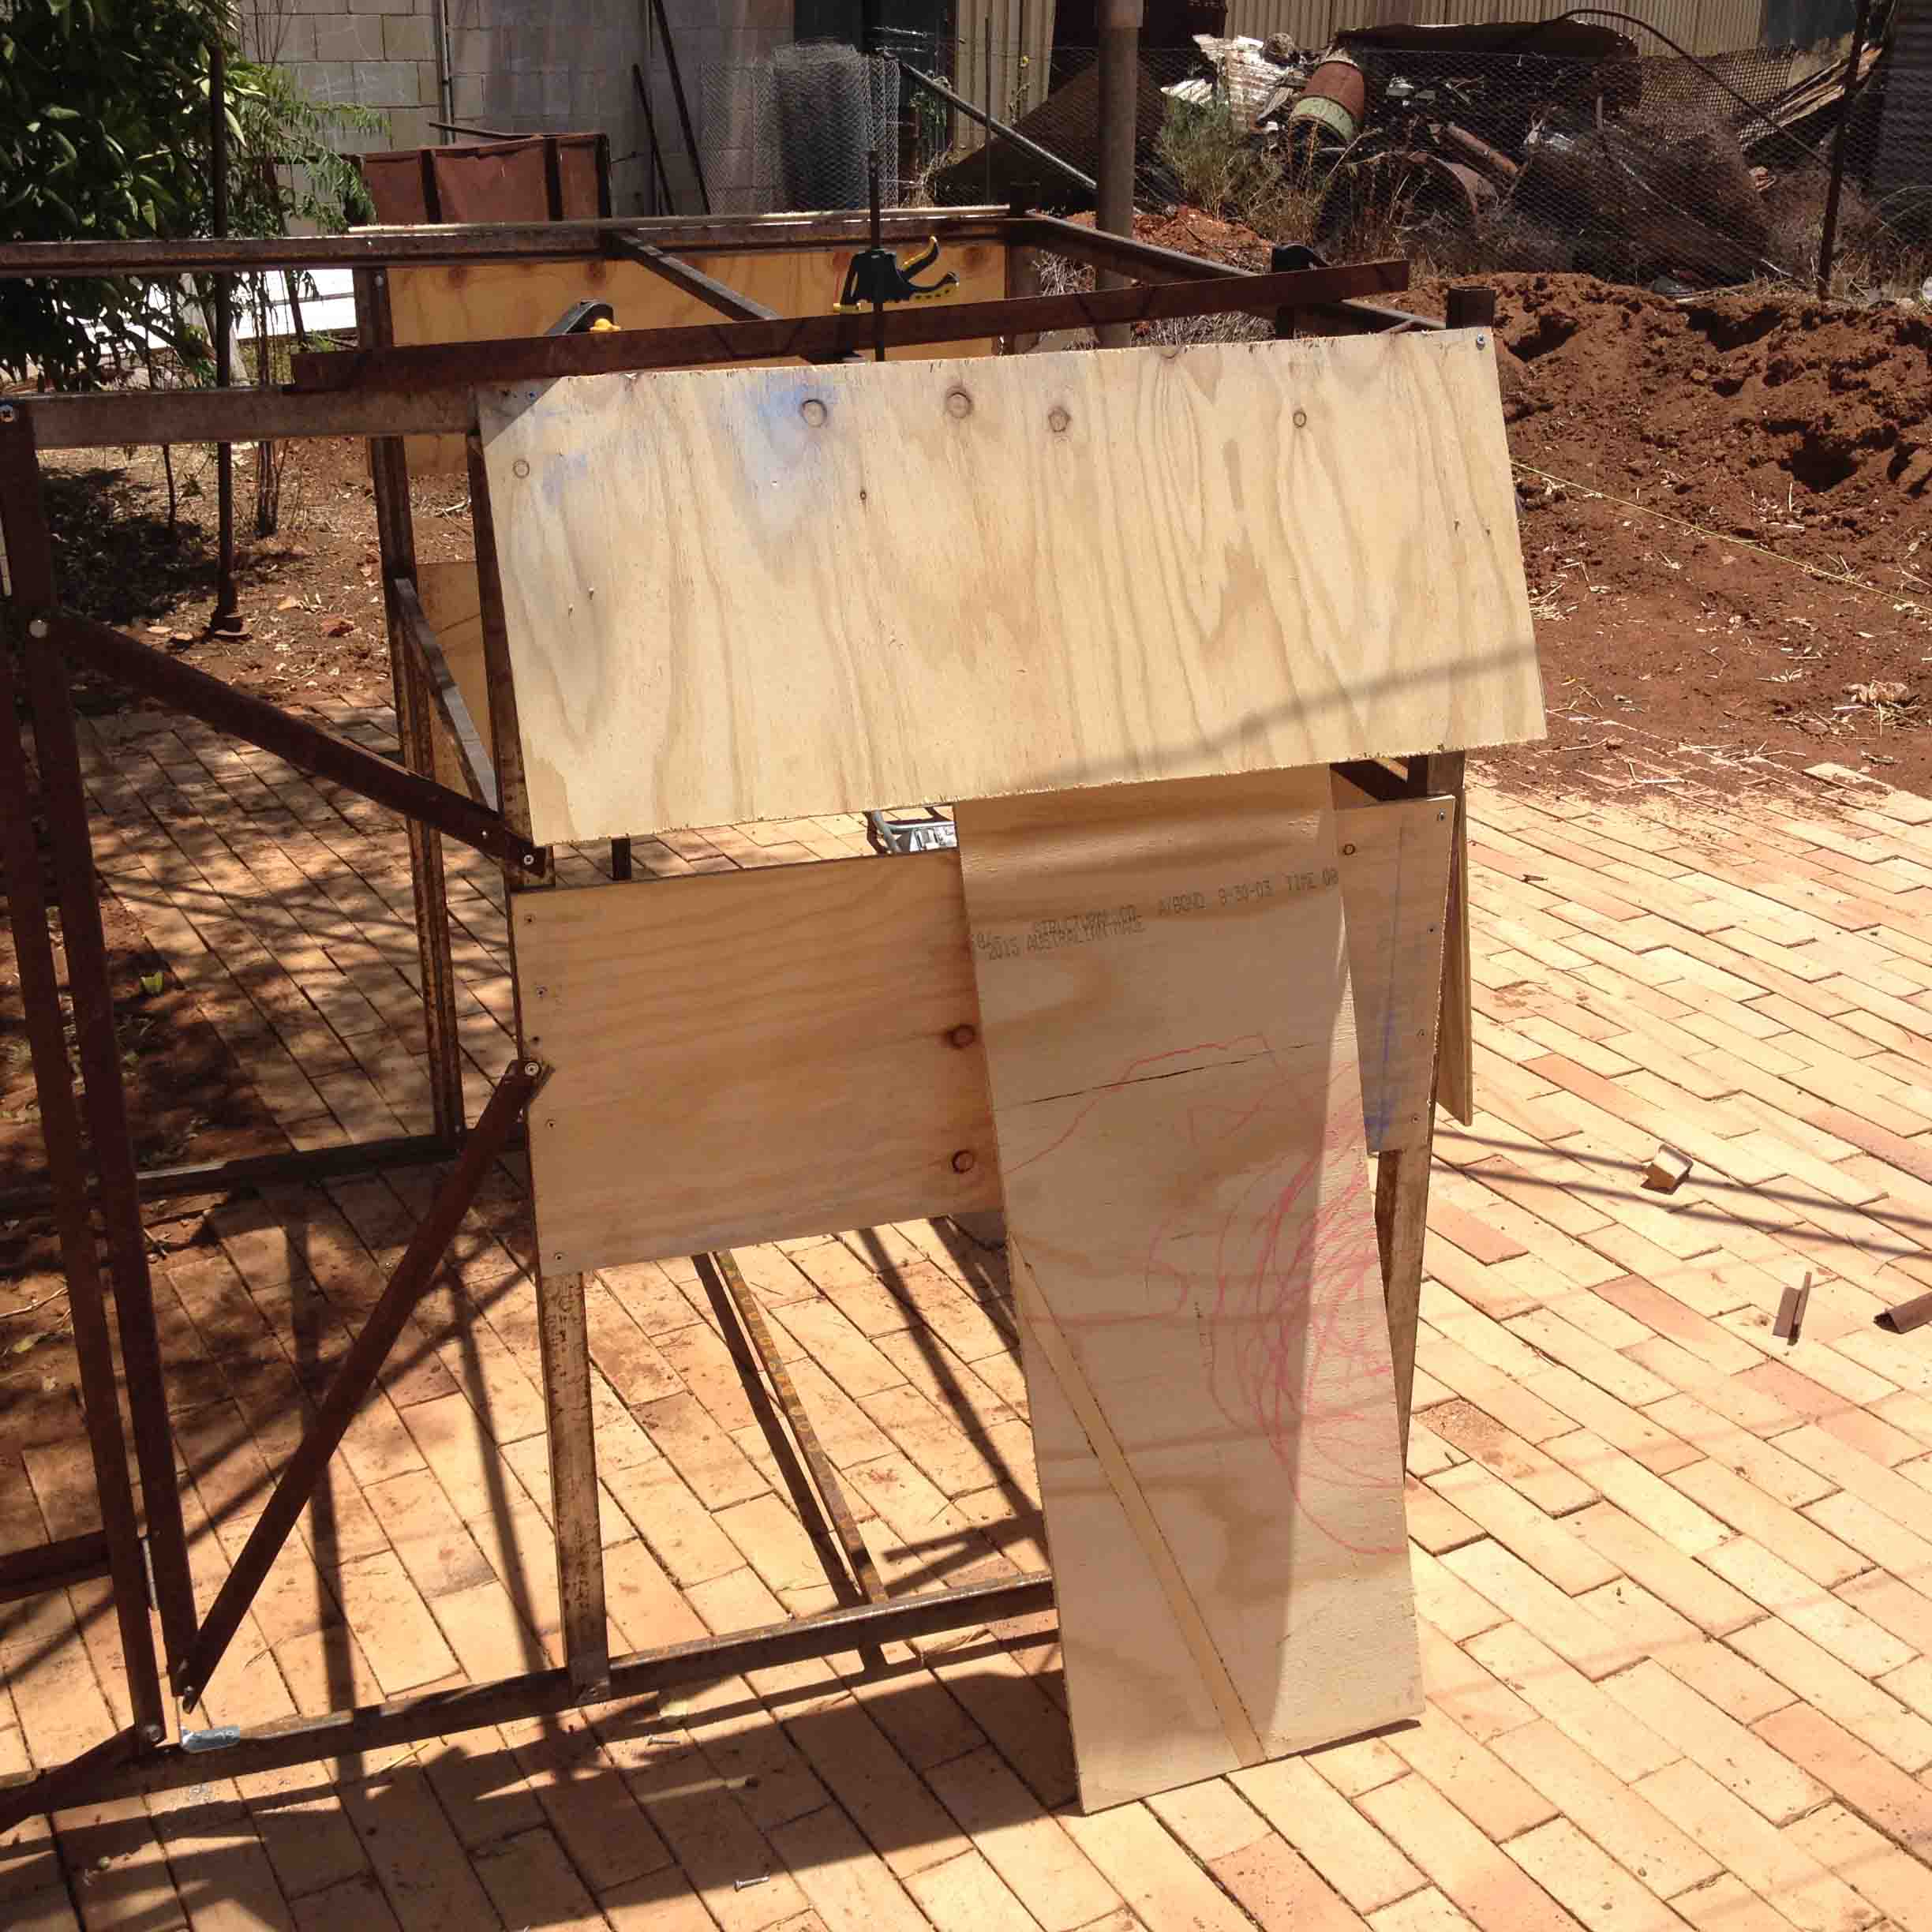
First sides going on.
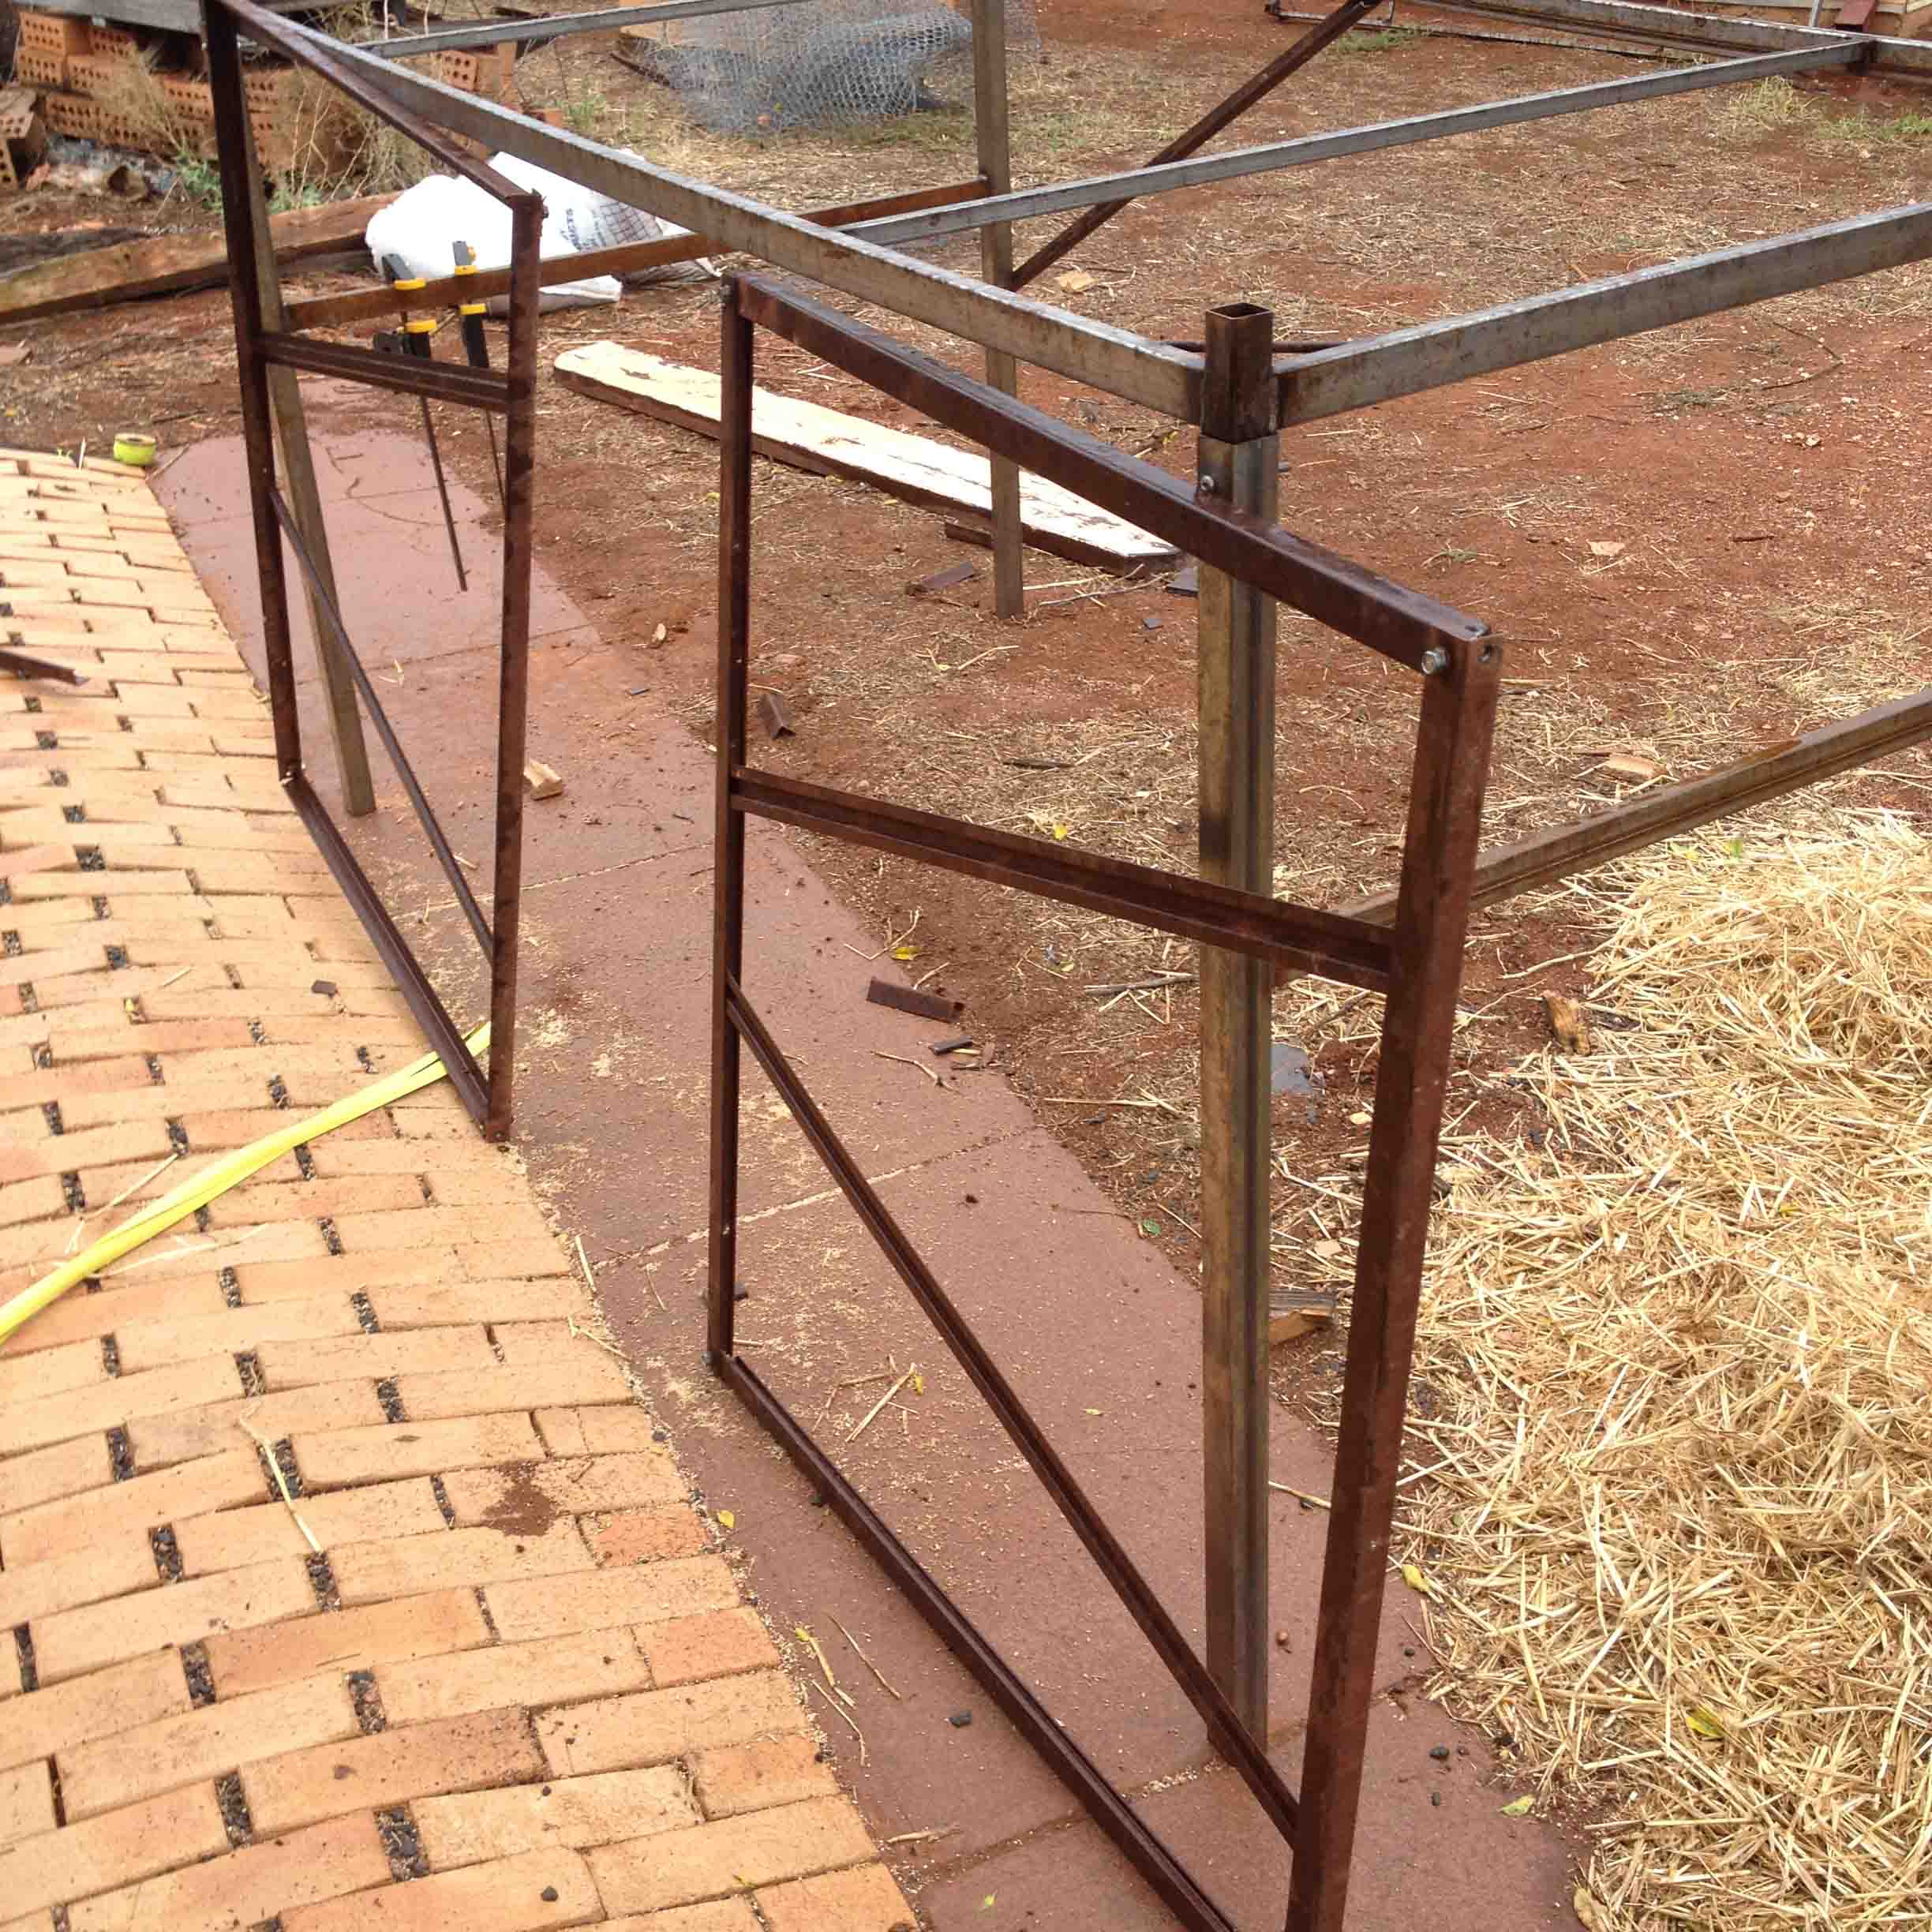
Realising that I am never going to be able to keep it as square as I want it without a base. I for the time being abandon the idea of the extra run and attach the base section.

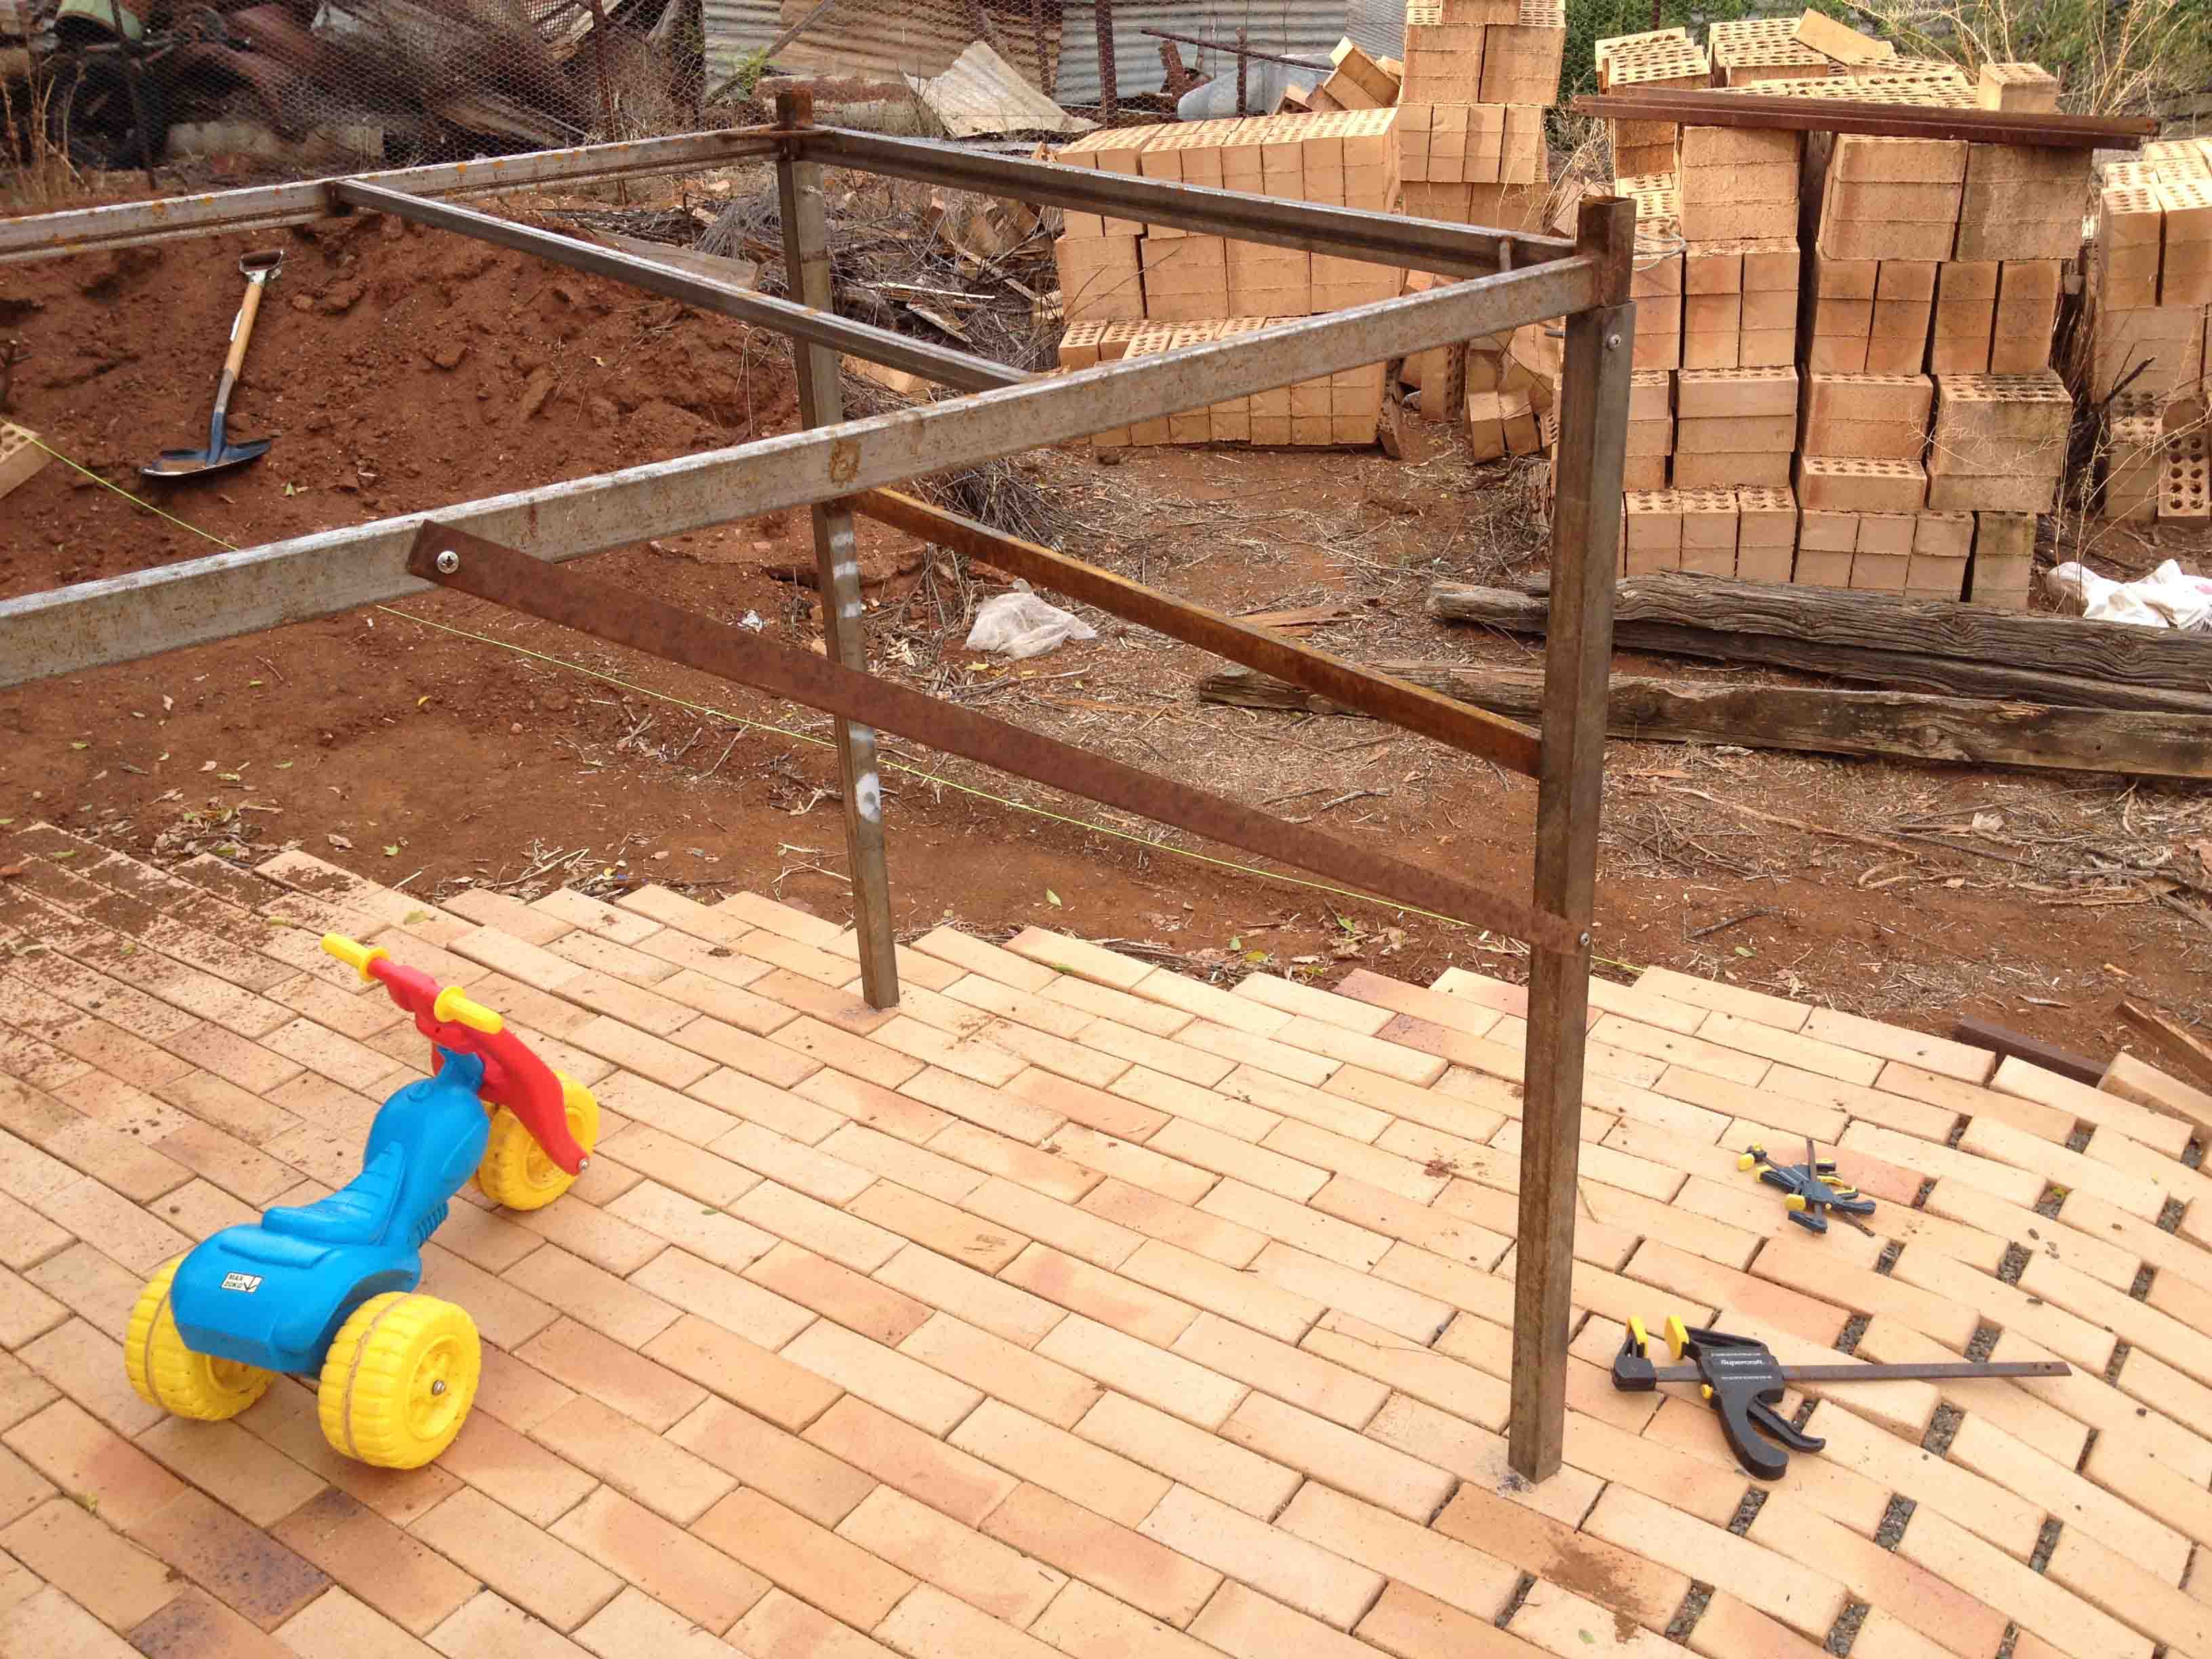
When working without a base side pieces were hanging from the top.
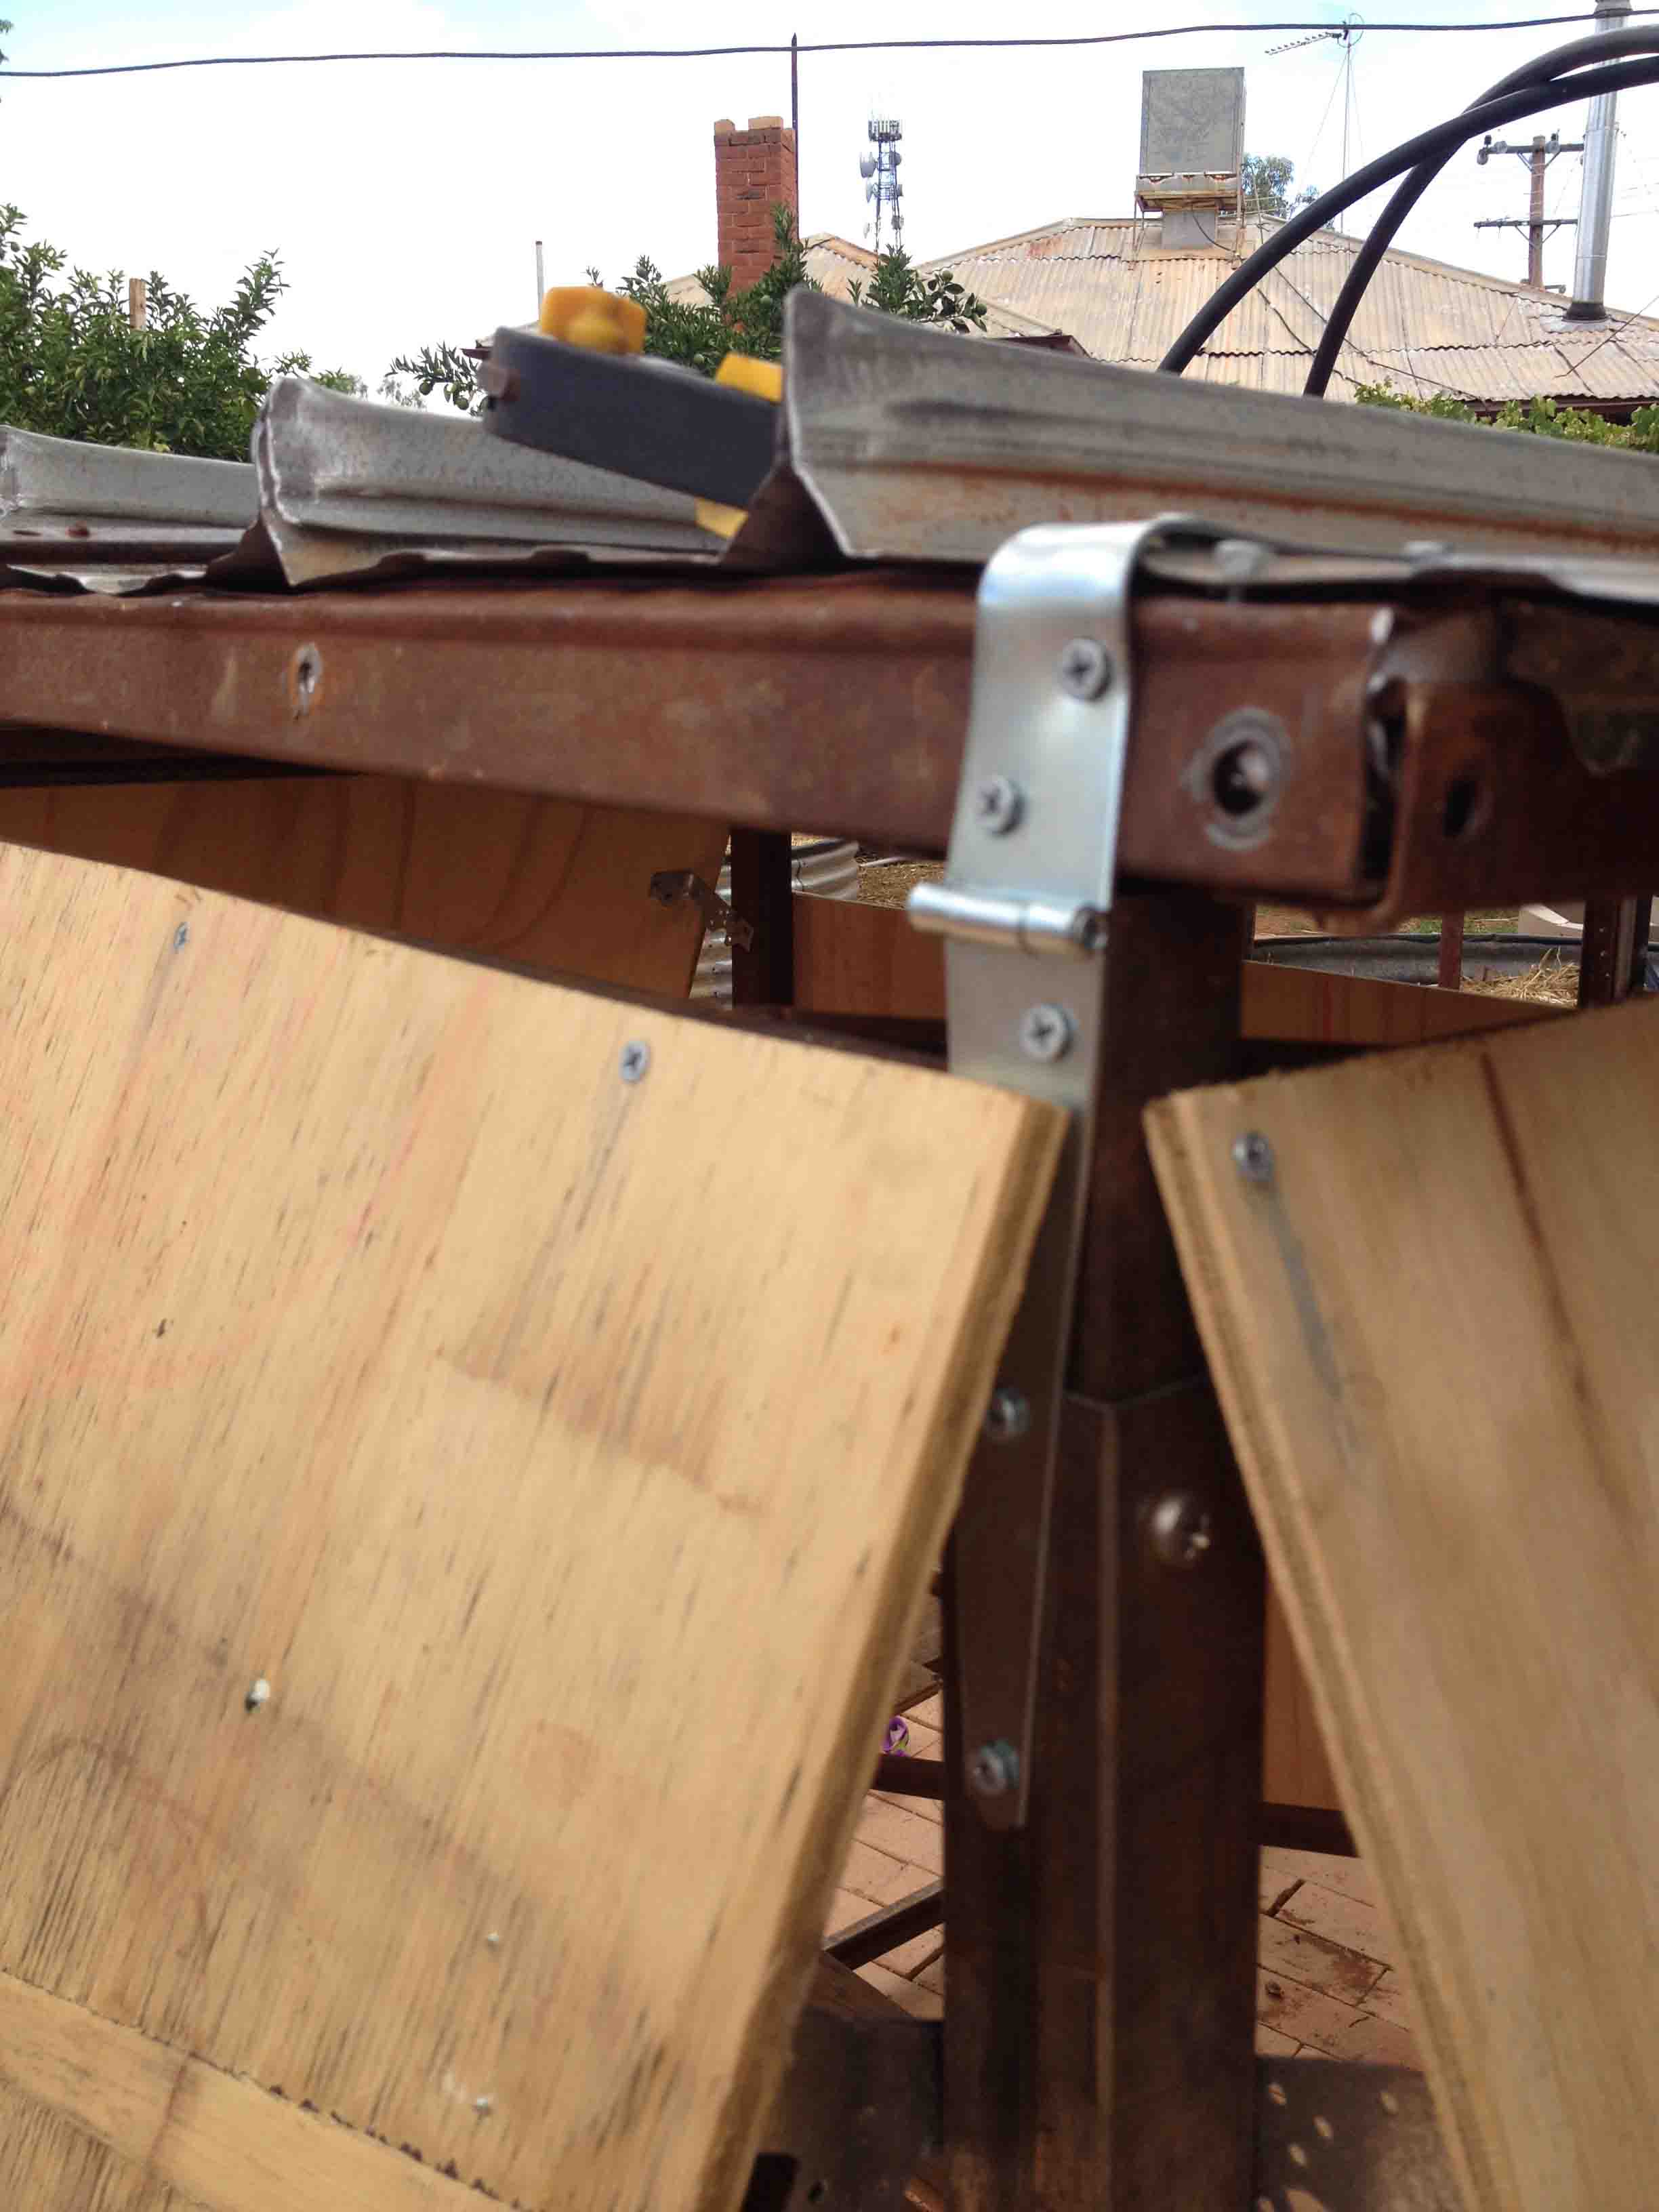
With the addition of the base I added an extra end support I had into the middle and hung the sides on it instead. The gate hinge support is also reinforced this way.
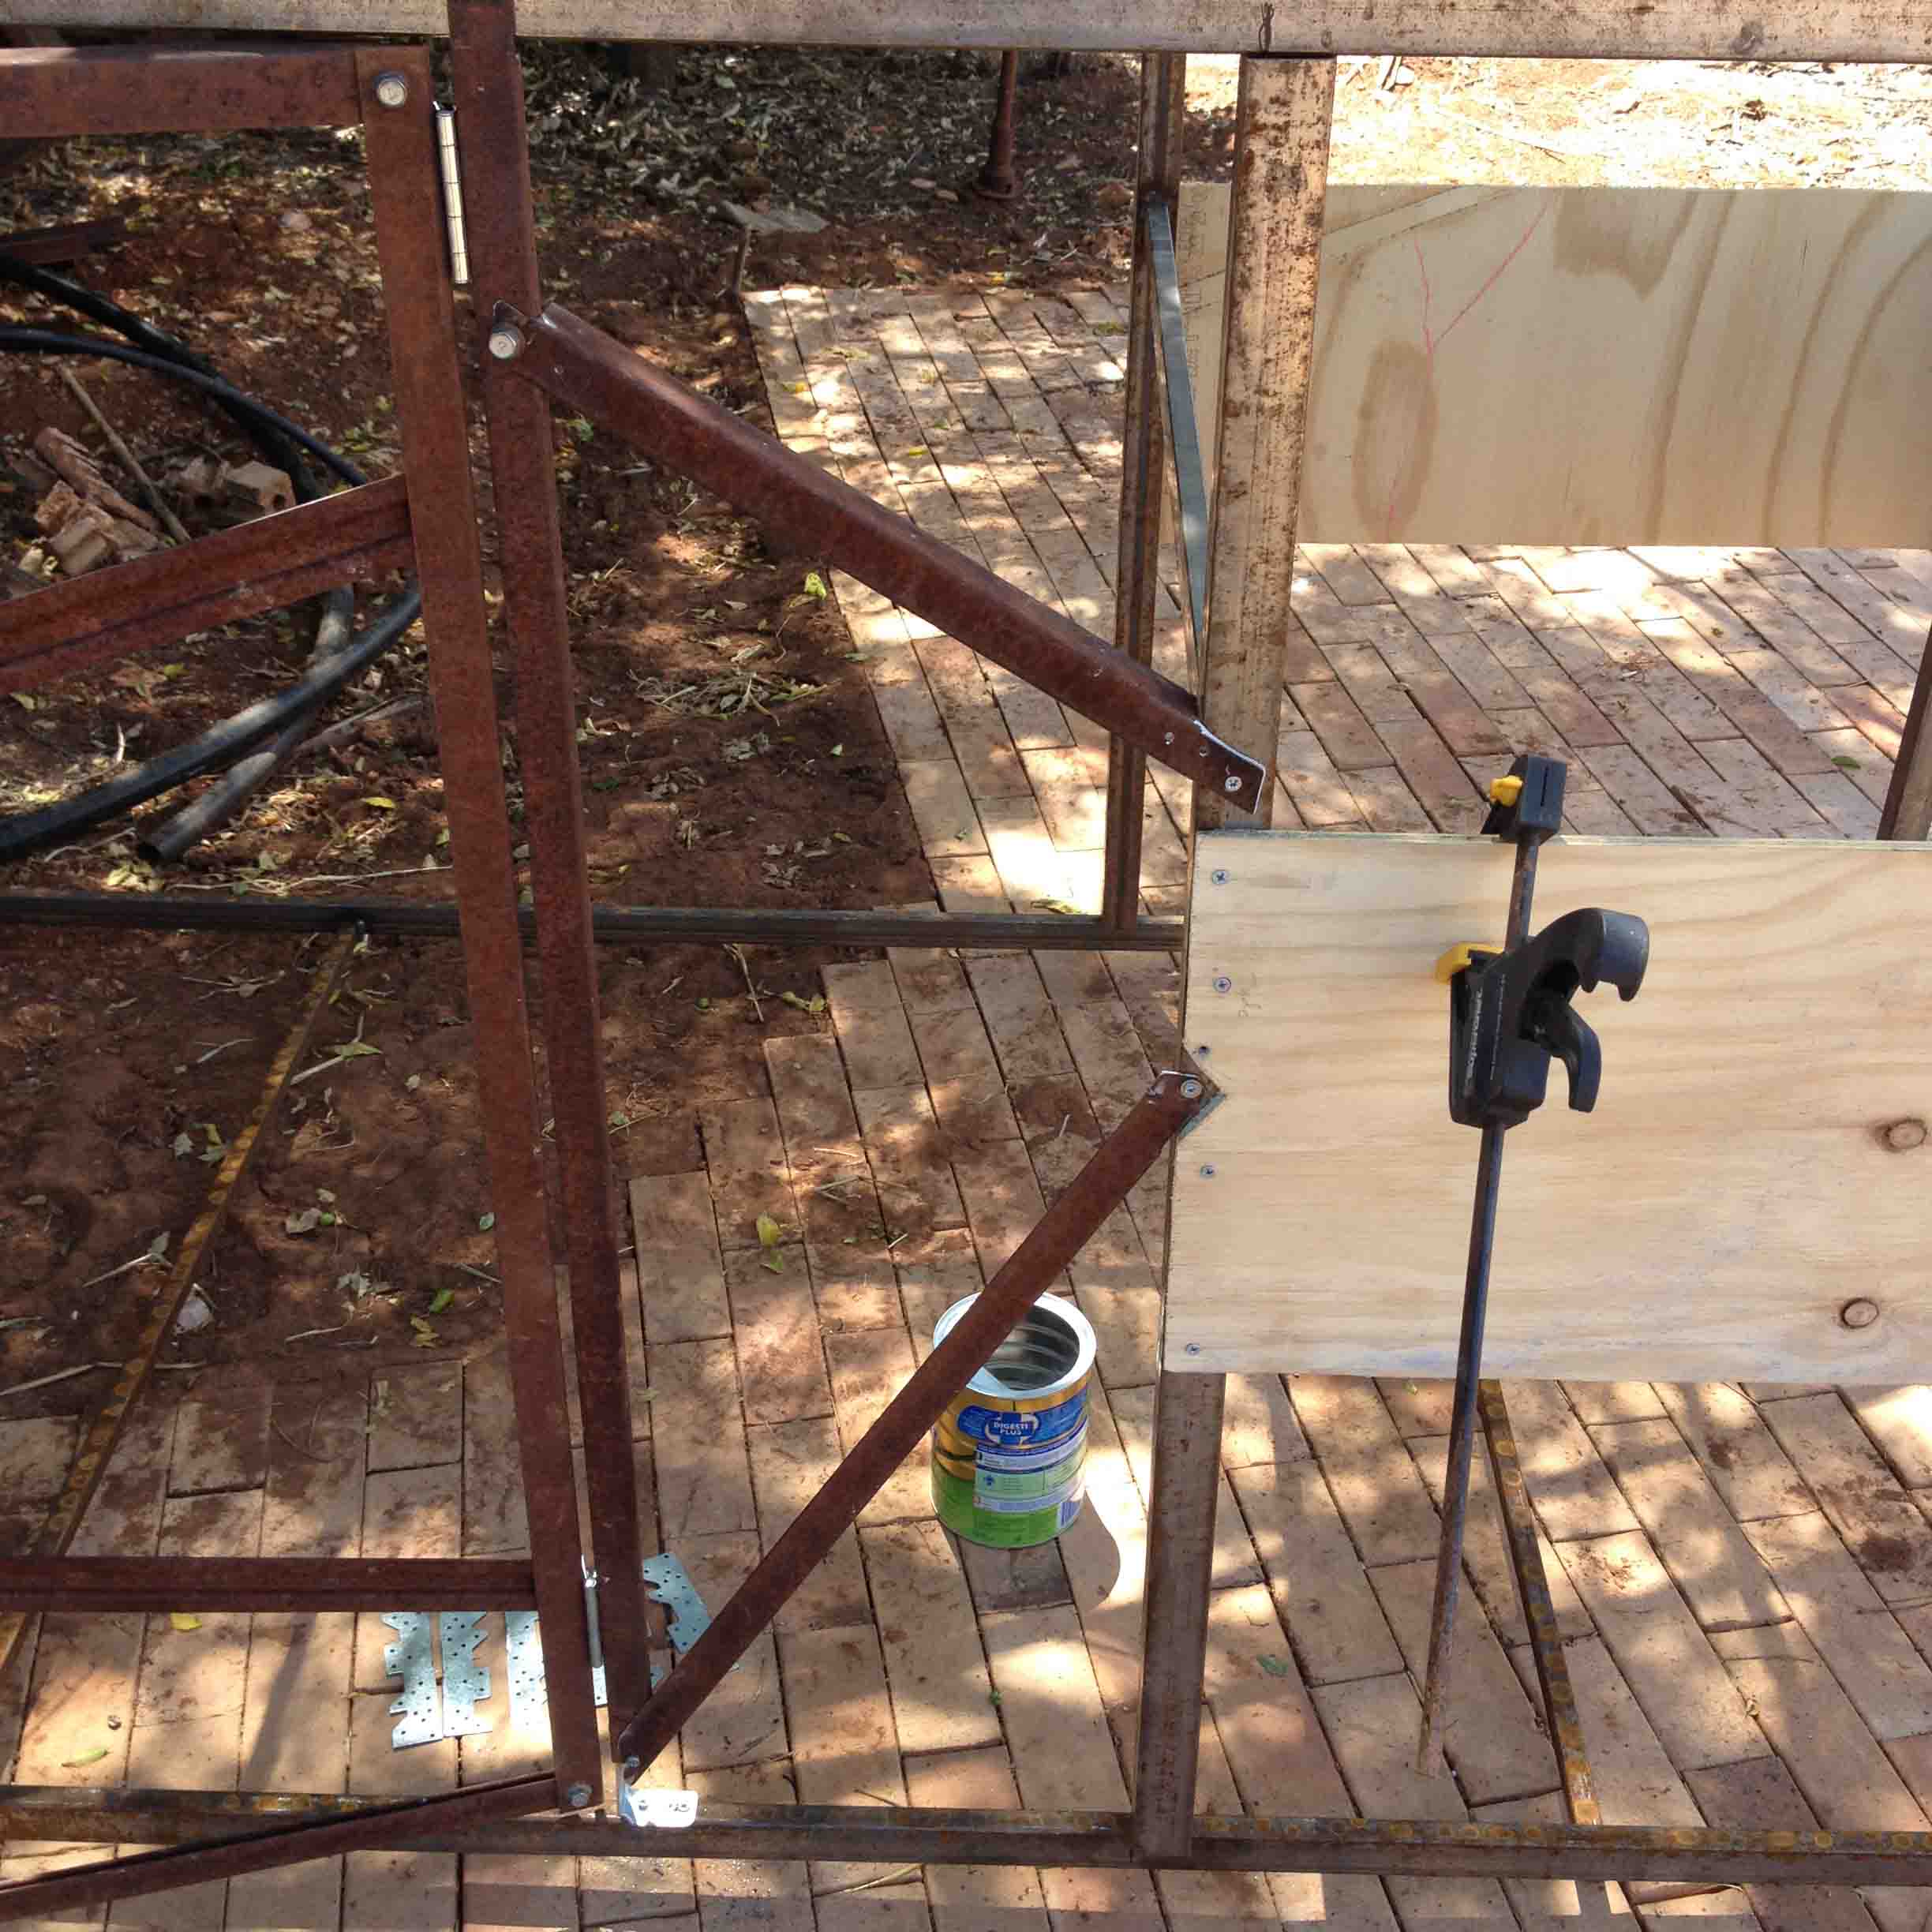
Material constraints left me with a gate hinge too short to extent the whole height. In the background the awning brackets in fabrication.

Awning brackets mounted
Side awnings on. The rear has to wait until roof hinges are done.
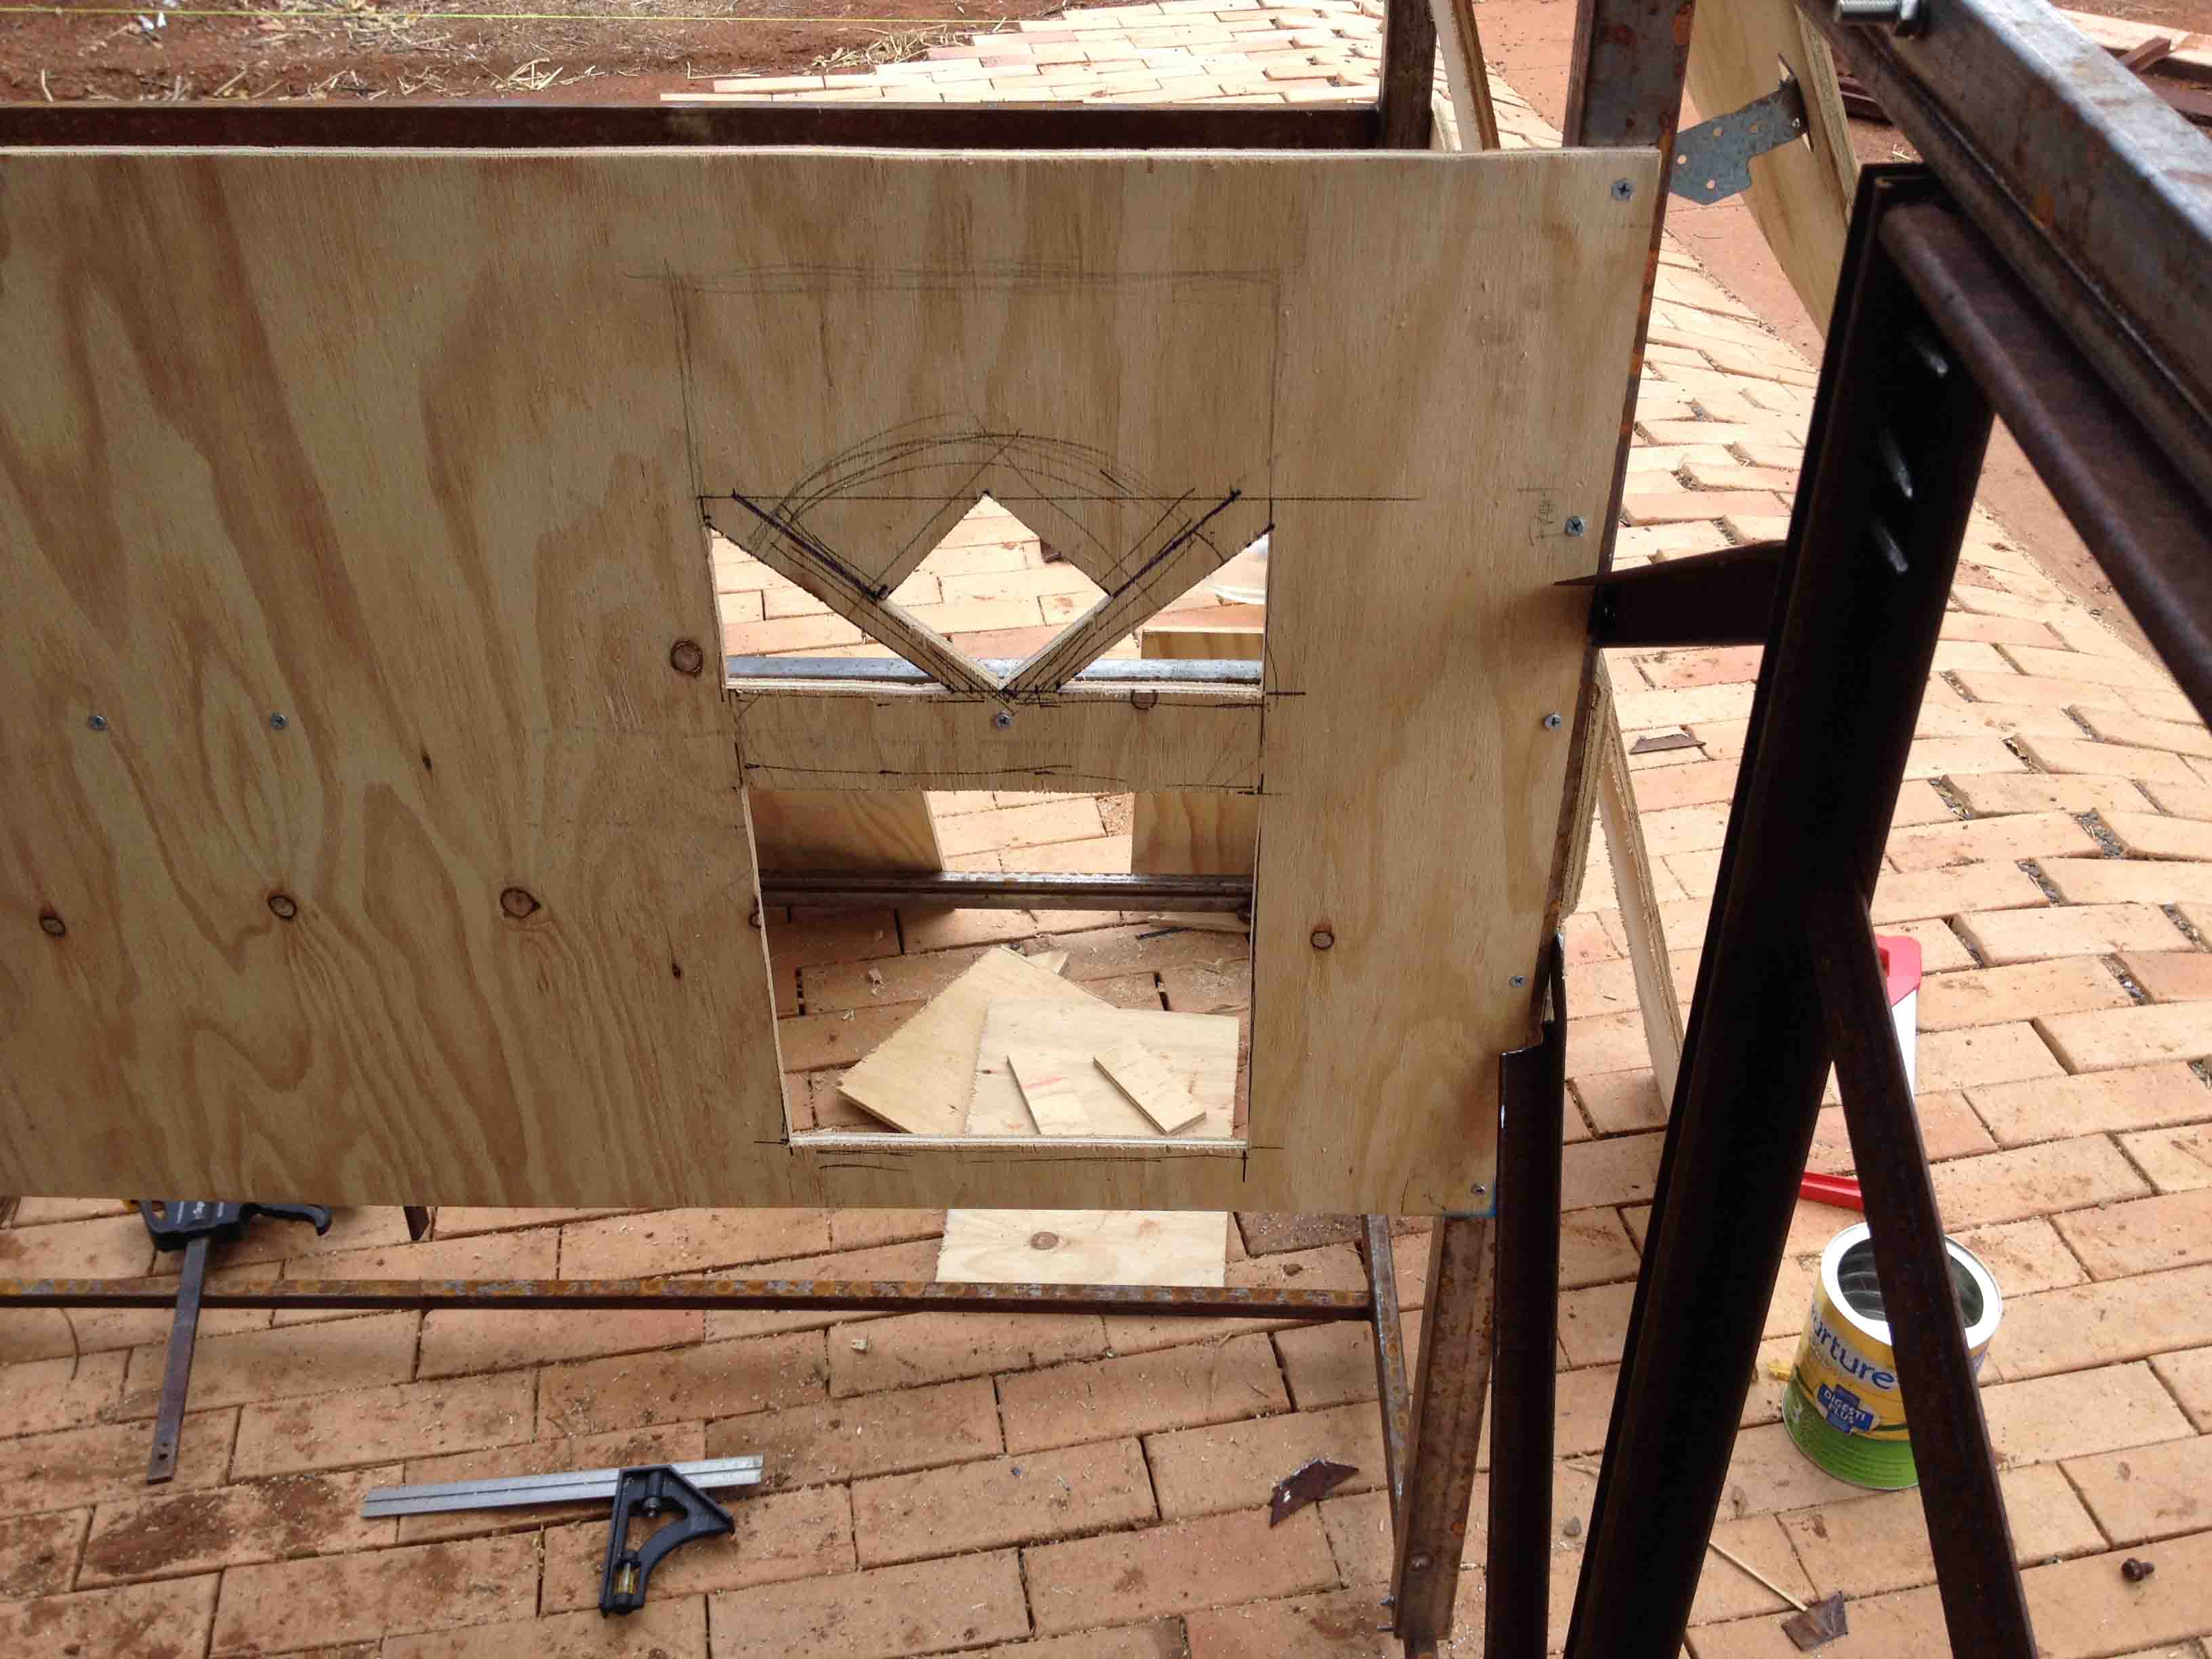
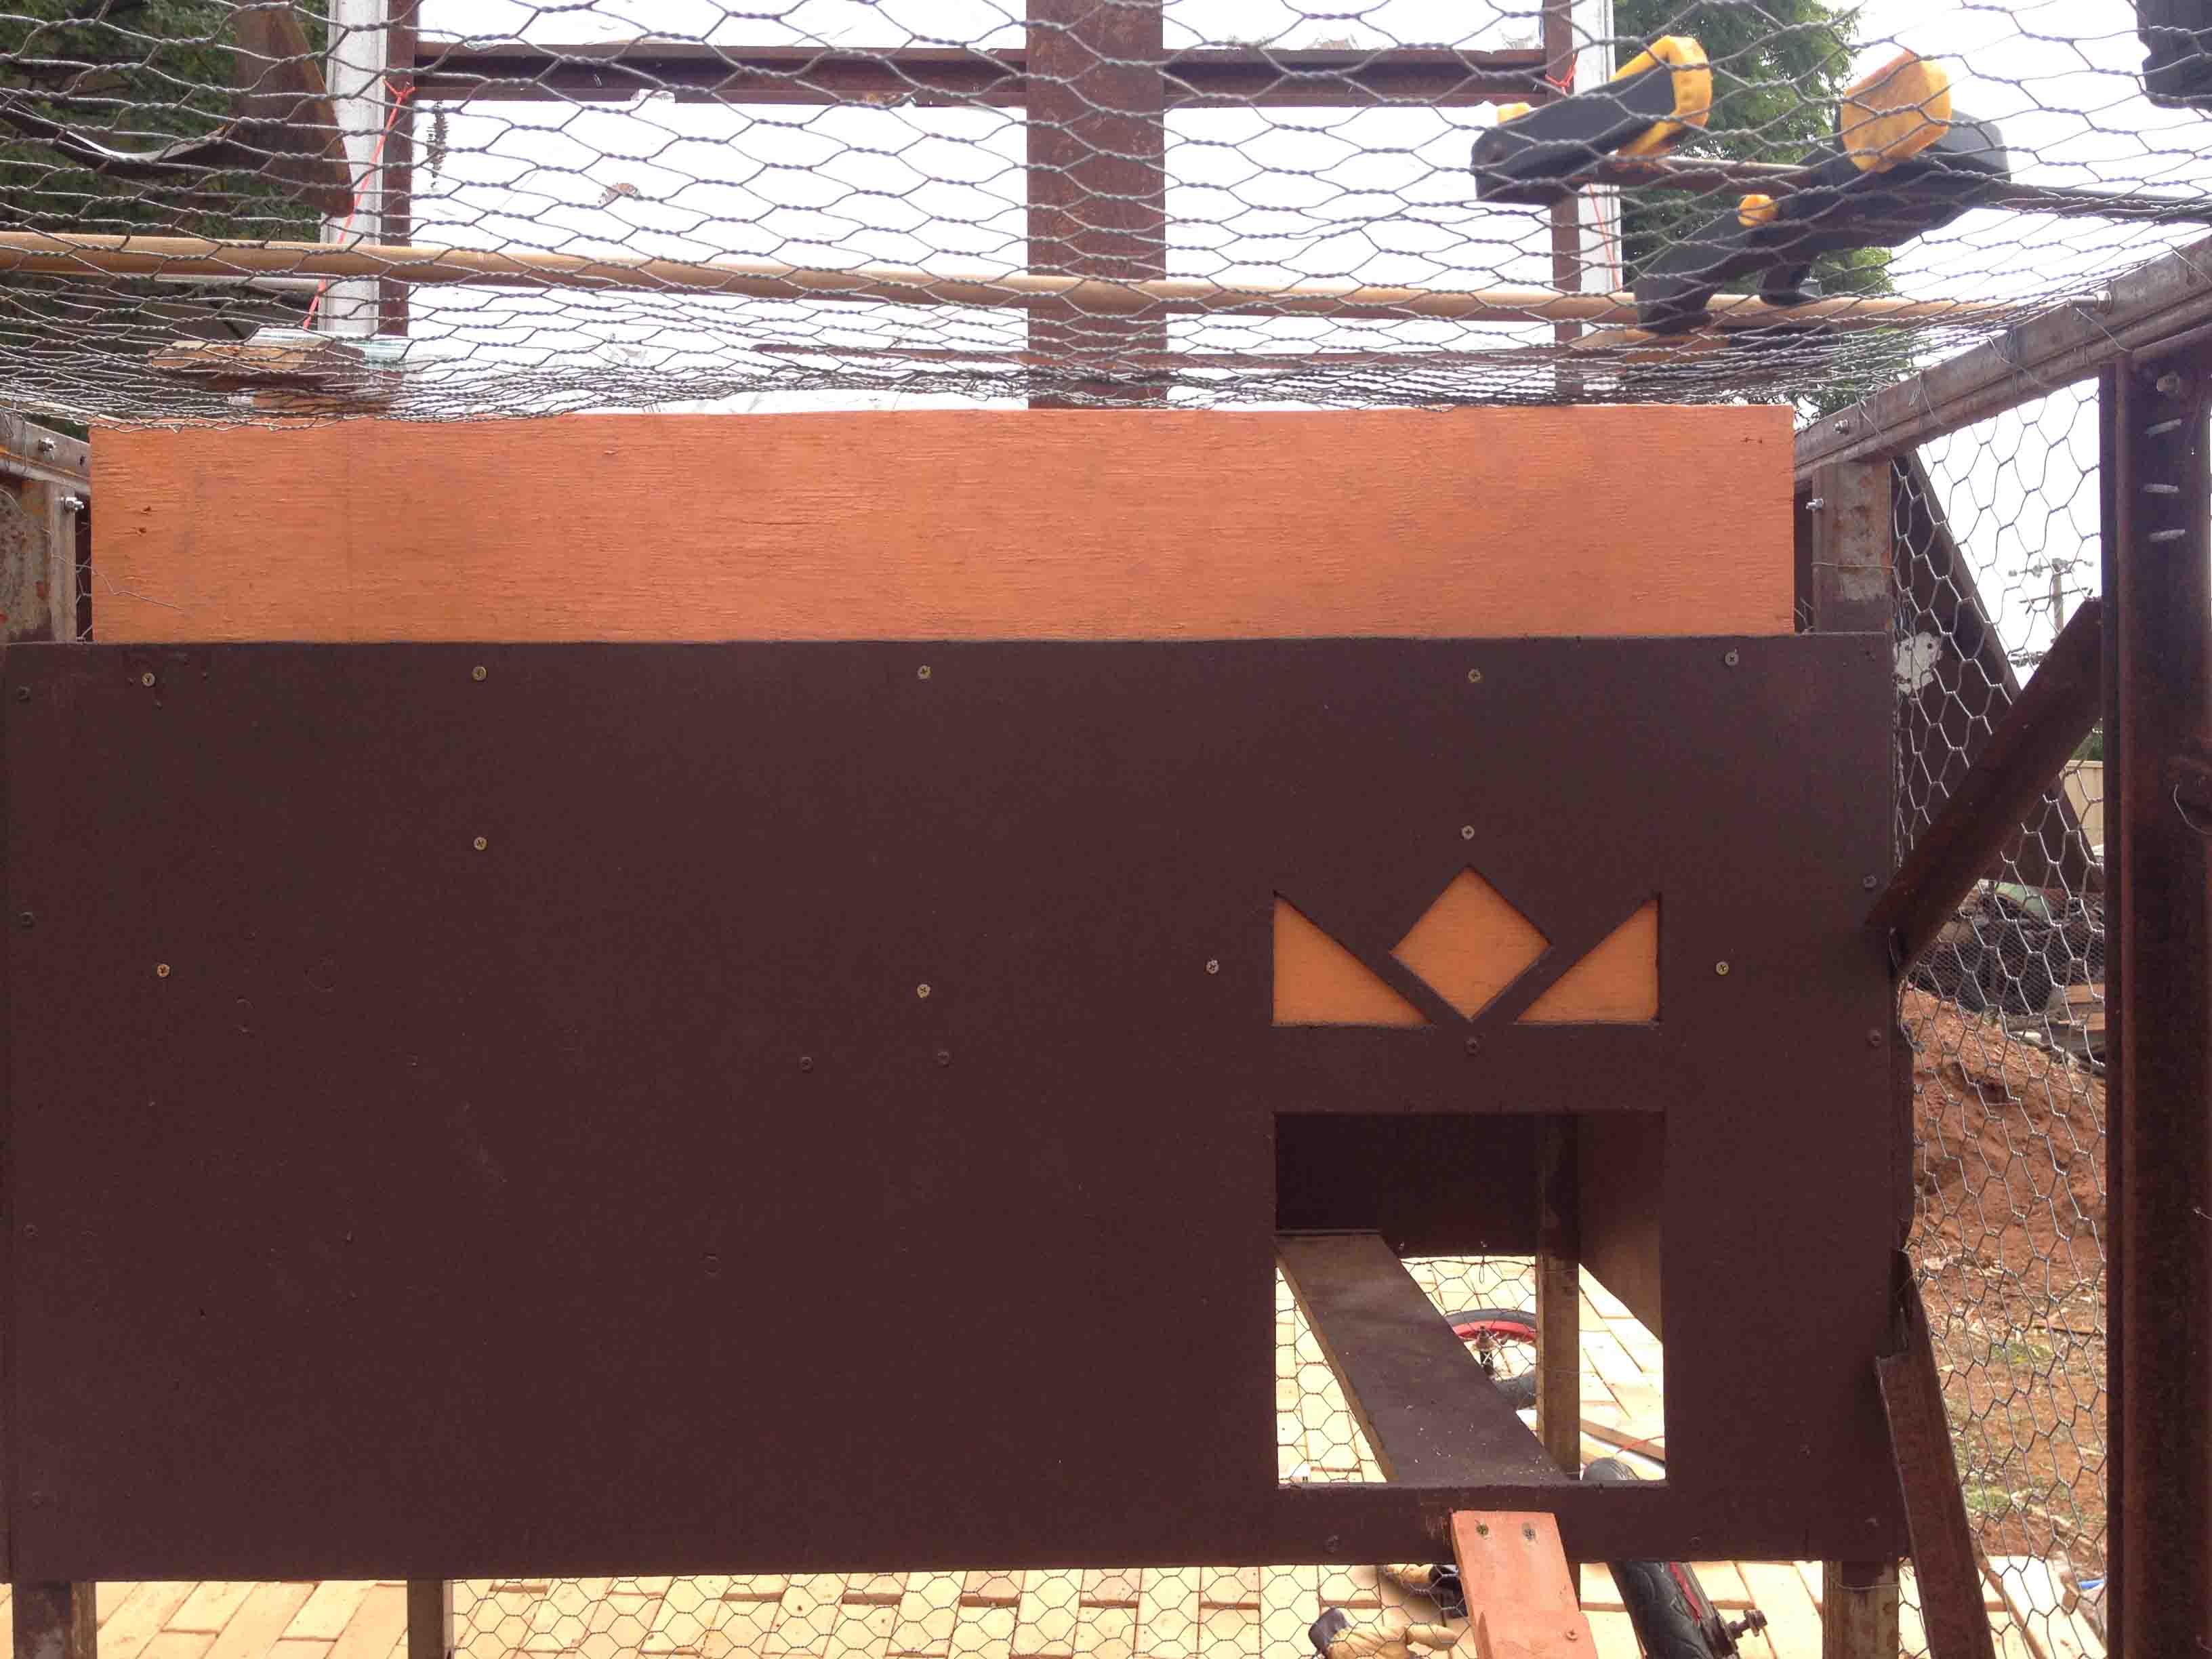
Main entrance and detail.
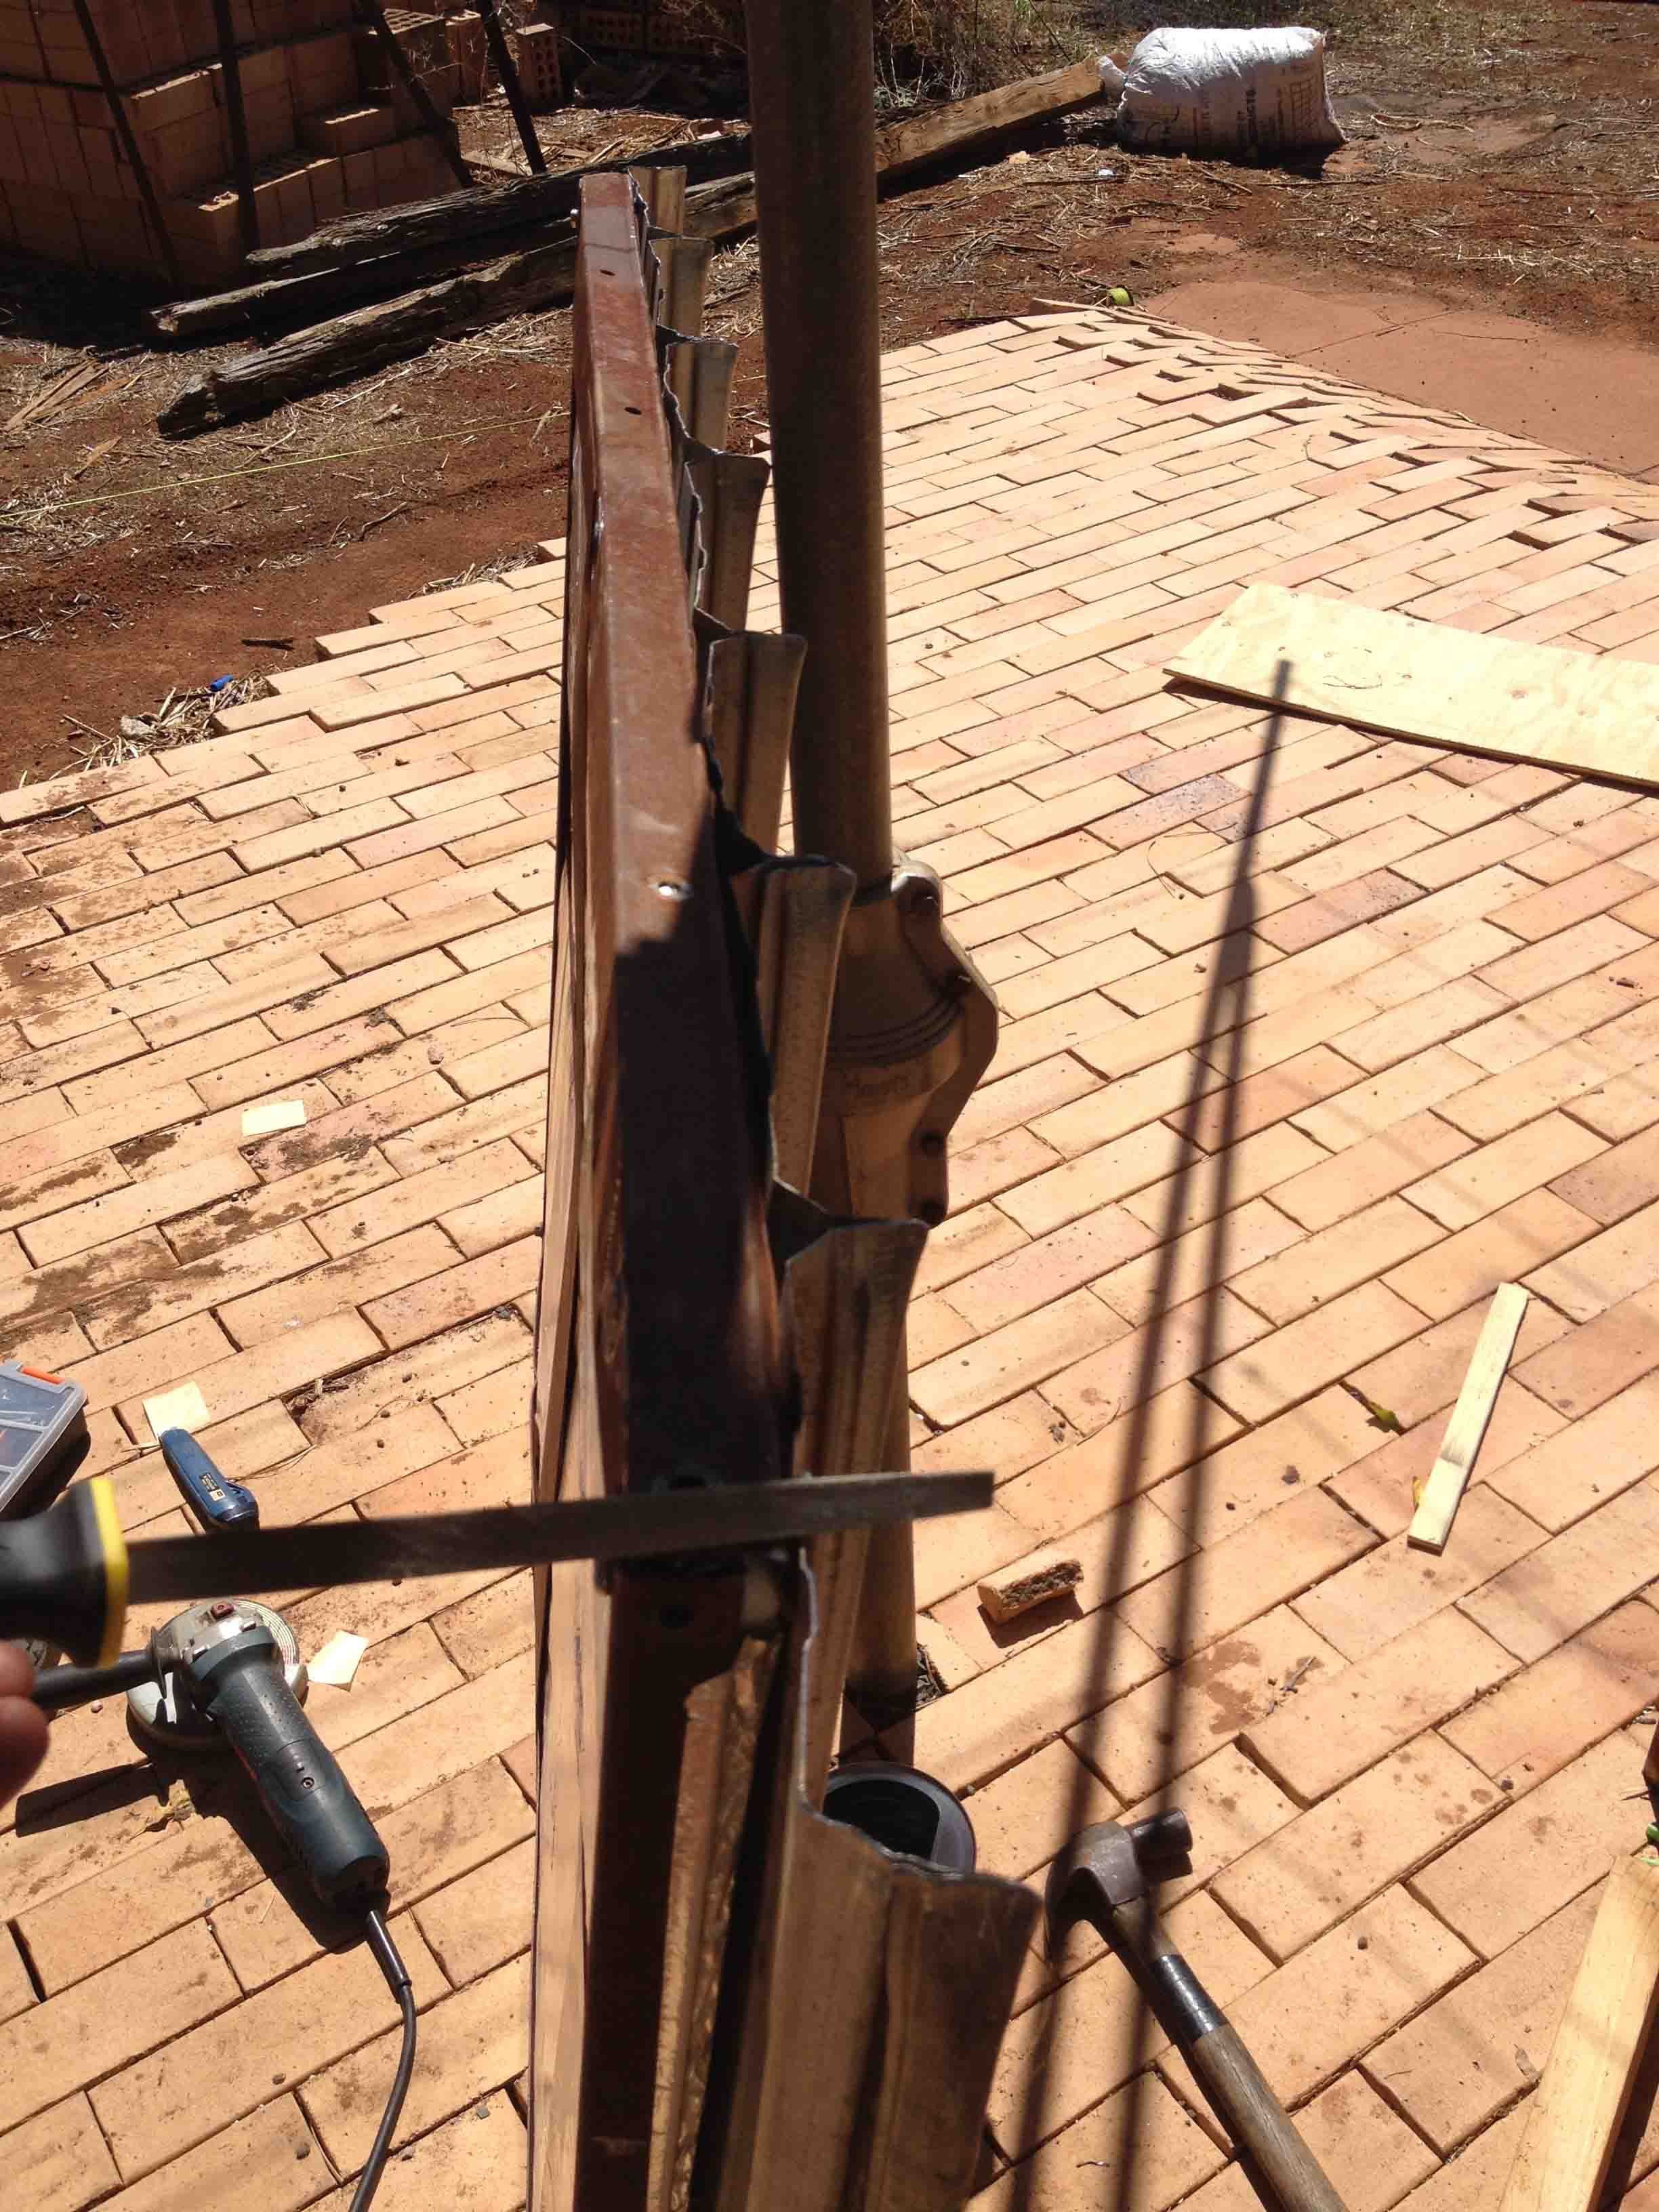
Beginnings of the roof stripped from a very heavy piece of the motorcycle crate.

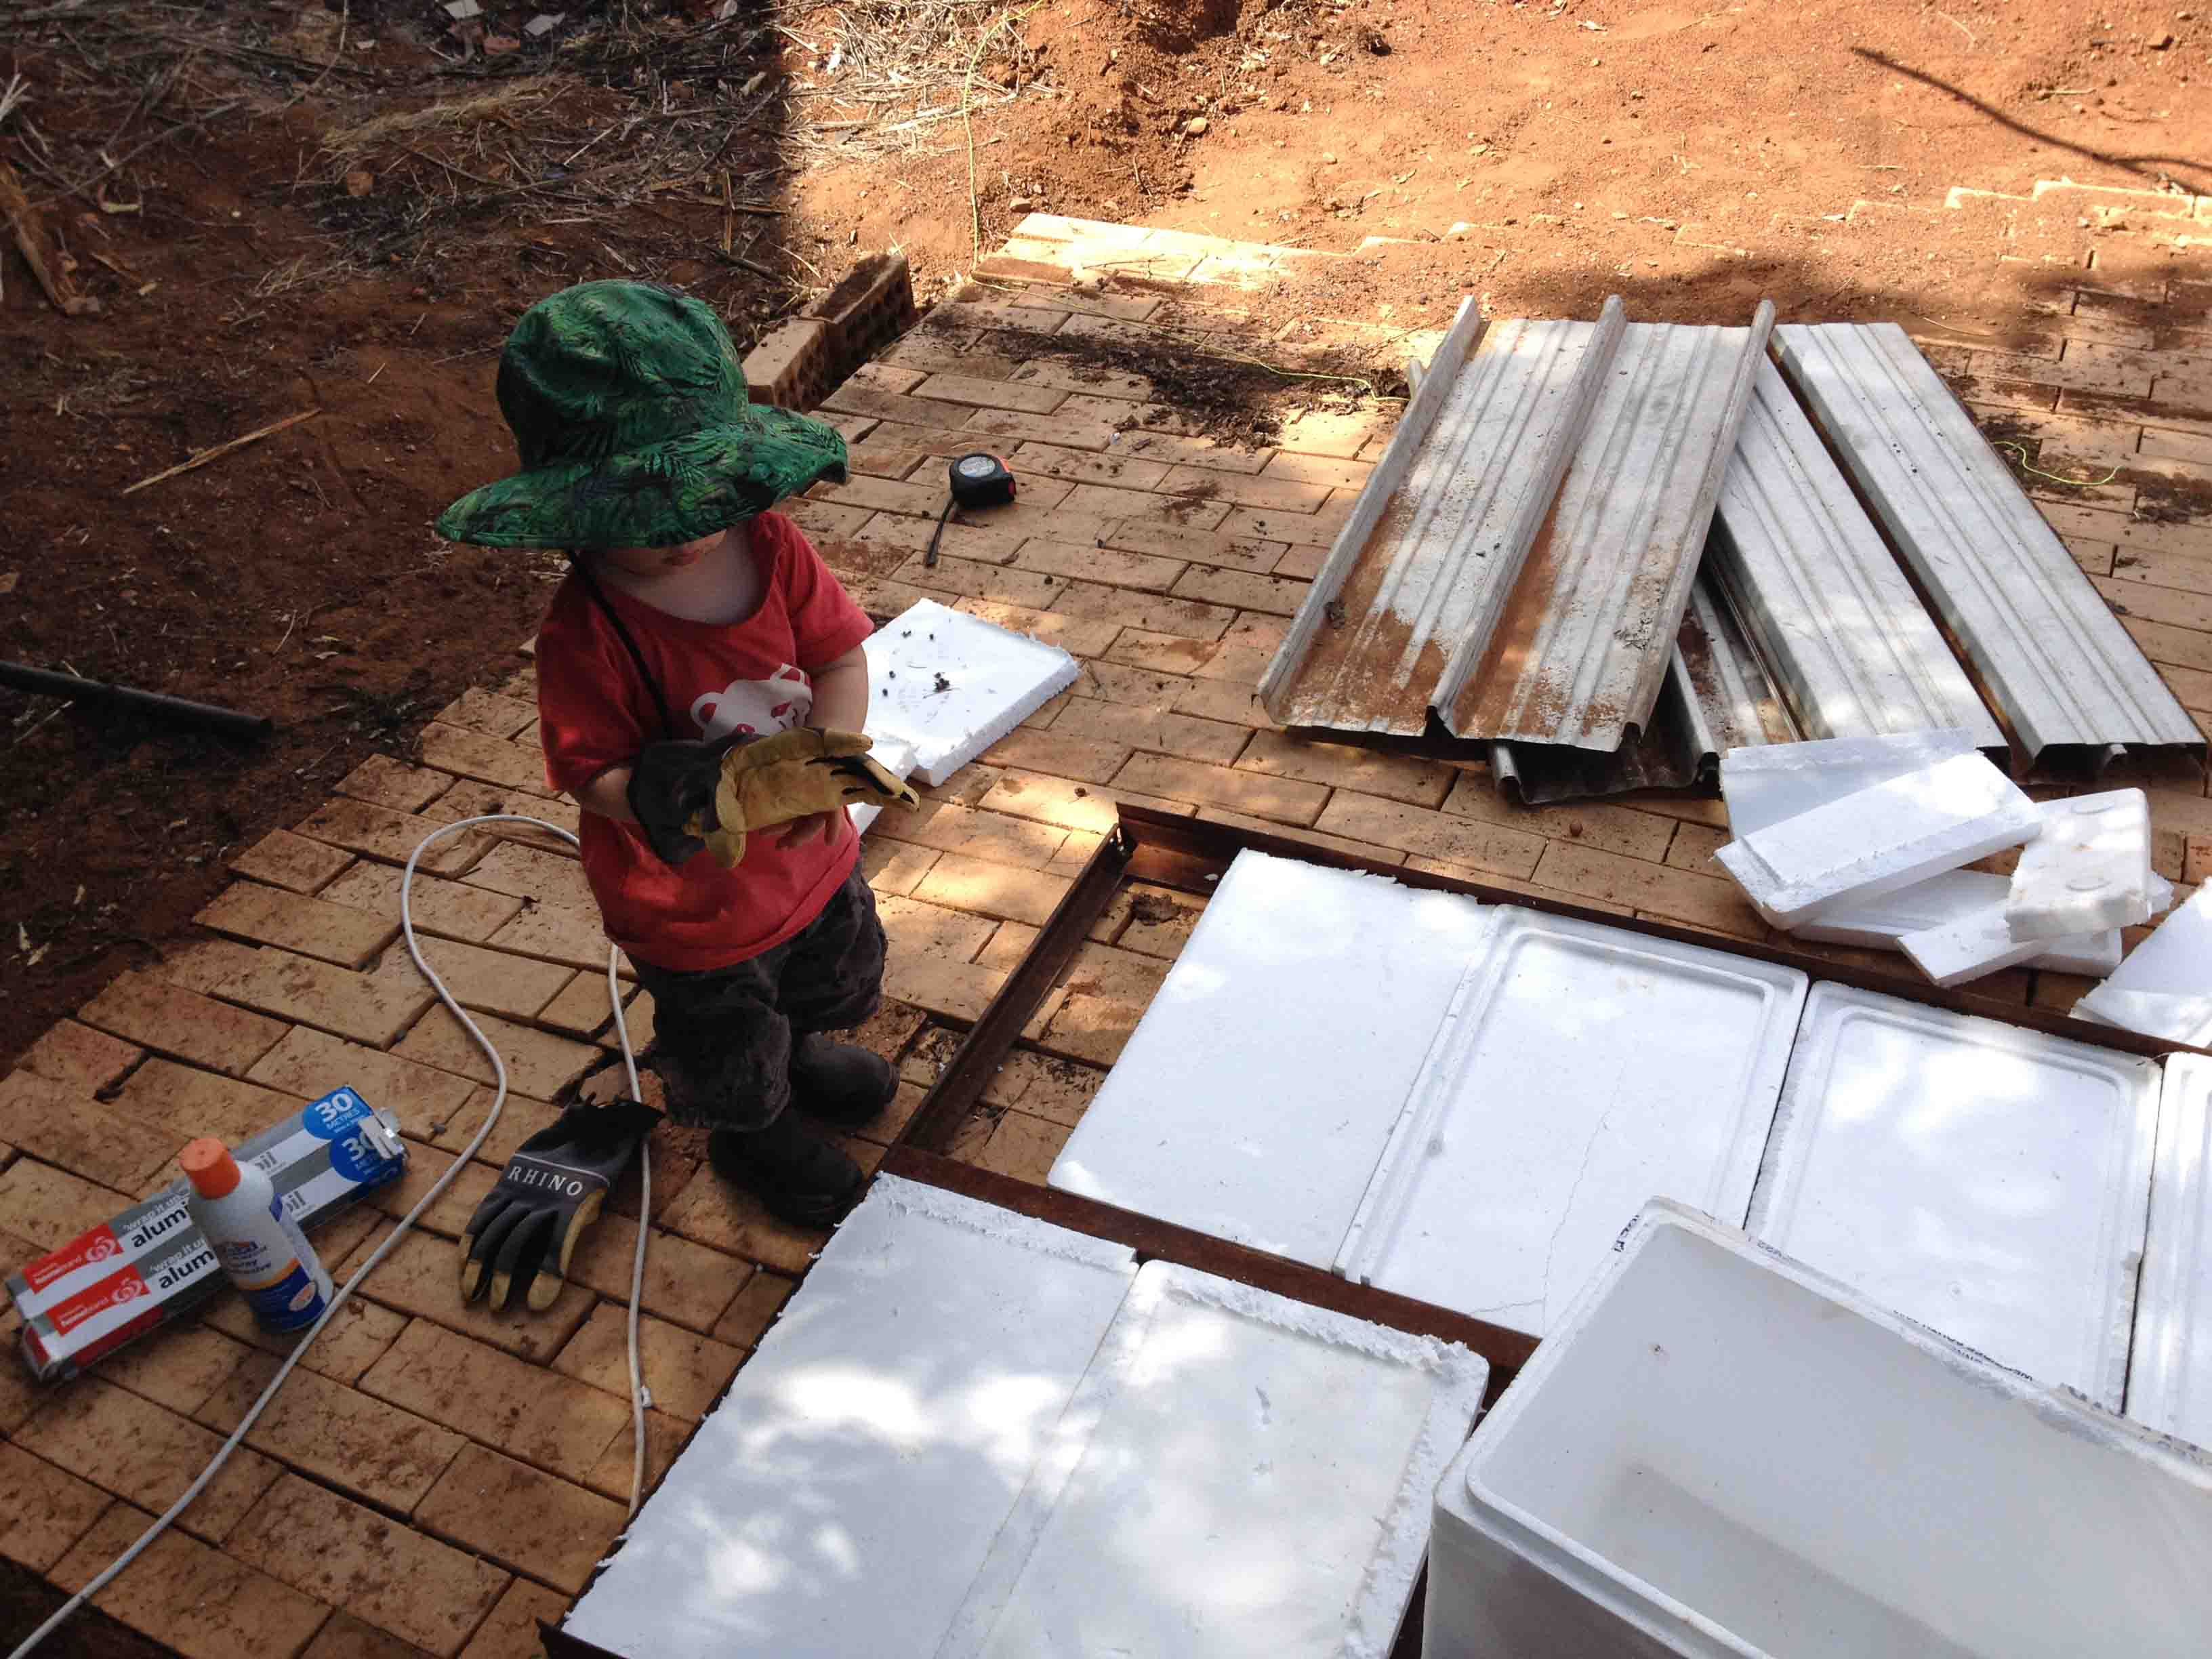
Edges attached, applying insulation with ‘help’.
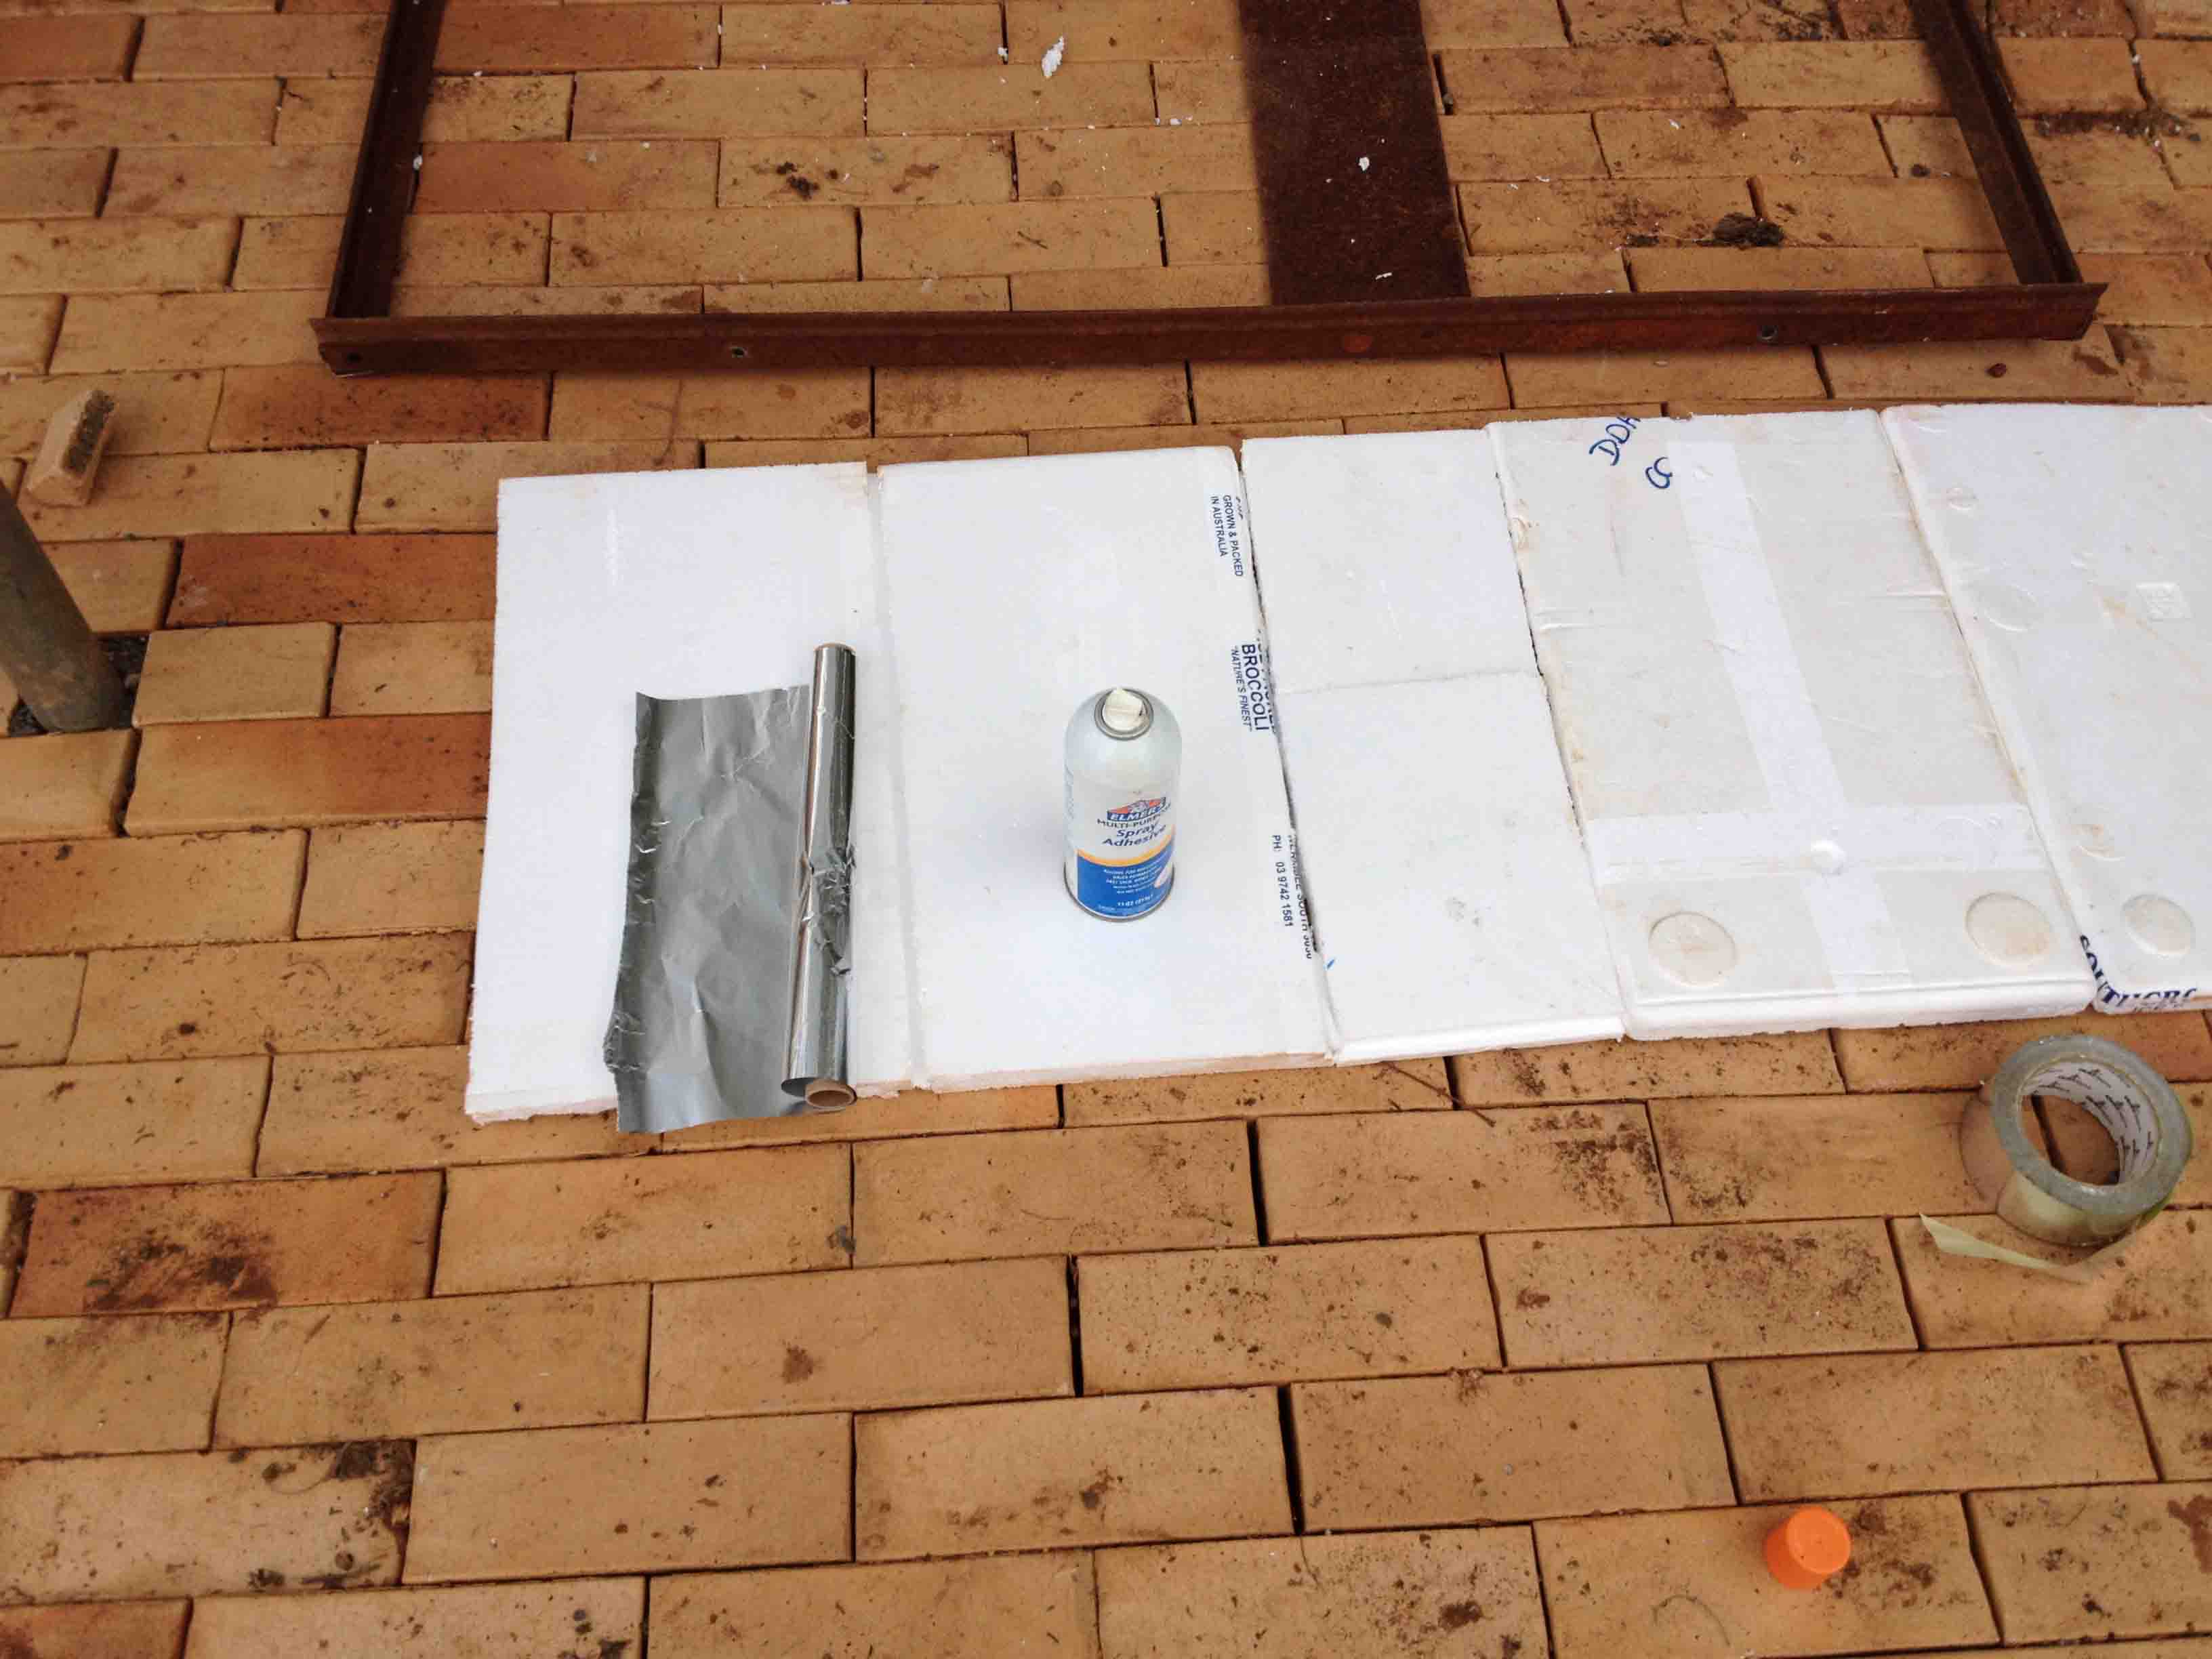
Locking the Styrofoam jigsaw in with aluminium tape.

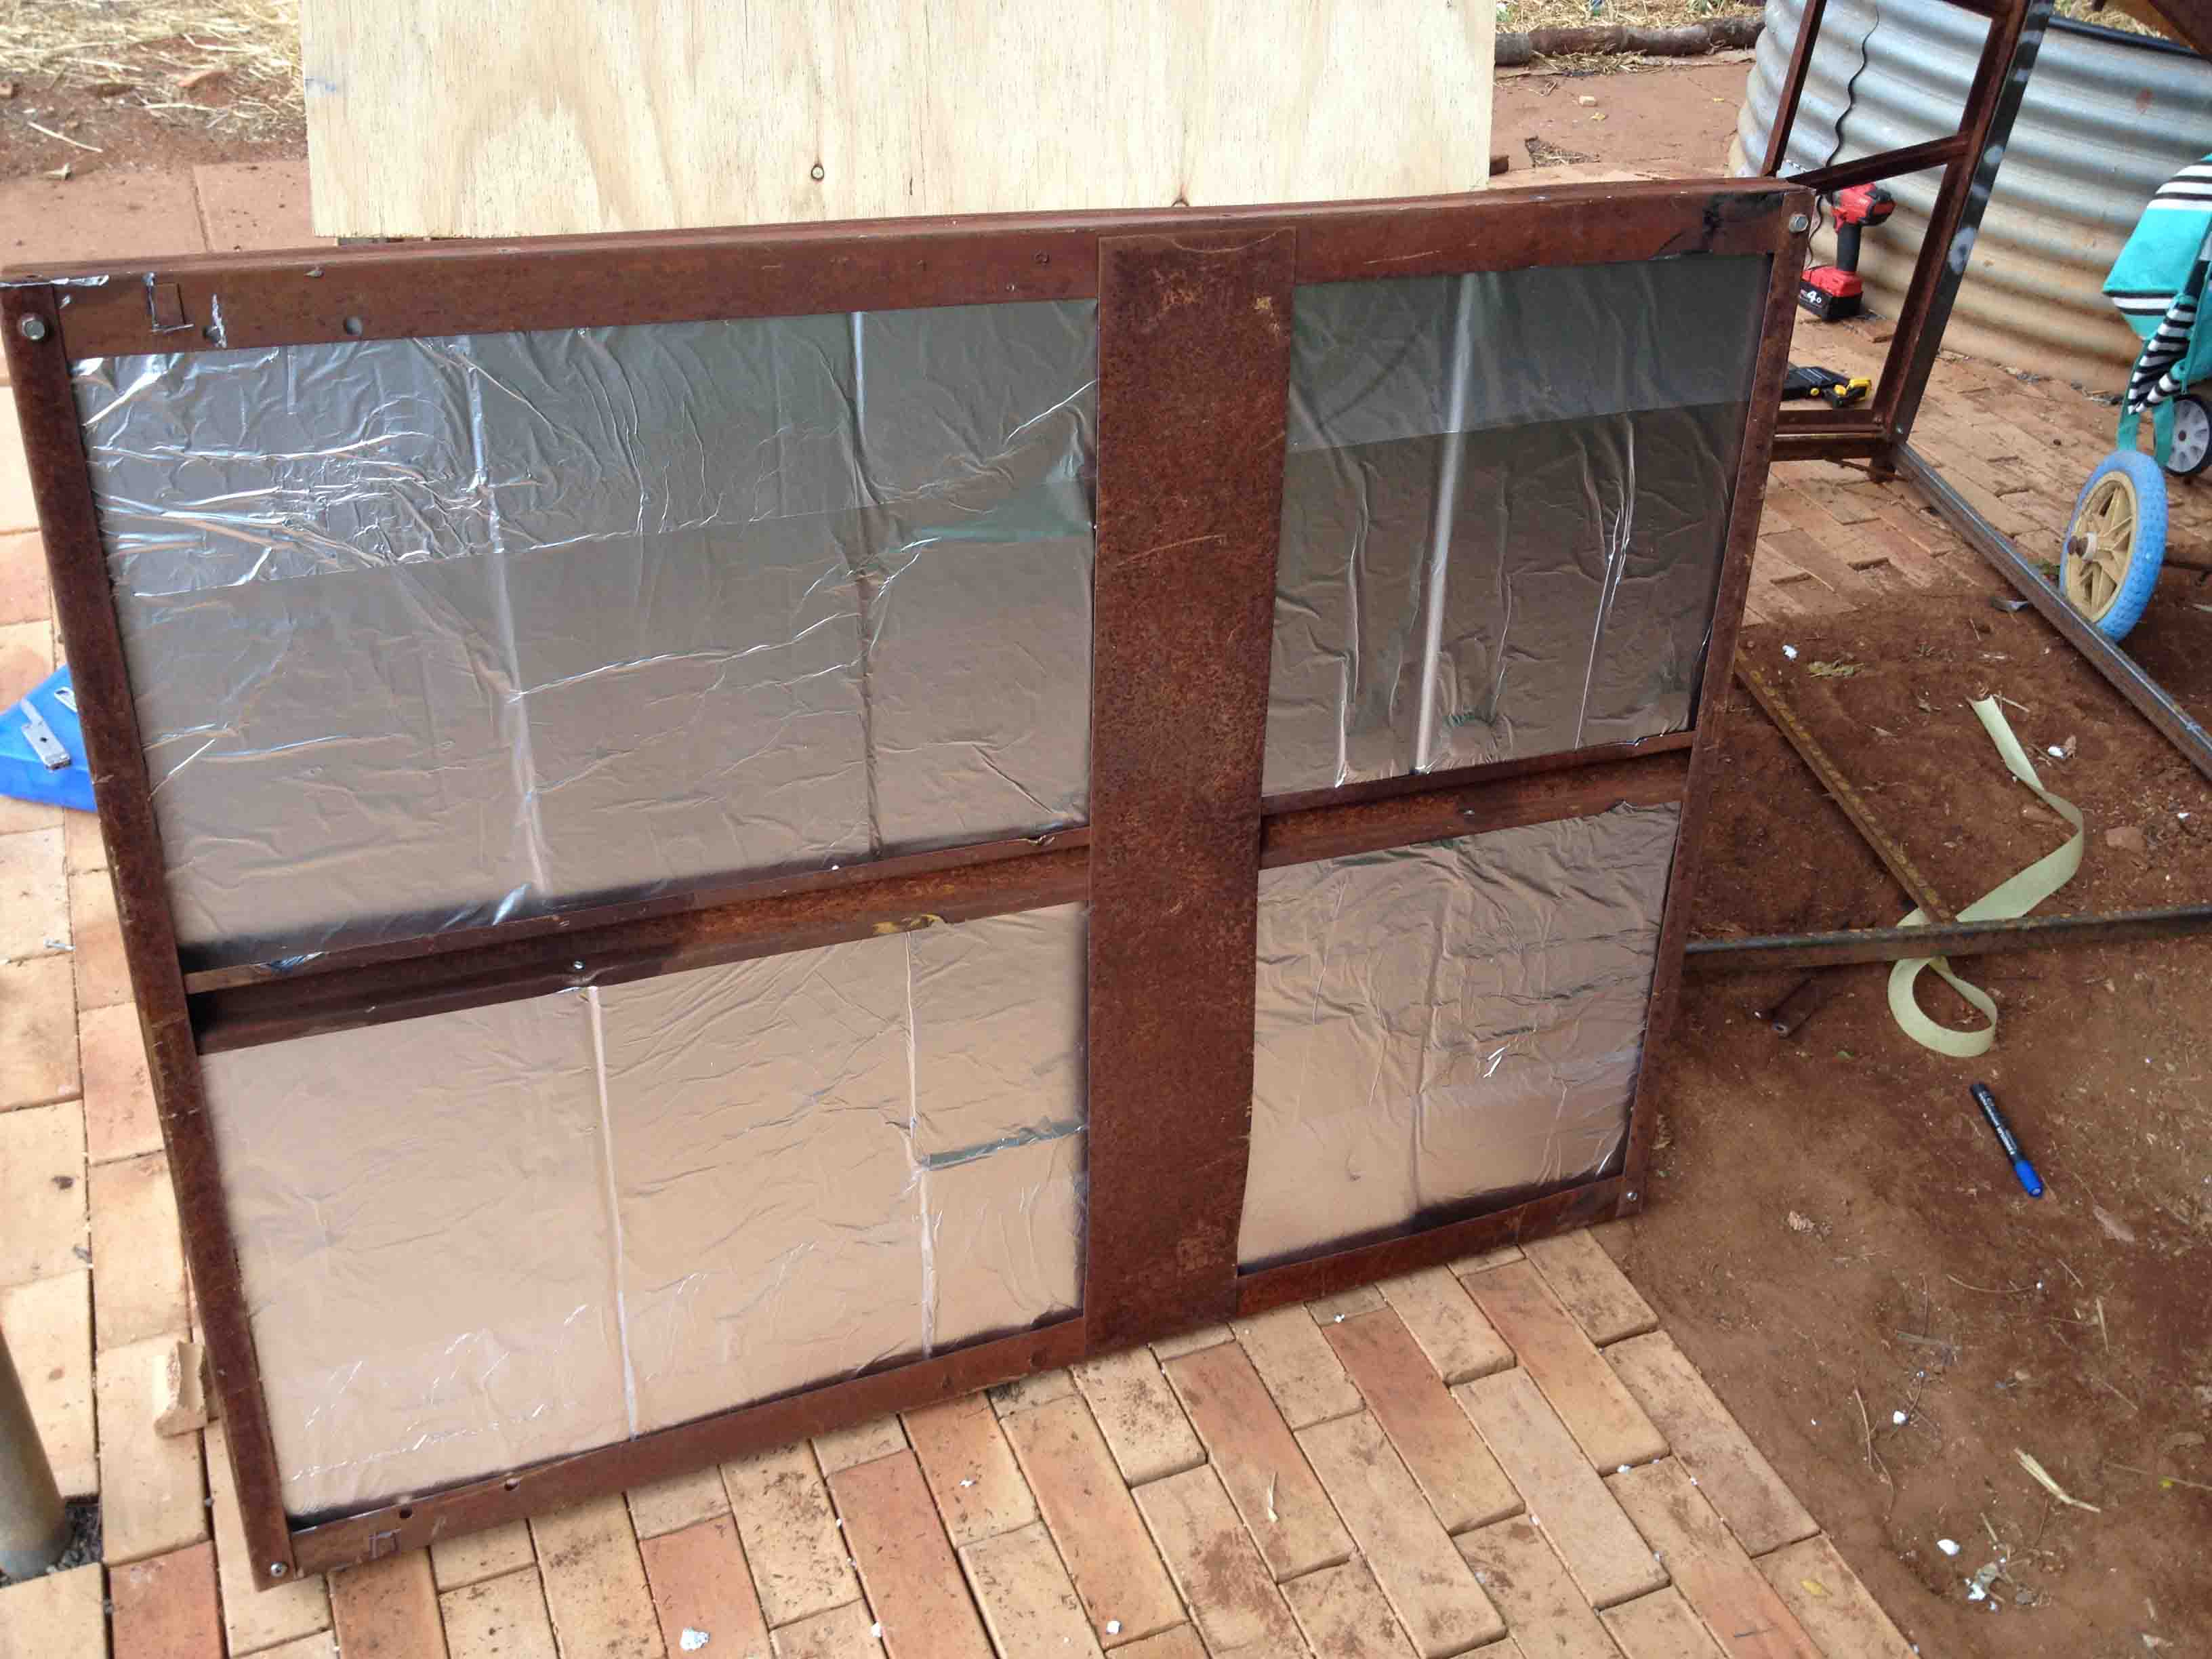
Coating the underside in foil.
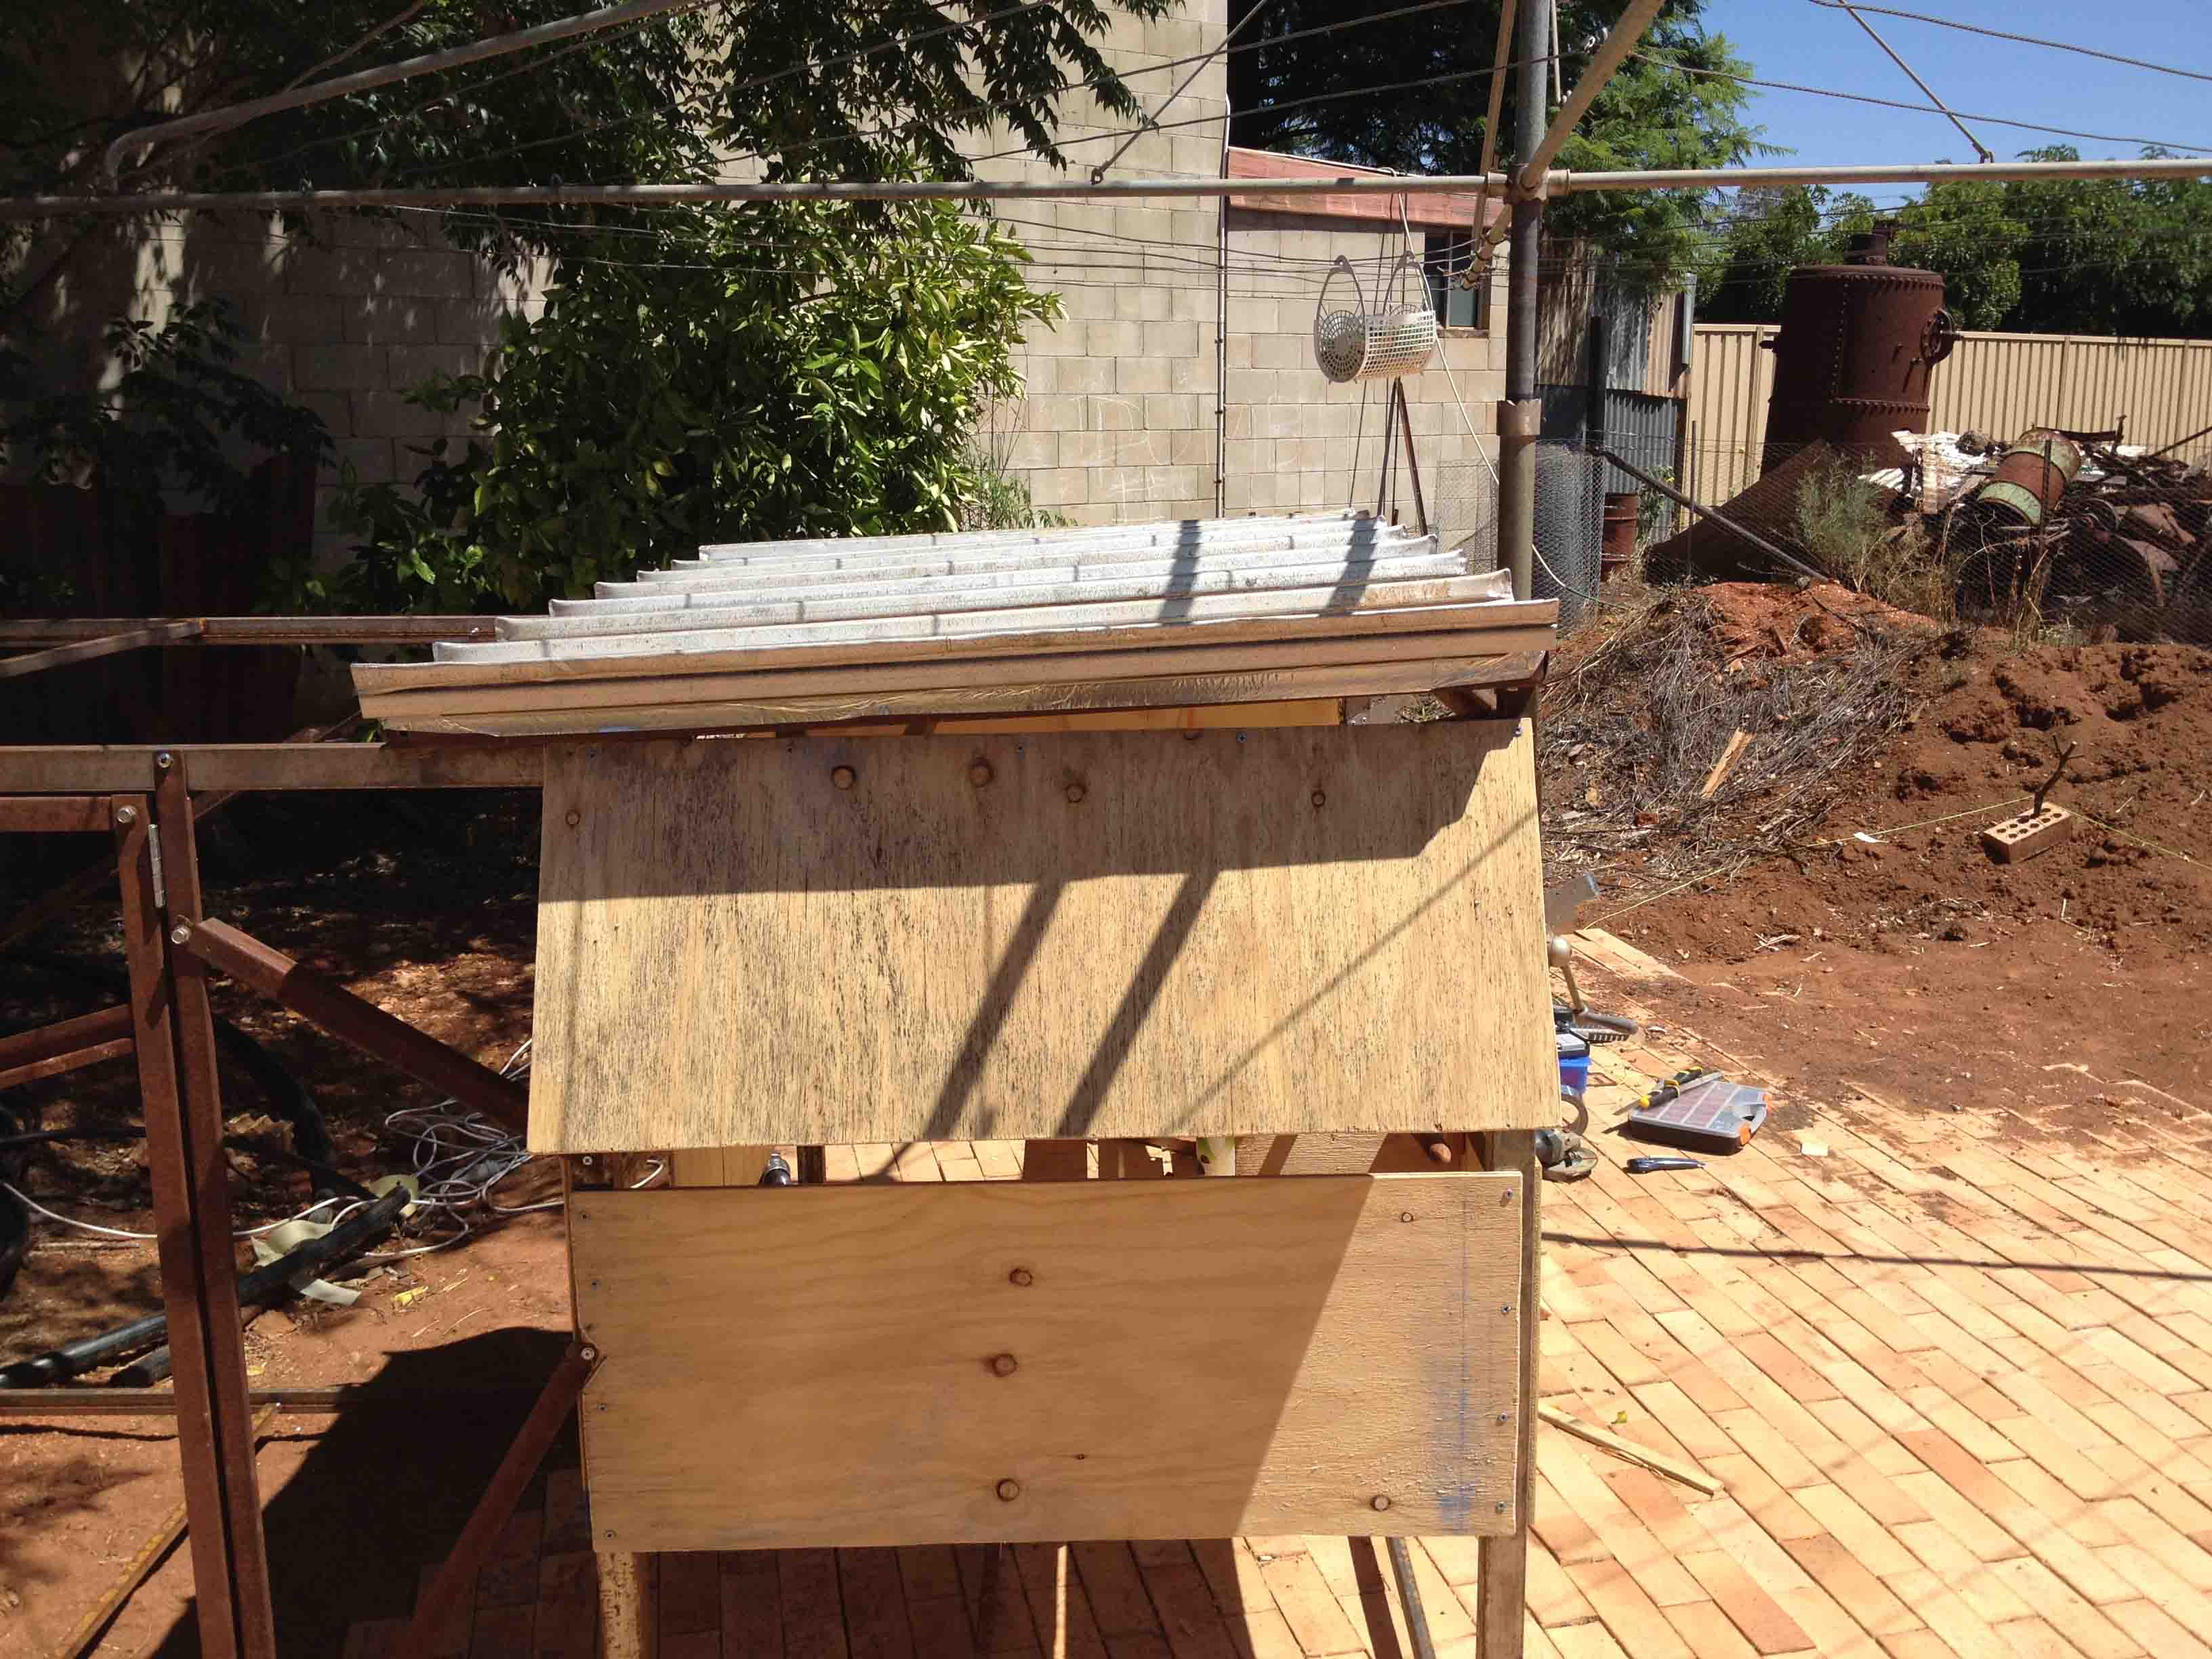
Ready for roofing.
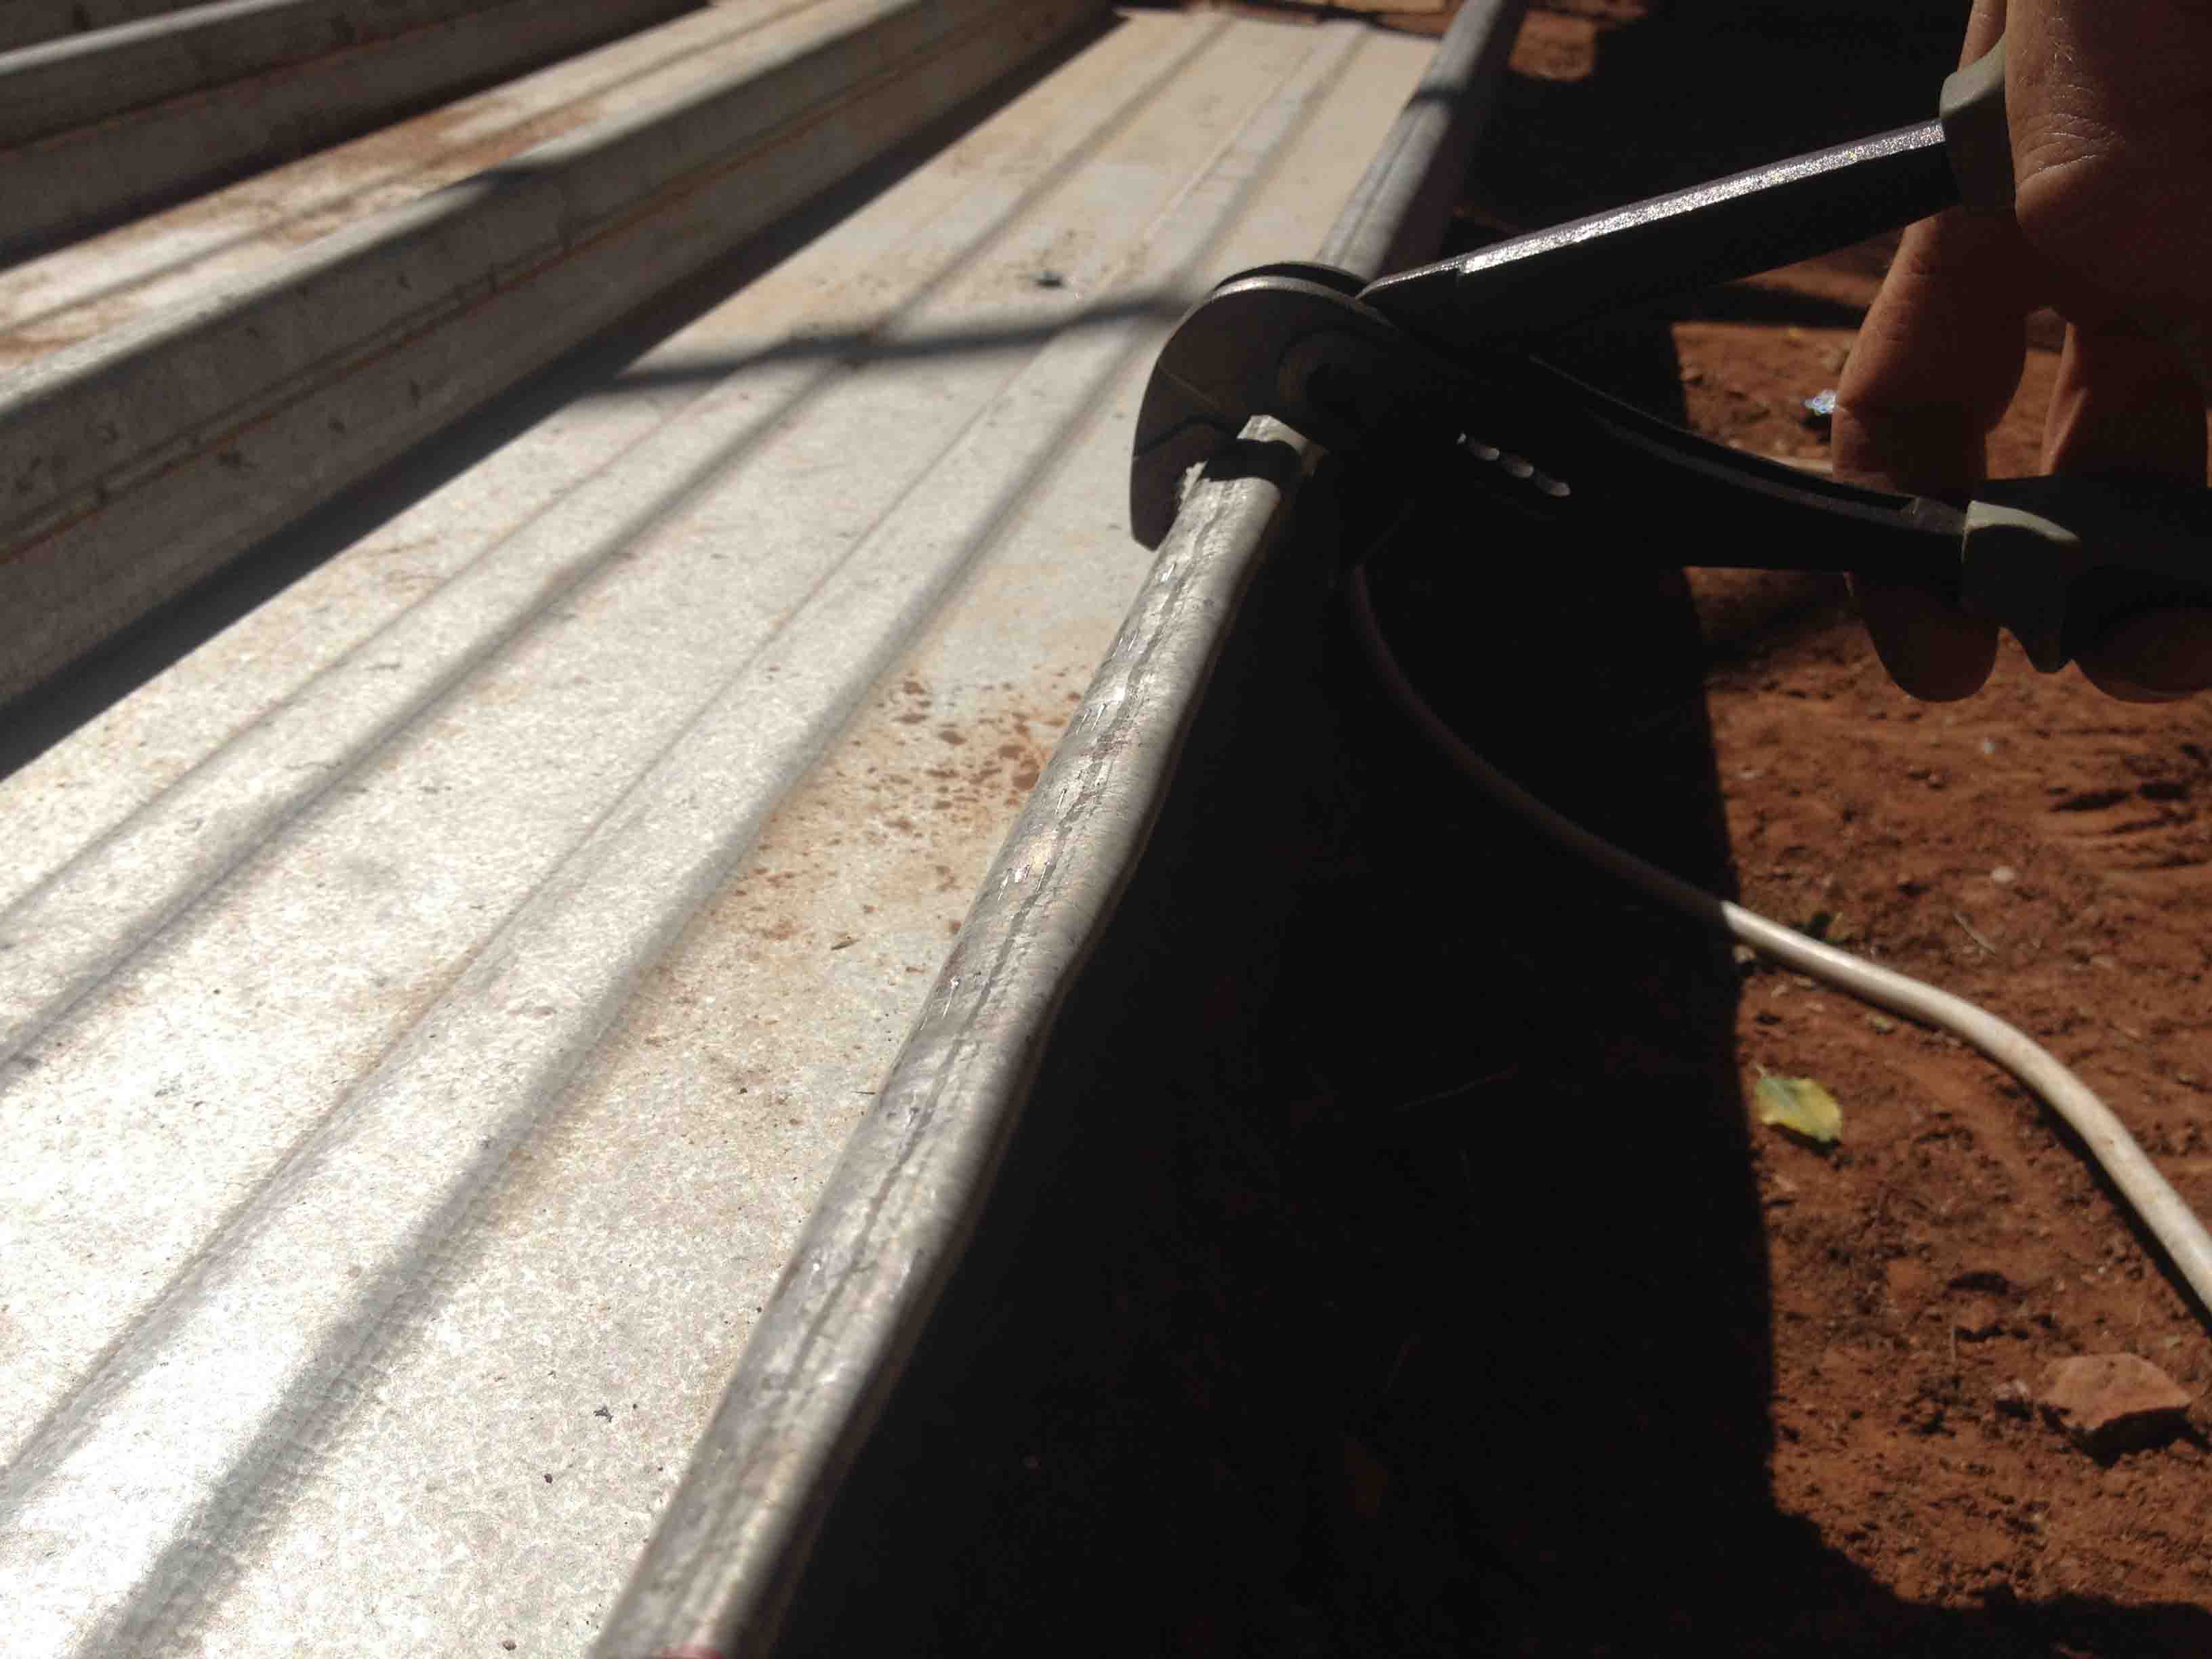
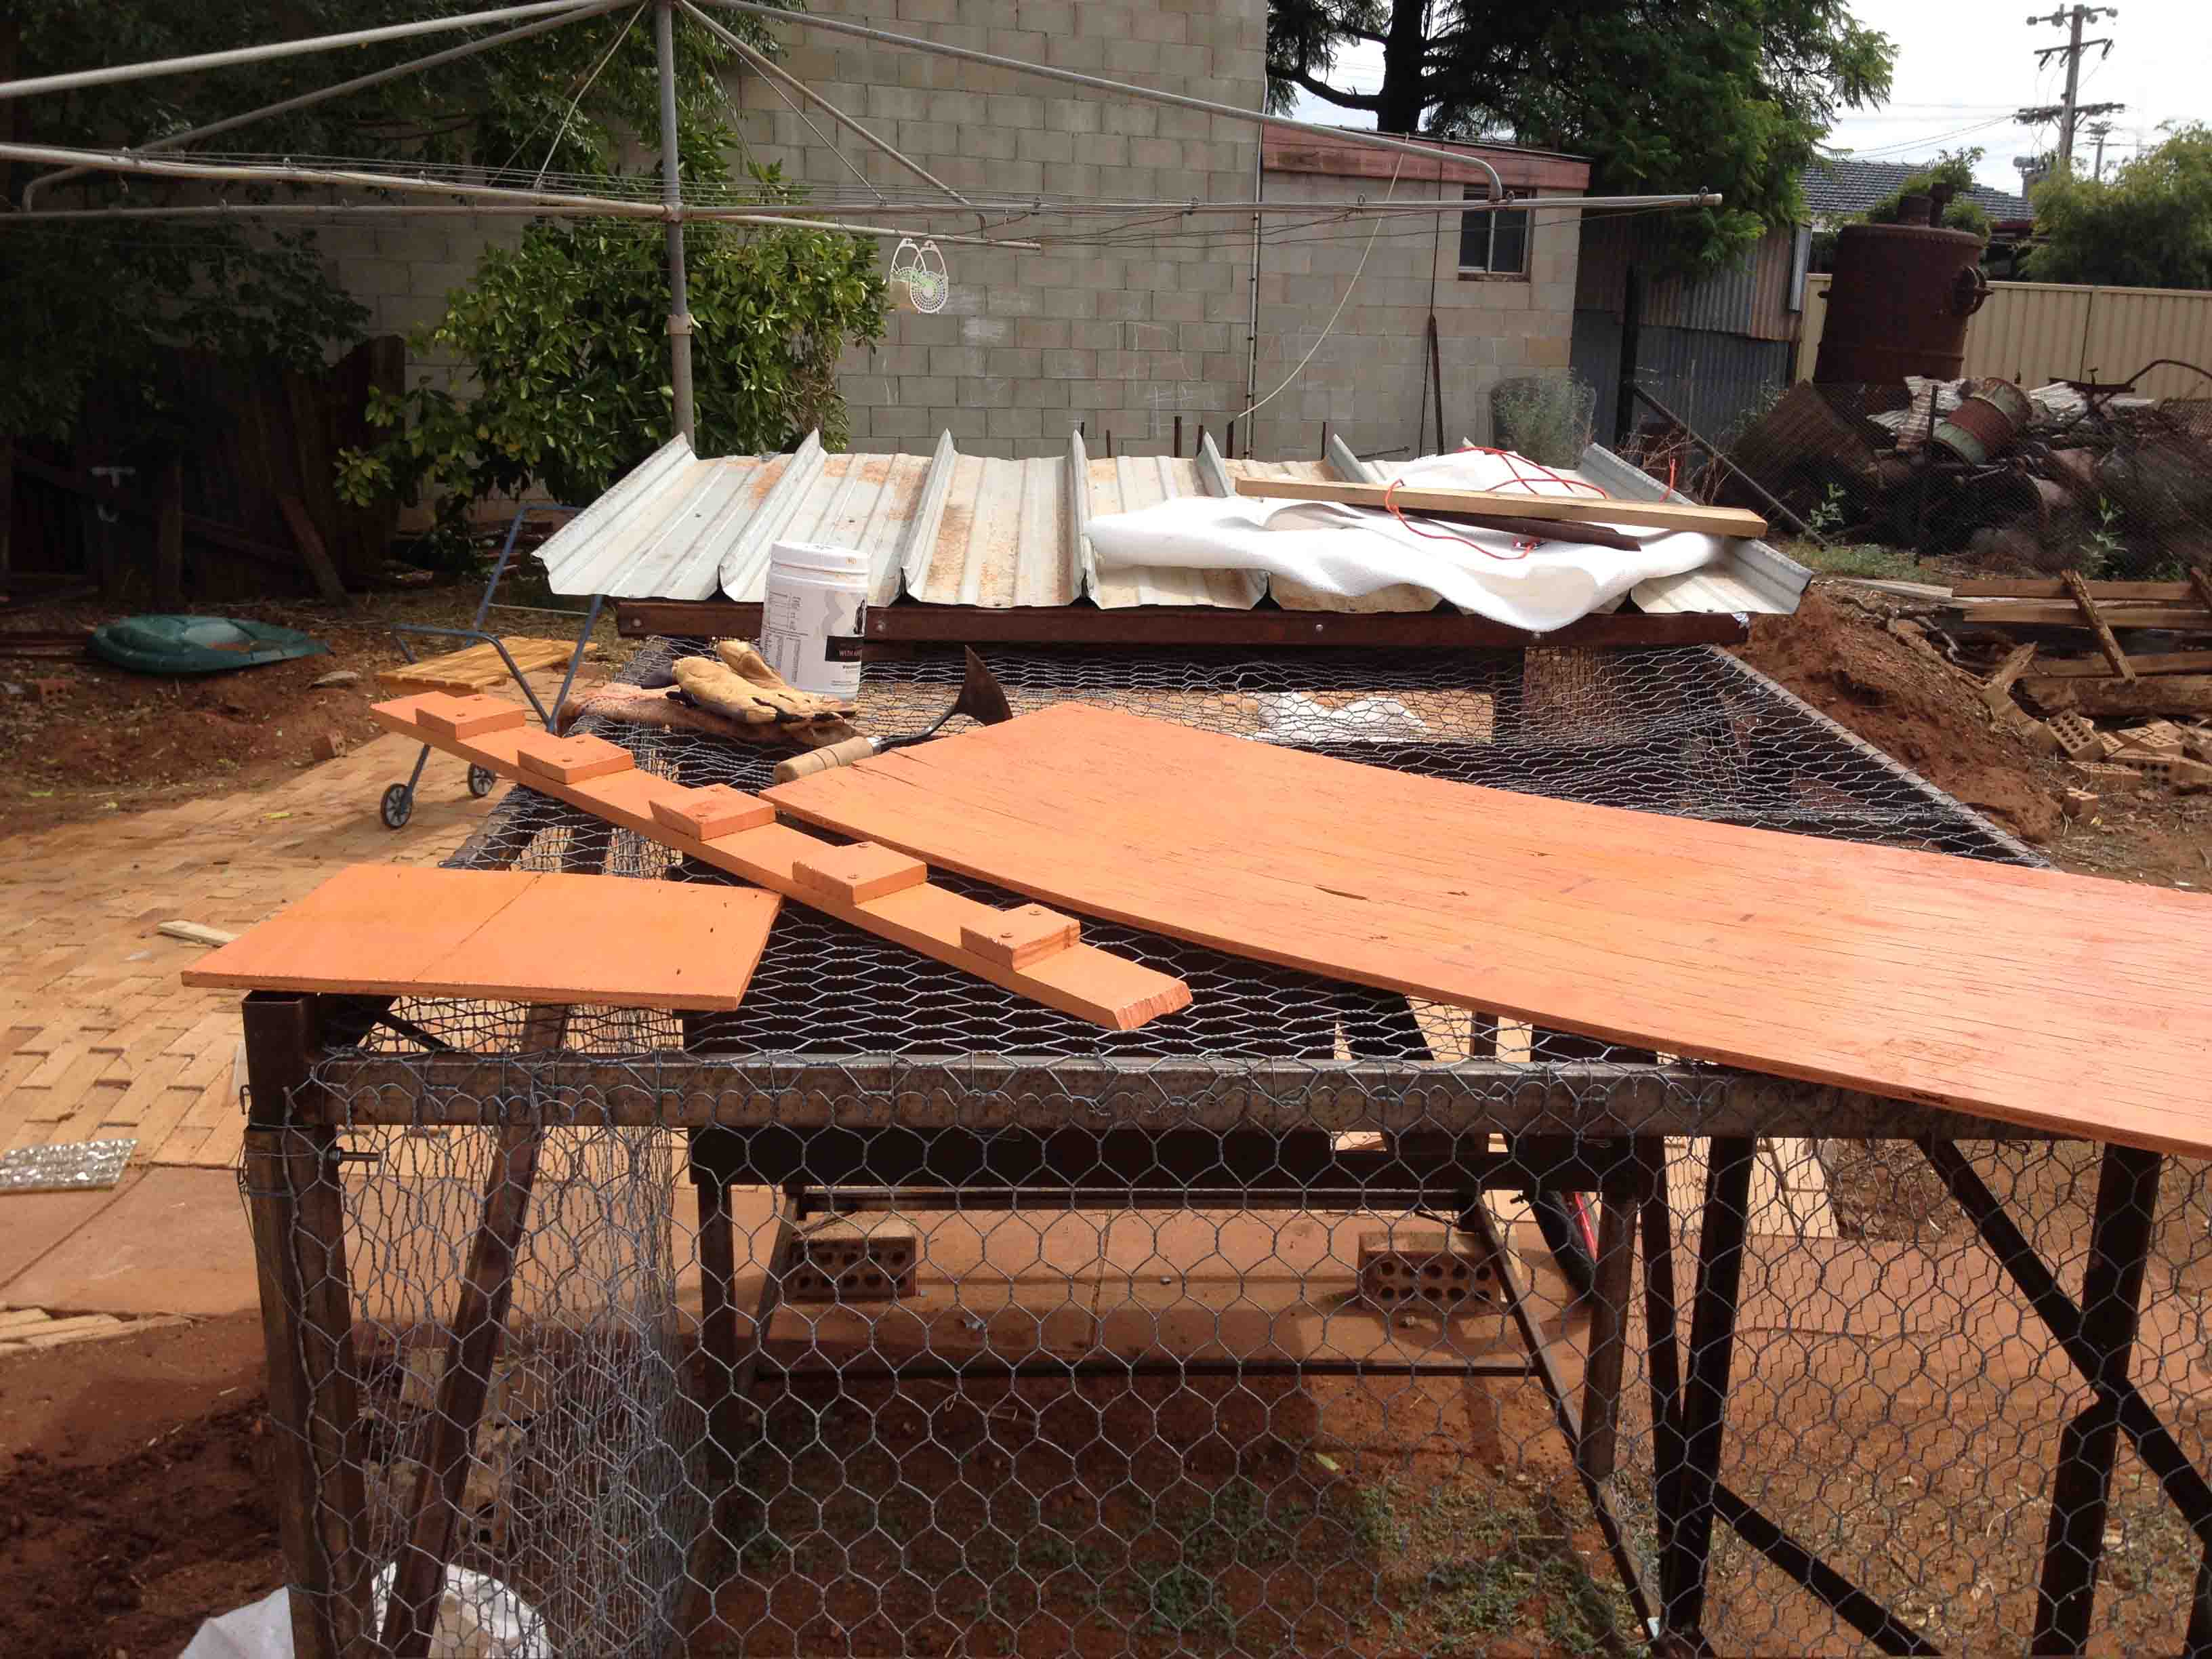
Scrap roofing iron from among the debris cut with a hand angle grinder forms the cover.

Lots of sharp edges to deal with.
Sitting in place.

A tiny ten minute tease of rain stained and warped some of the ply.
Roof hinges on.
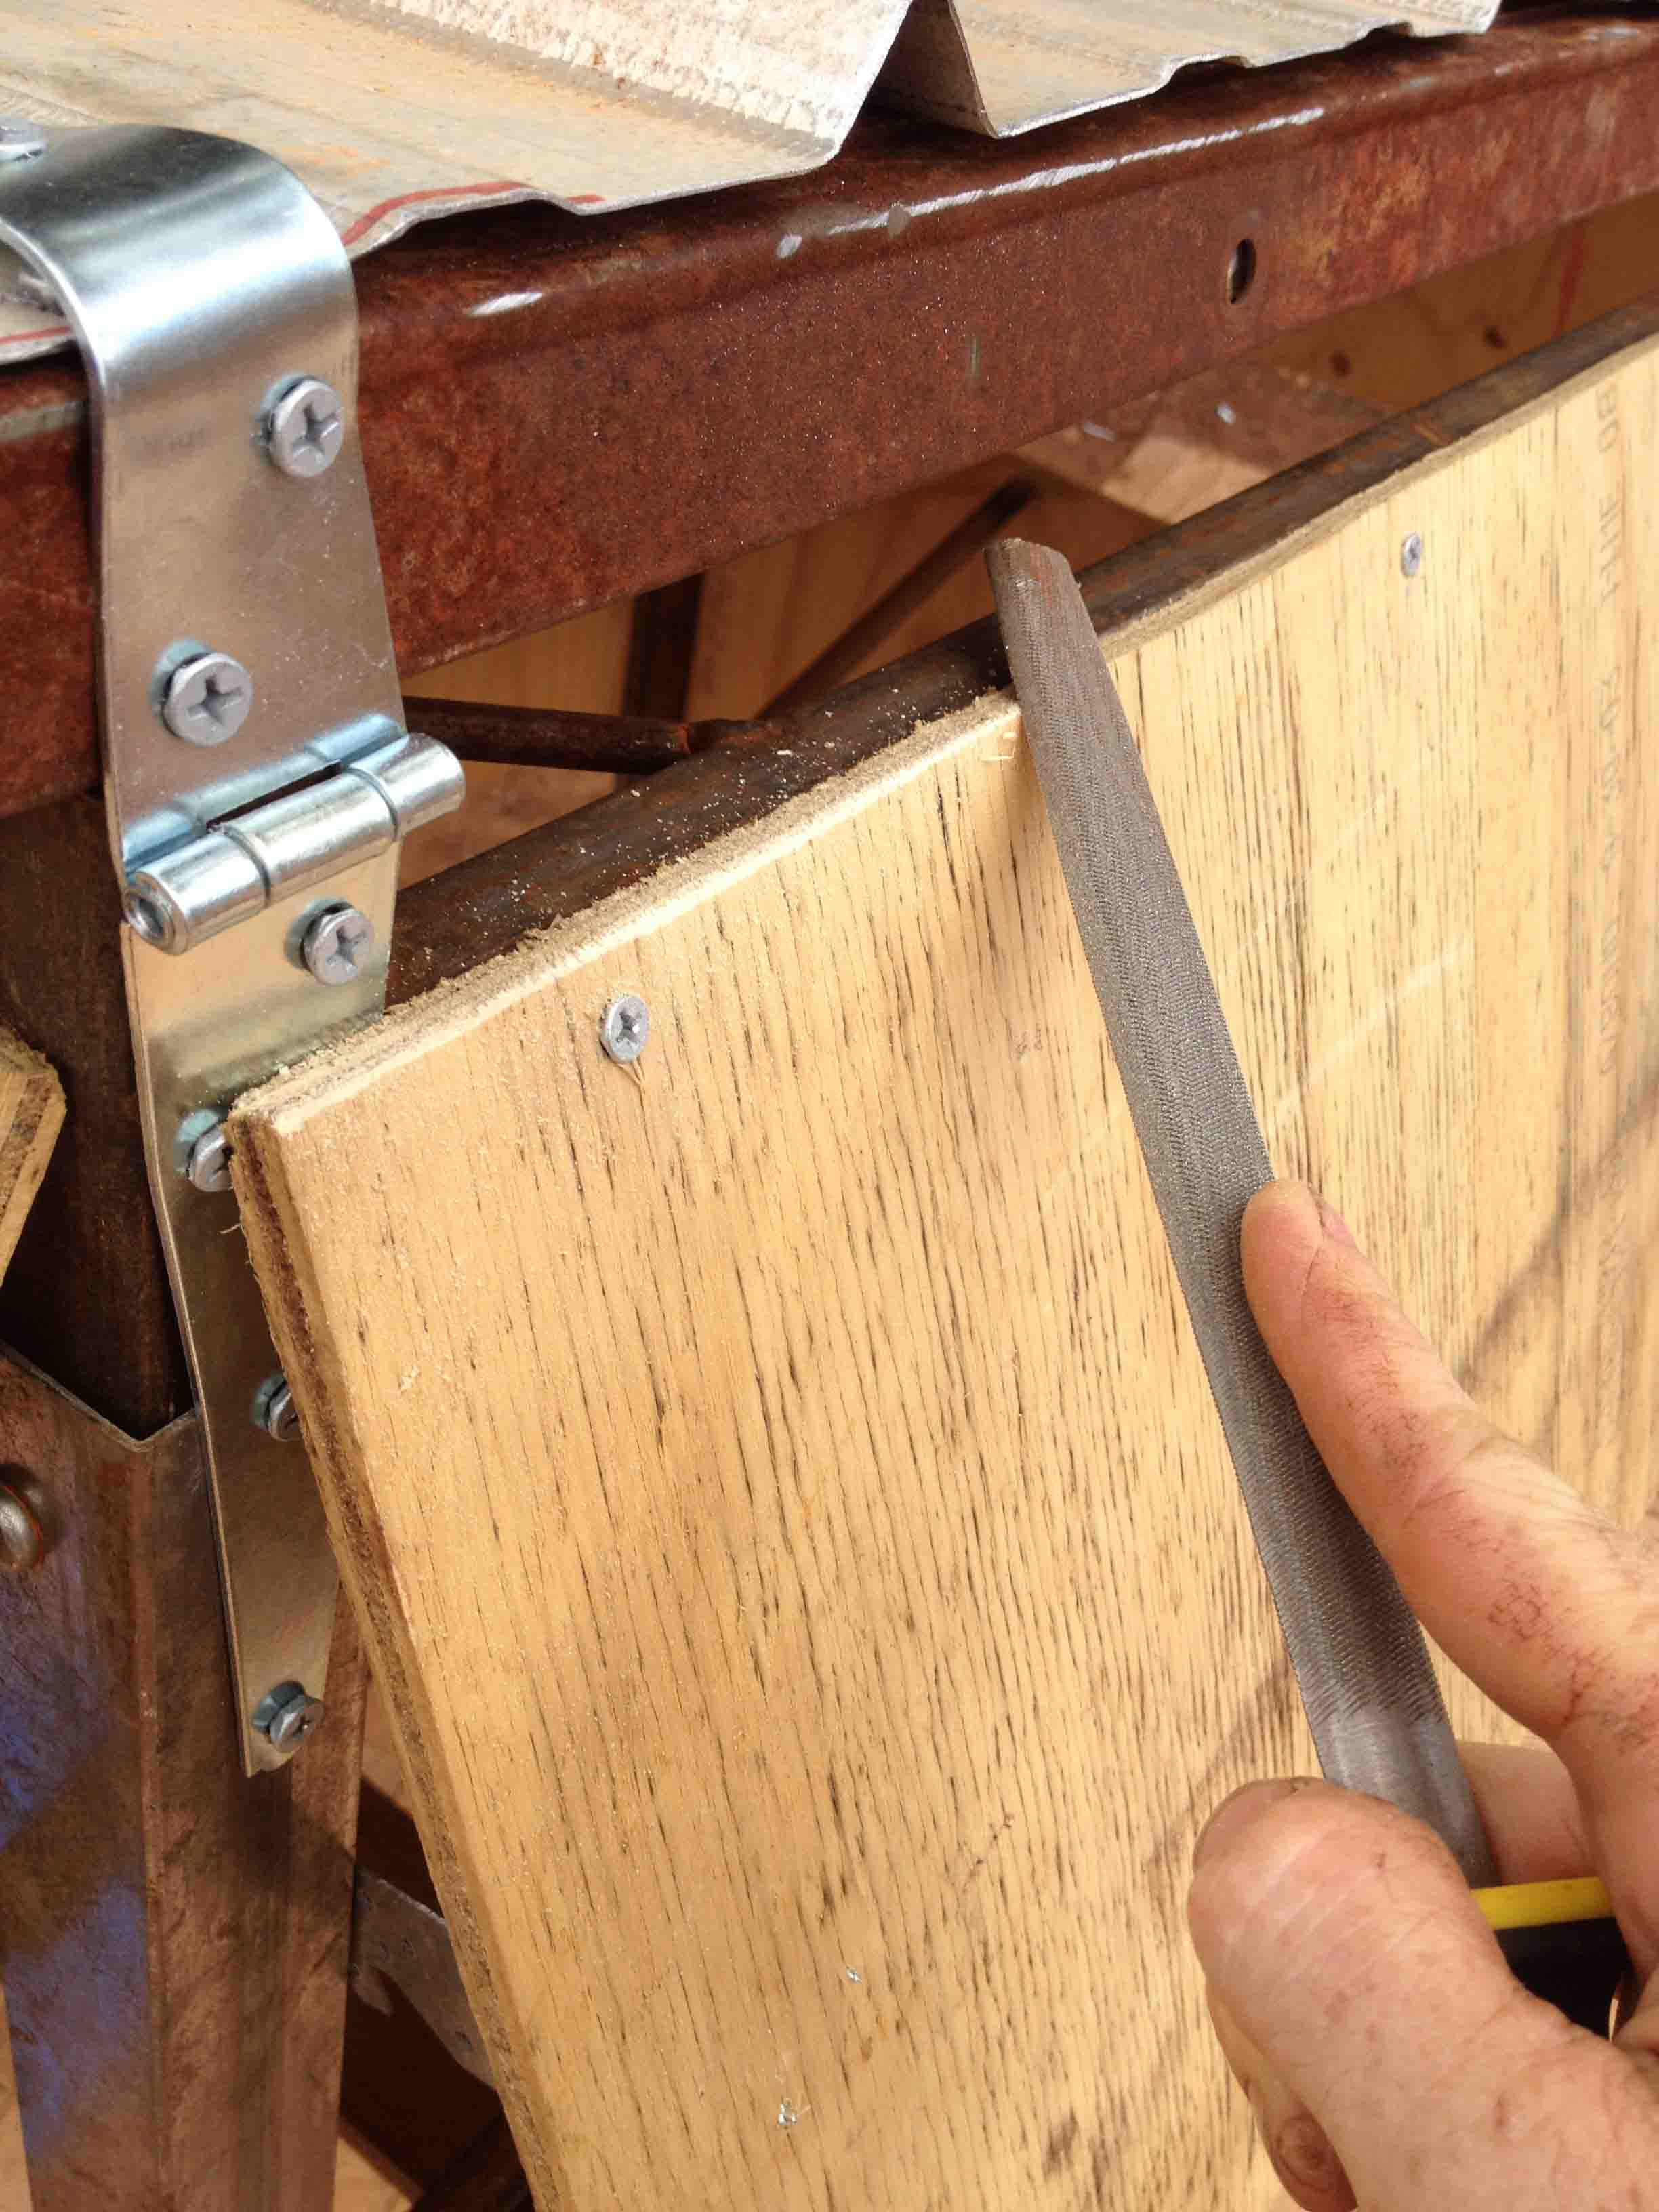
Cleaning up timber edges prior to painting.
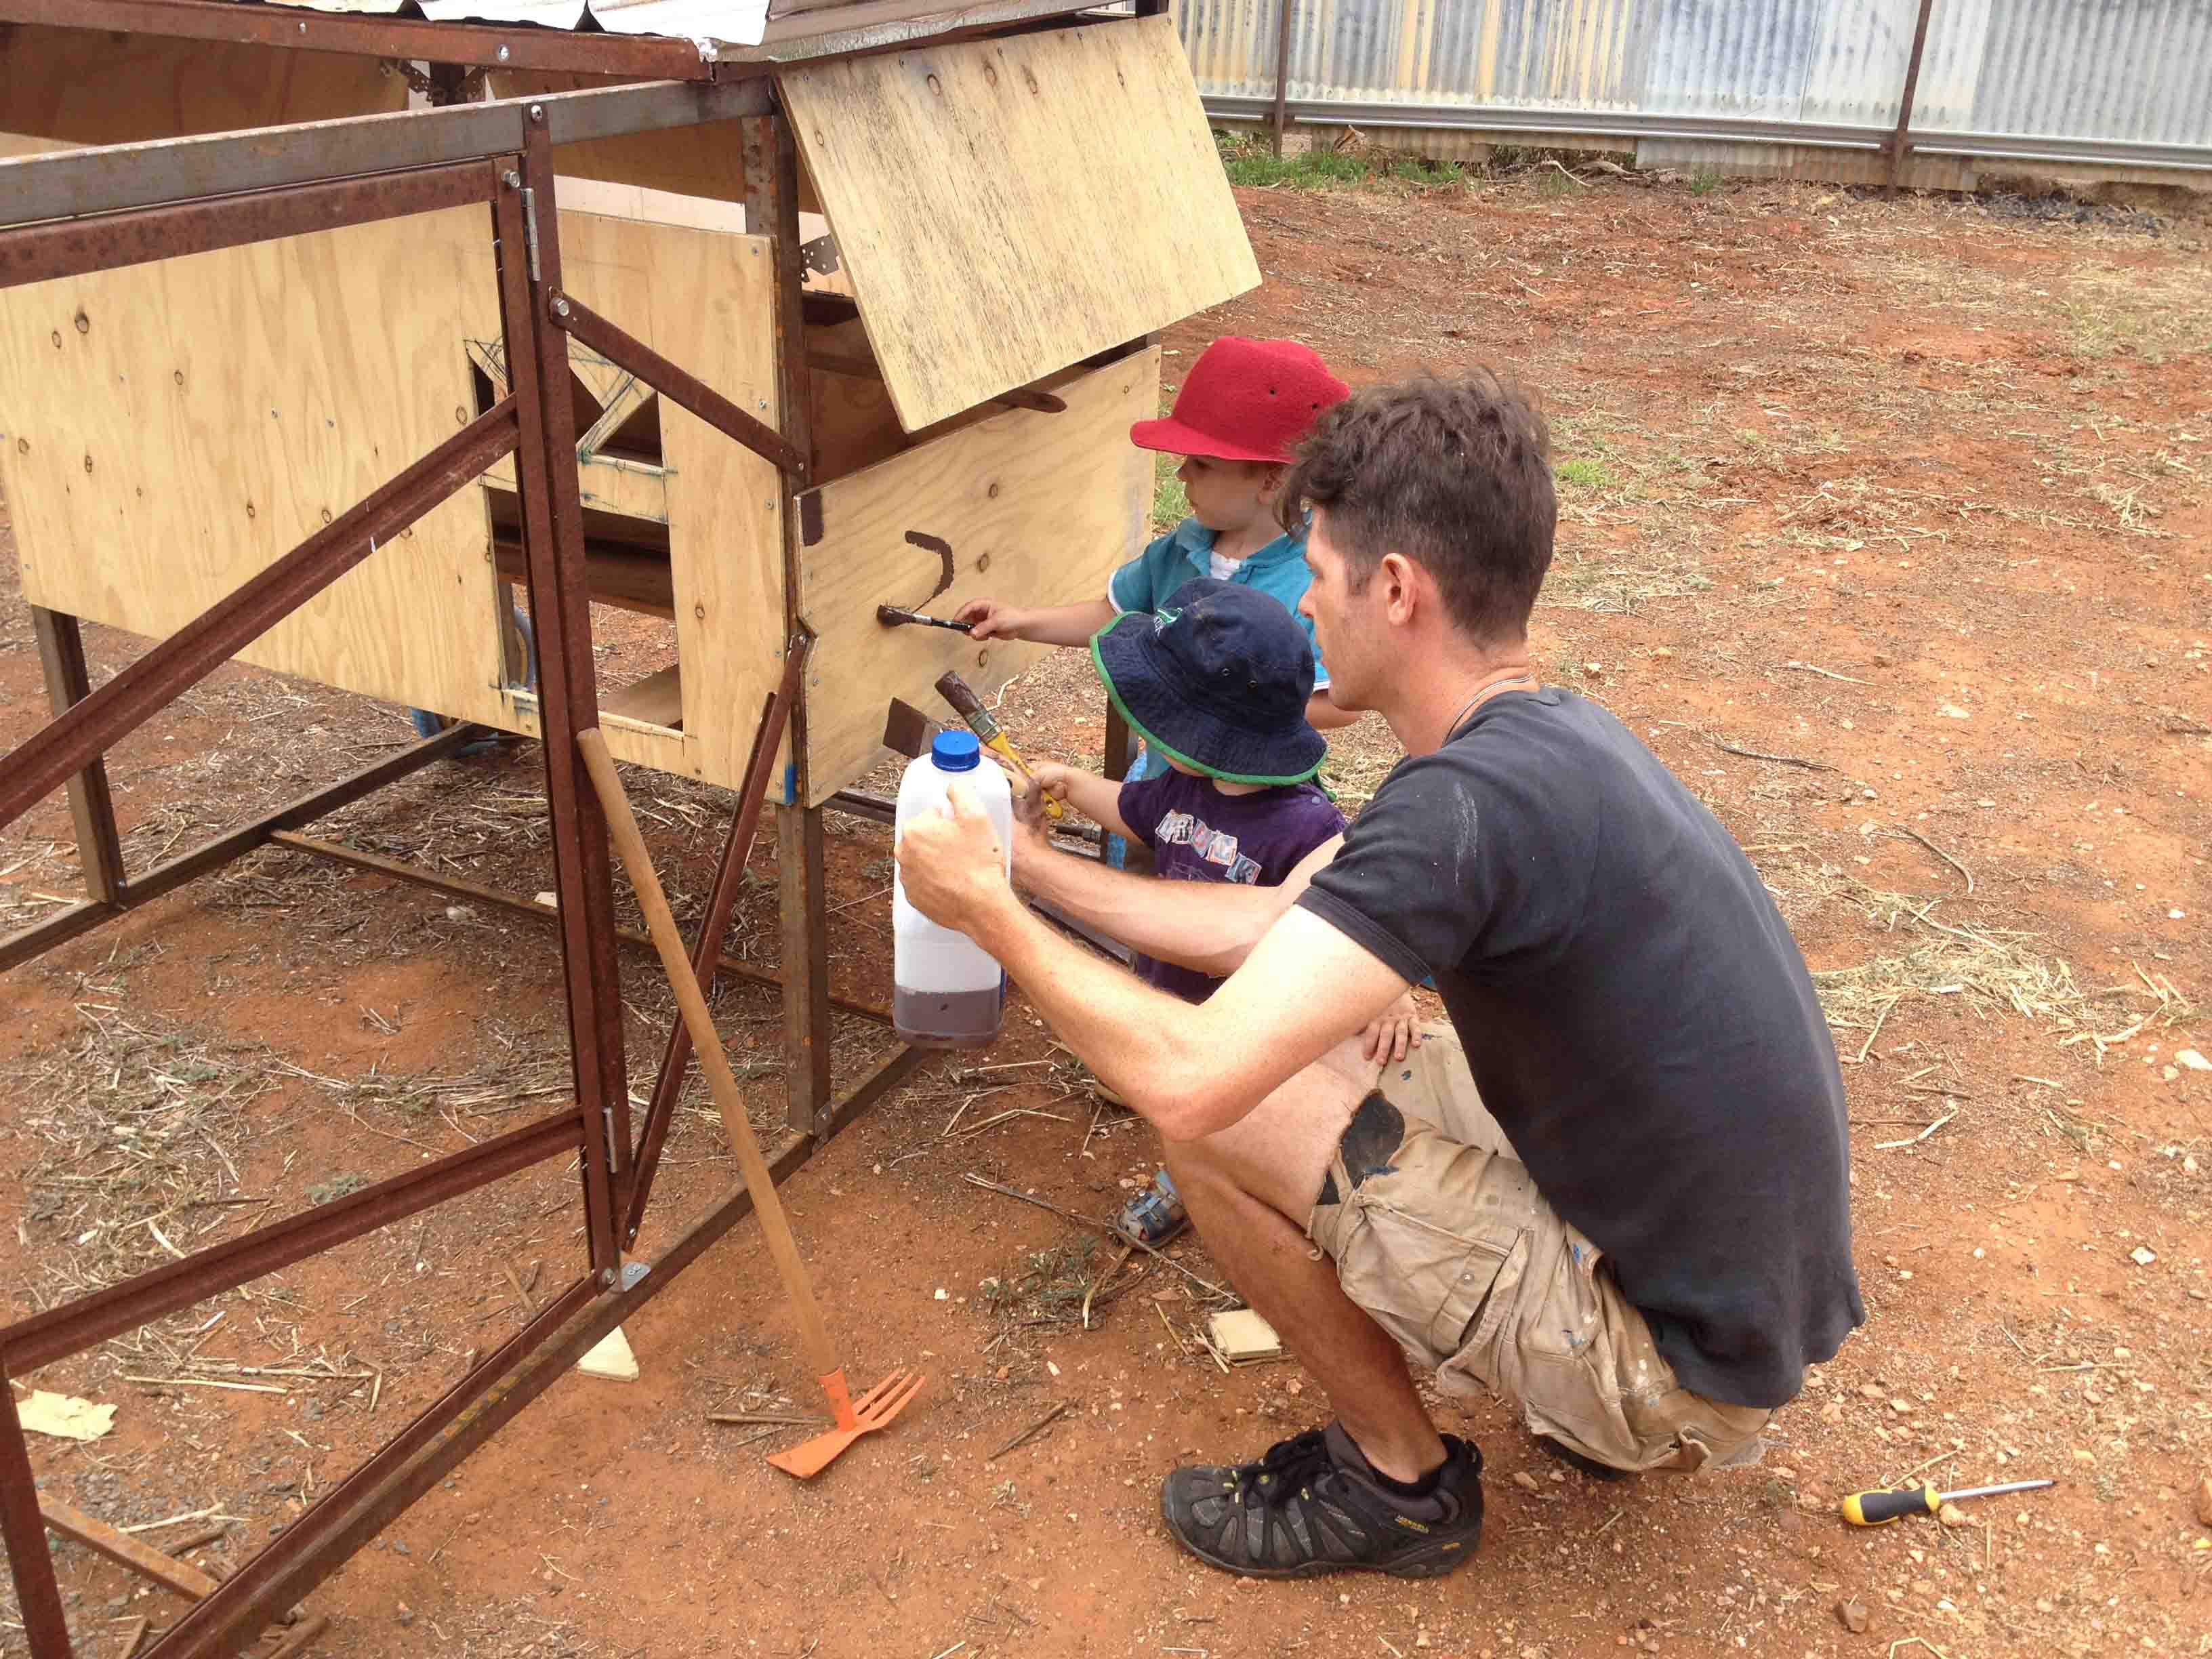
Everyone helps paint, while the enthusiasm lasts anyway. Free paint is the best paint.
The best wheels found up until this point die under pressure. I was hoping they were solid rubber as there was no valve visible. Not to be.


It takes two more trips to the tip and a lot of trial and error to find better replacements. In the mean time wiring began. Using off cuts and old crumpled spare pieces from the farm this was frustrating and slow work. Compounded by the fact that we were having great difficulty finding someone to sell us point of lay hens.
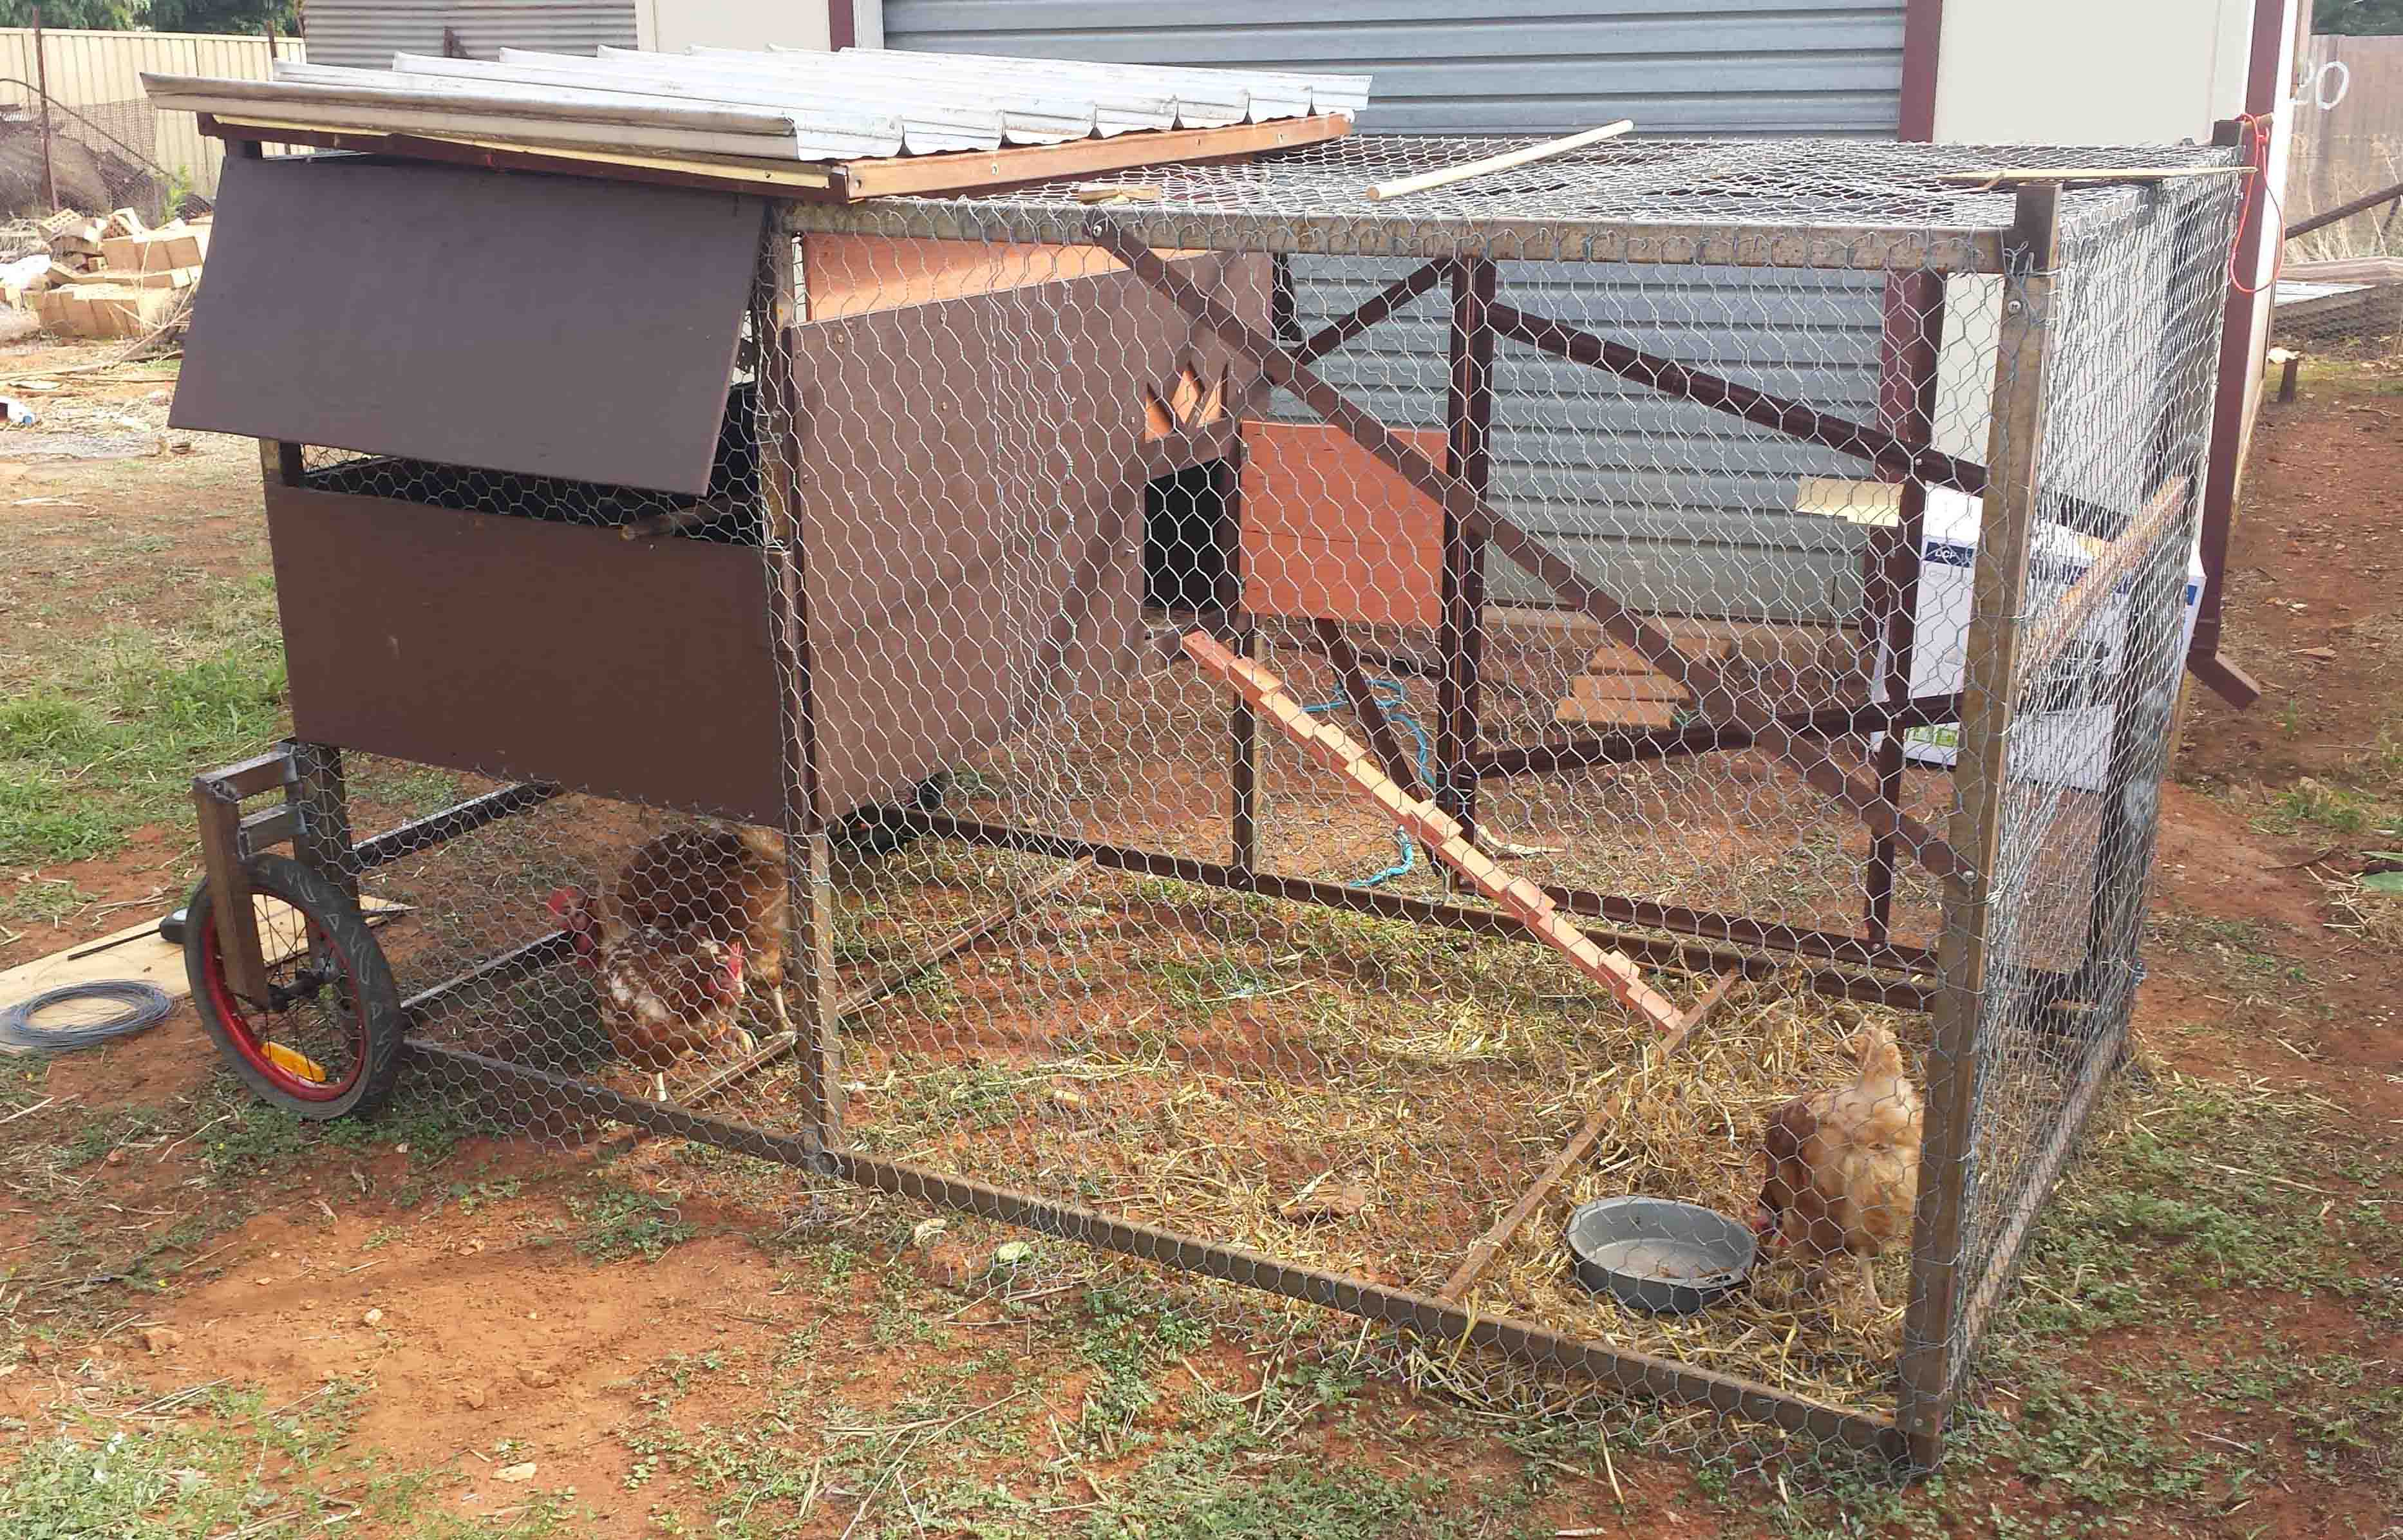
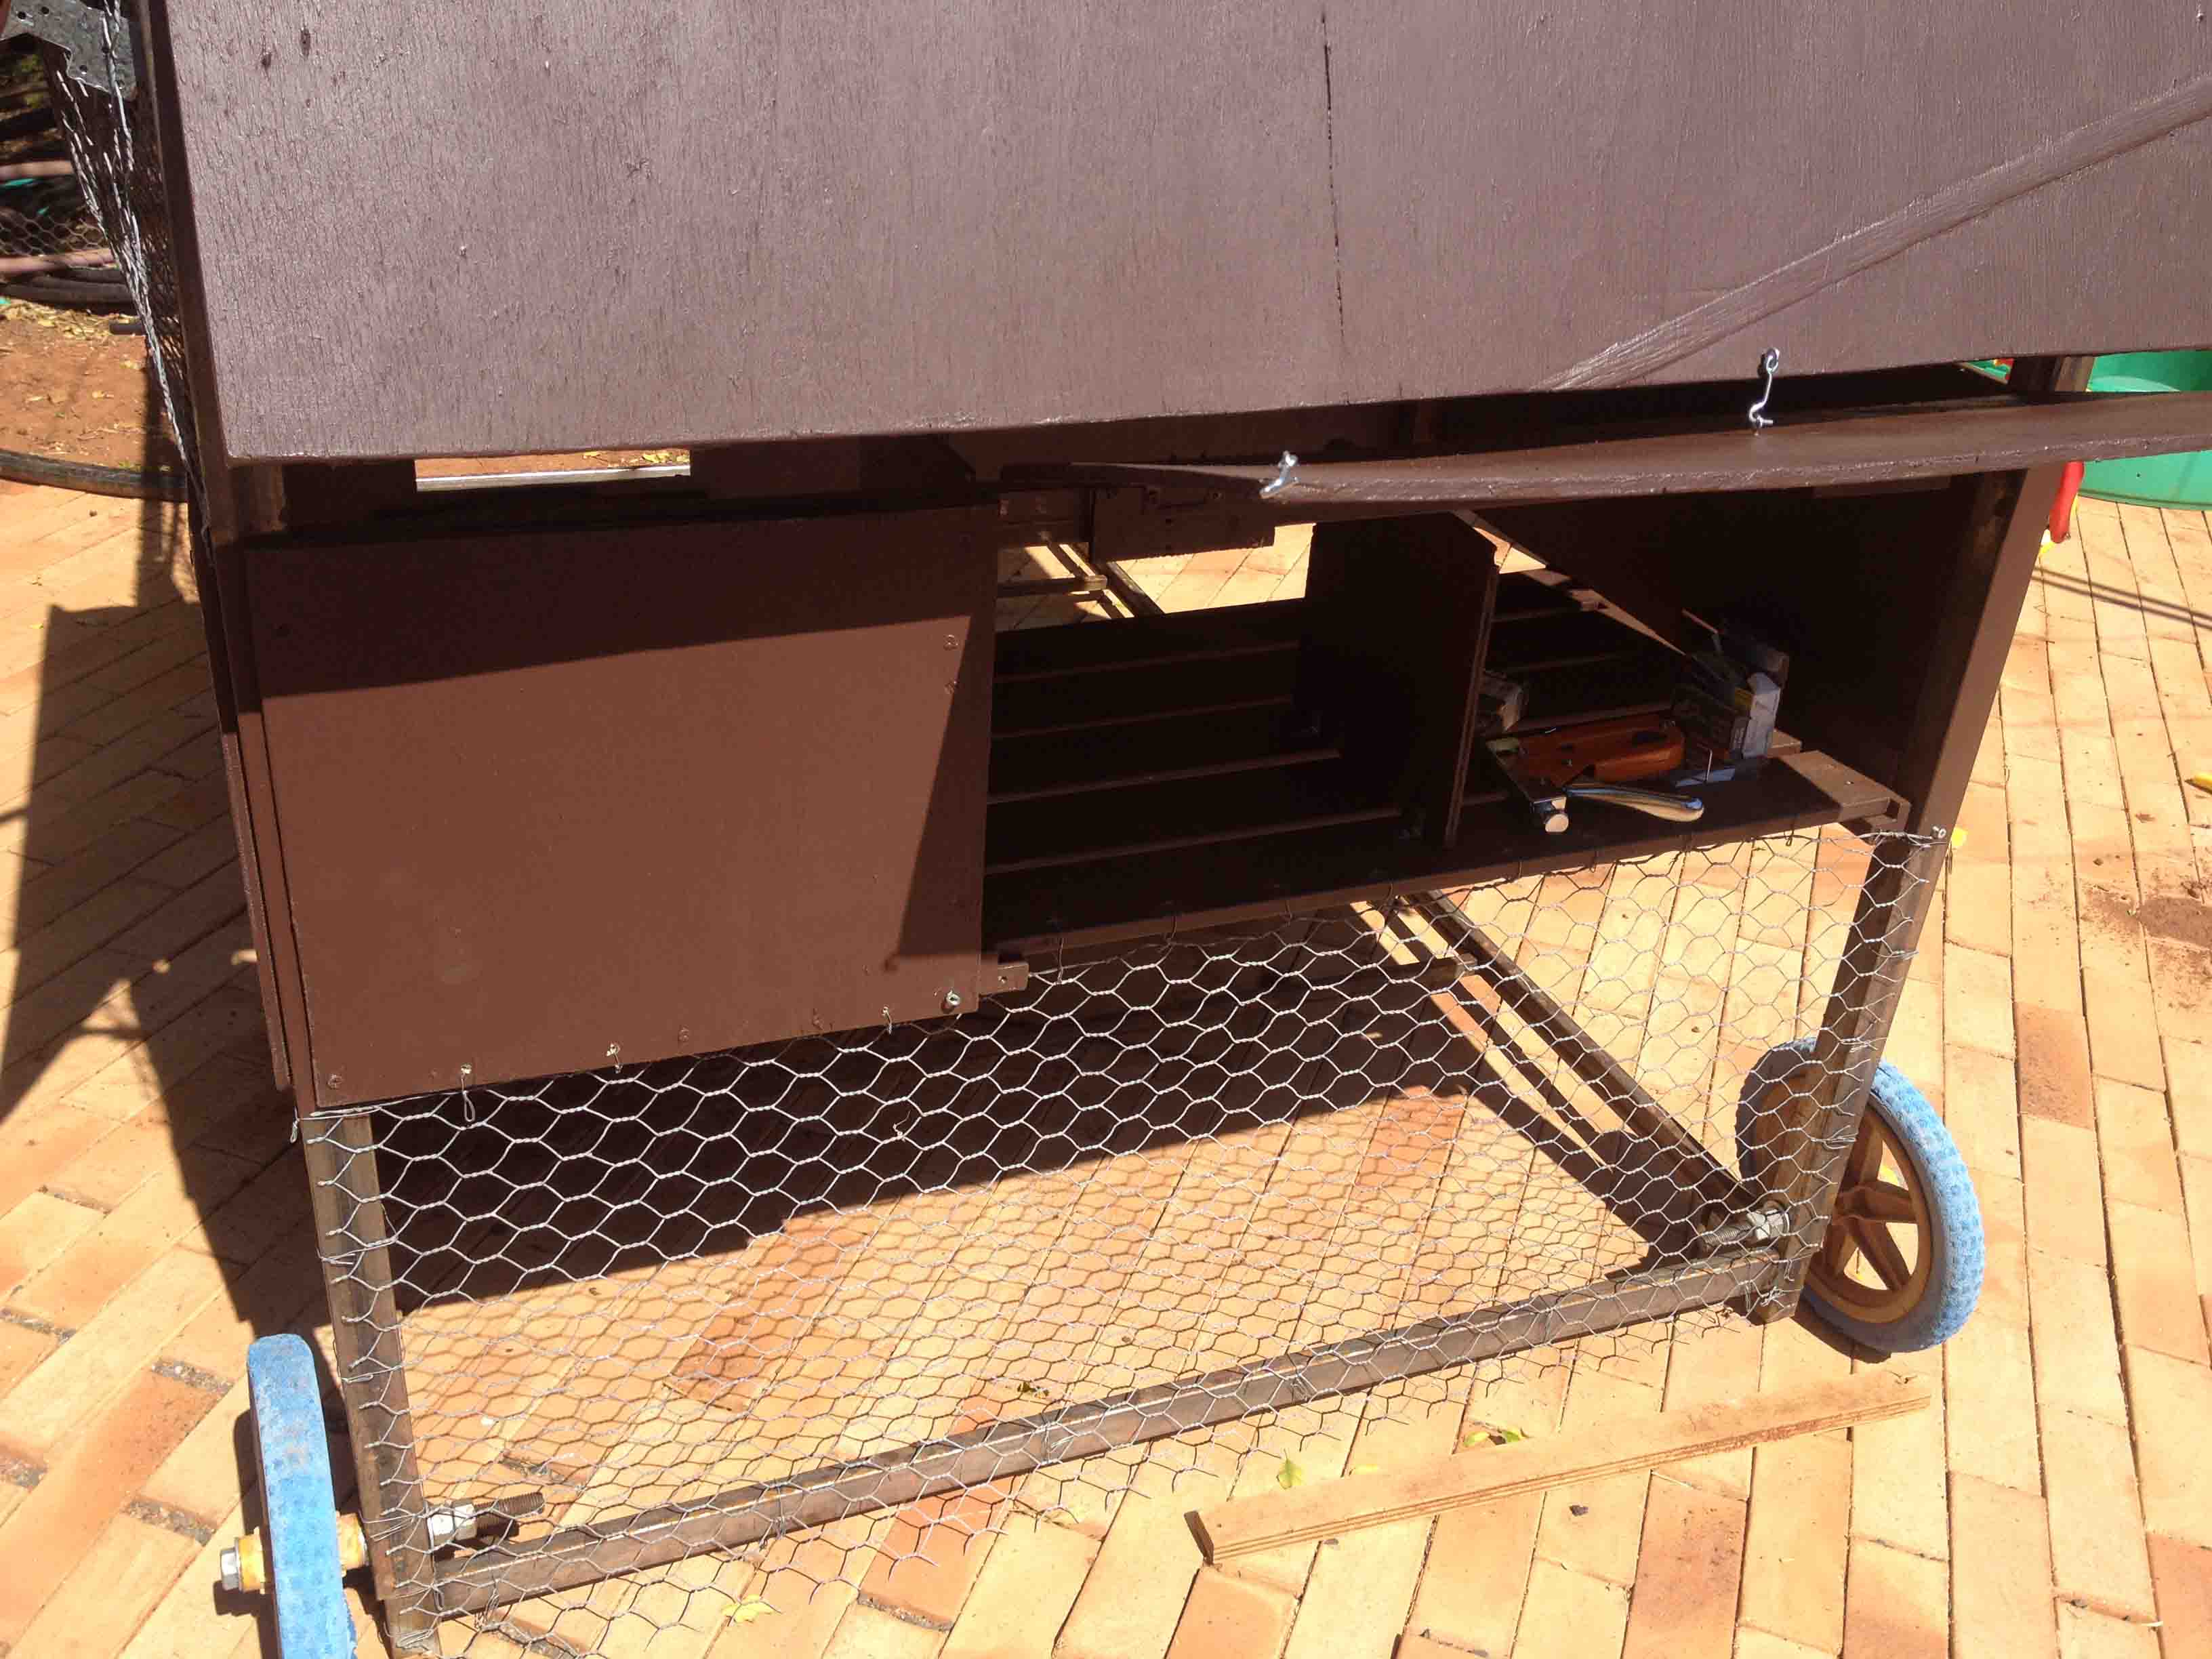
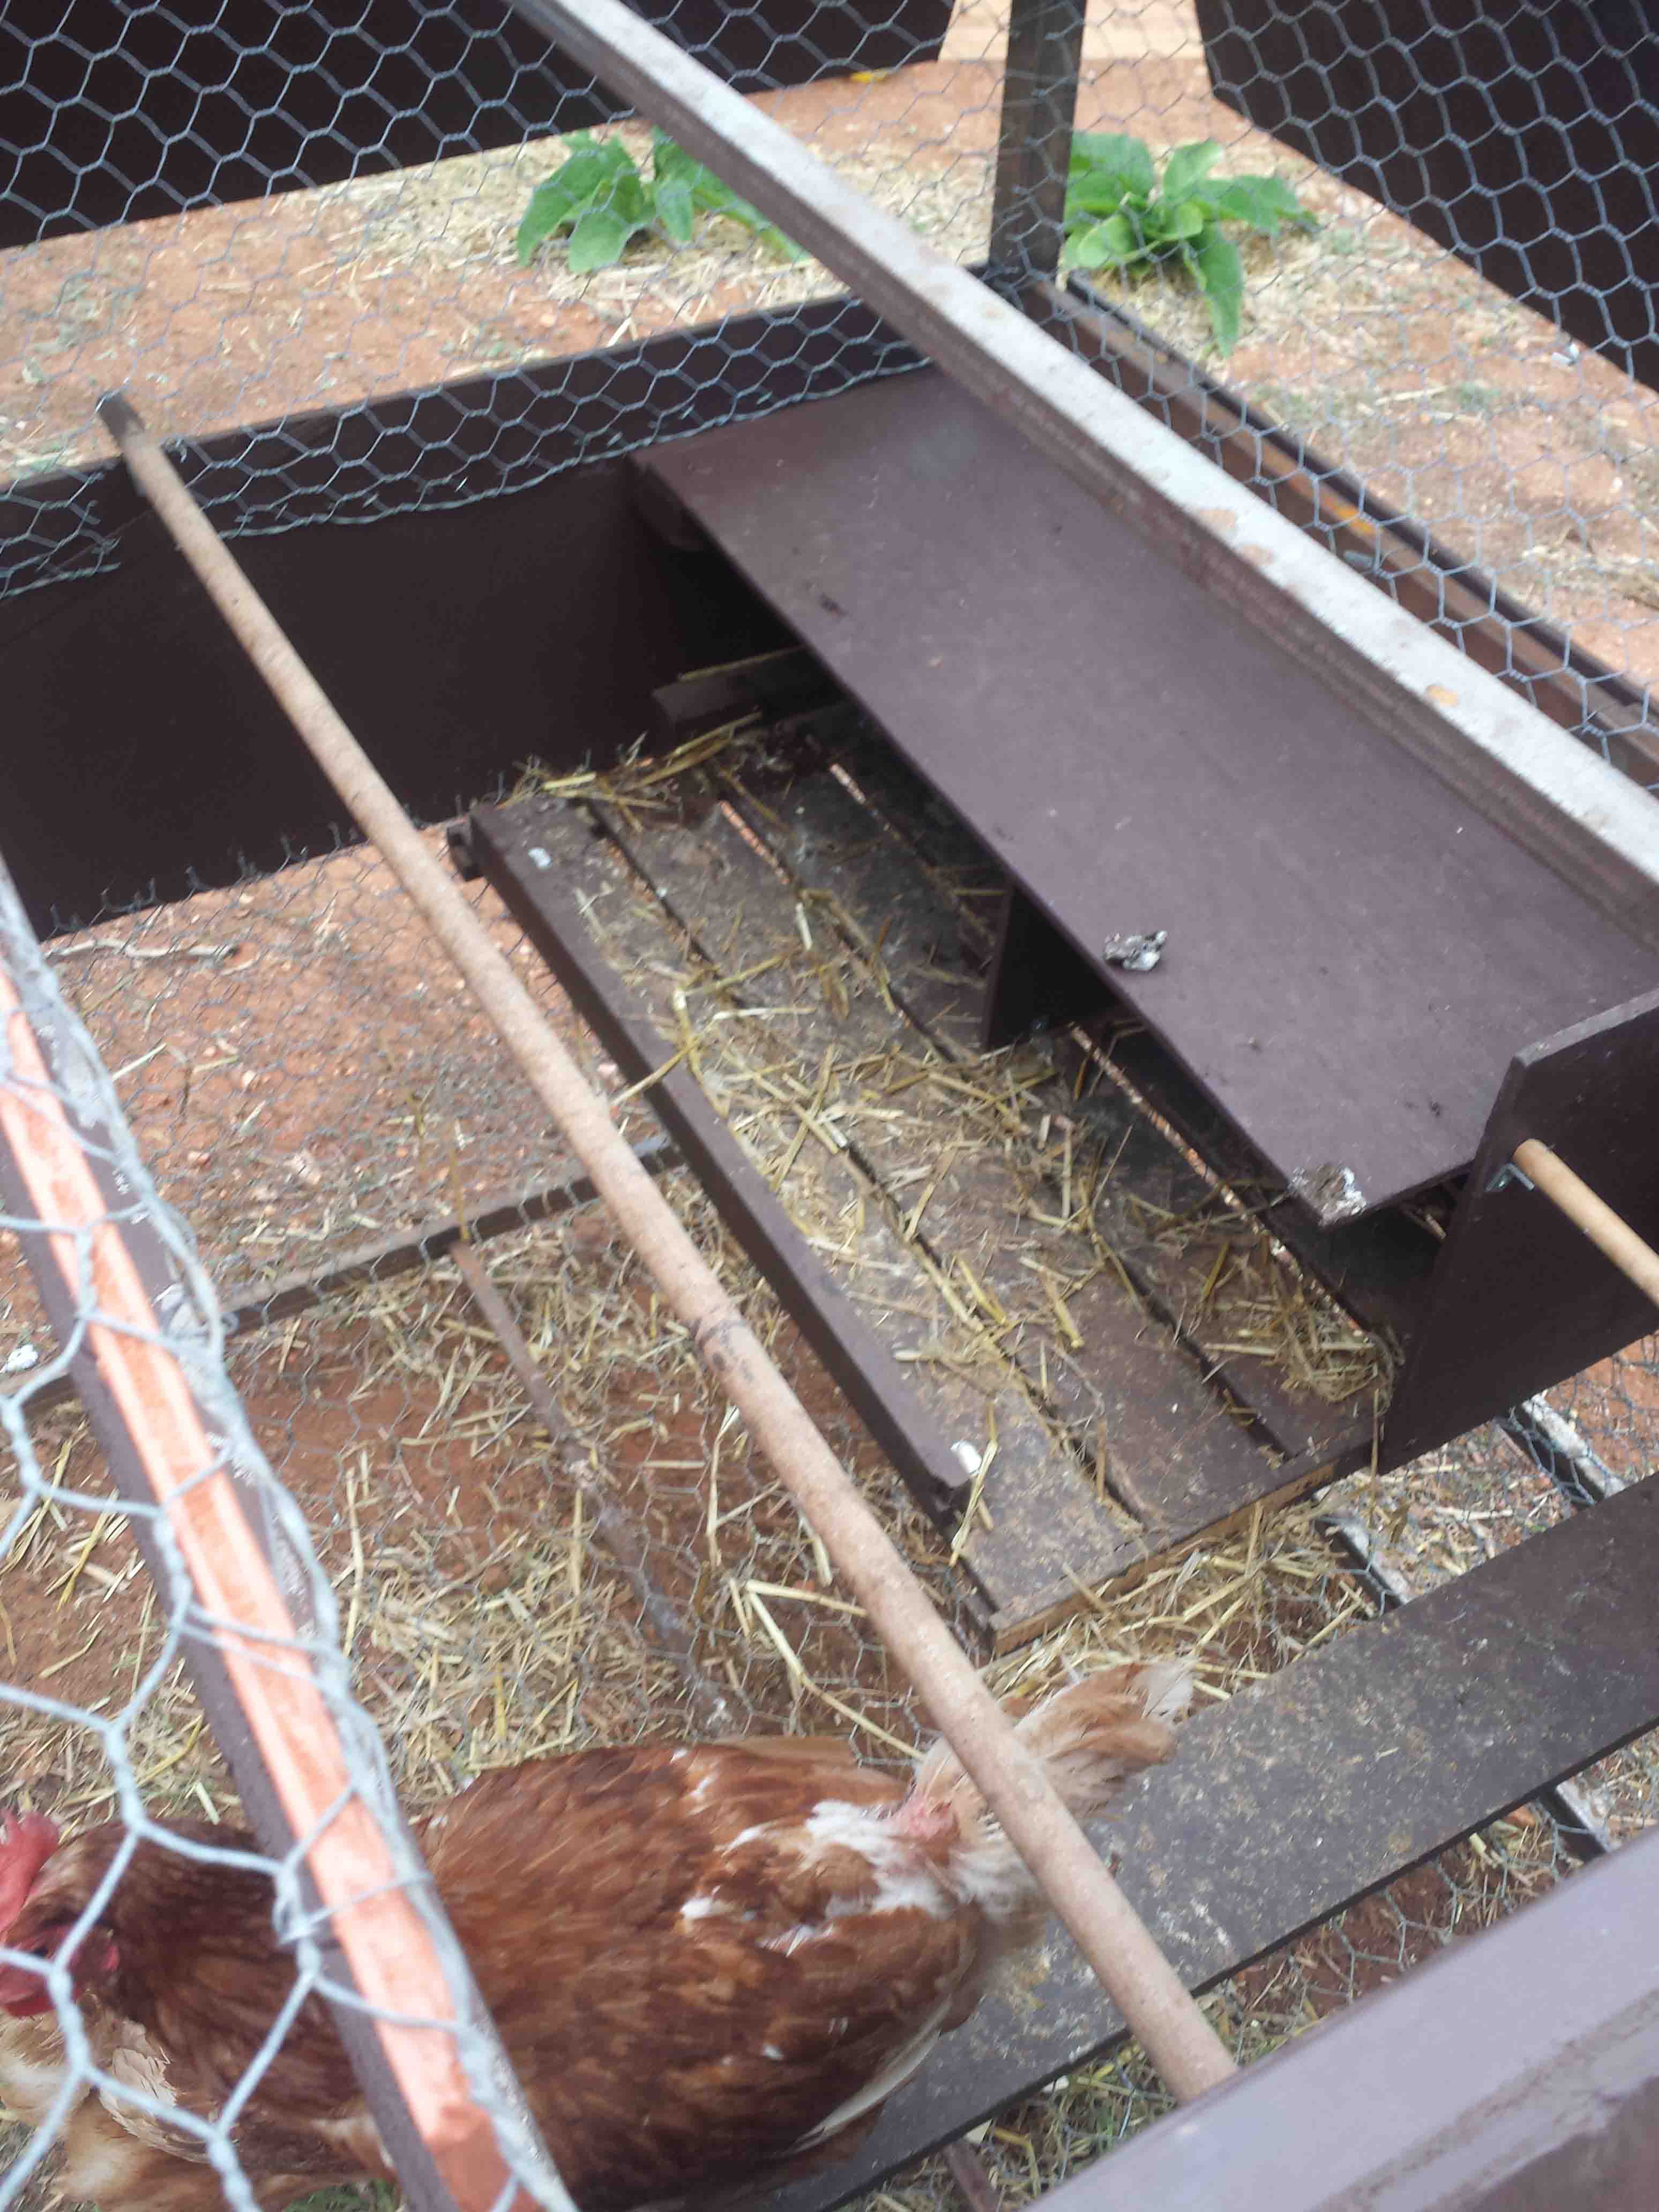
A view into the roost. Nesting boxes from an old Ikea shelf and scrap ply.
Wiring continued an hour here and there for ages.
News that hens would be available in a week put the pressure on to finish the job. Painting the door, ramp and wall extension using a very smelly old enamel found in the shed.
Ramp in place. Thriving fresh crop of catheads visible in the soil here.

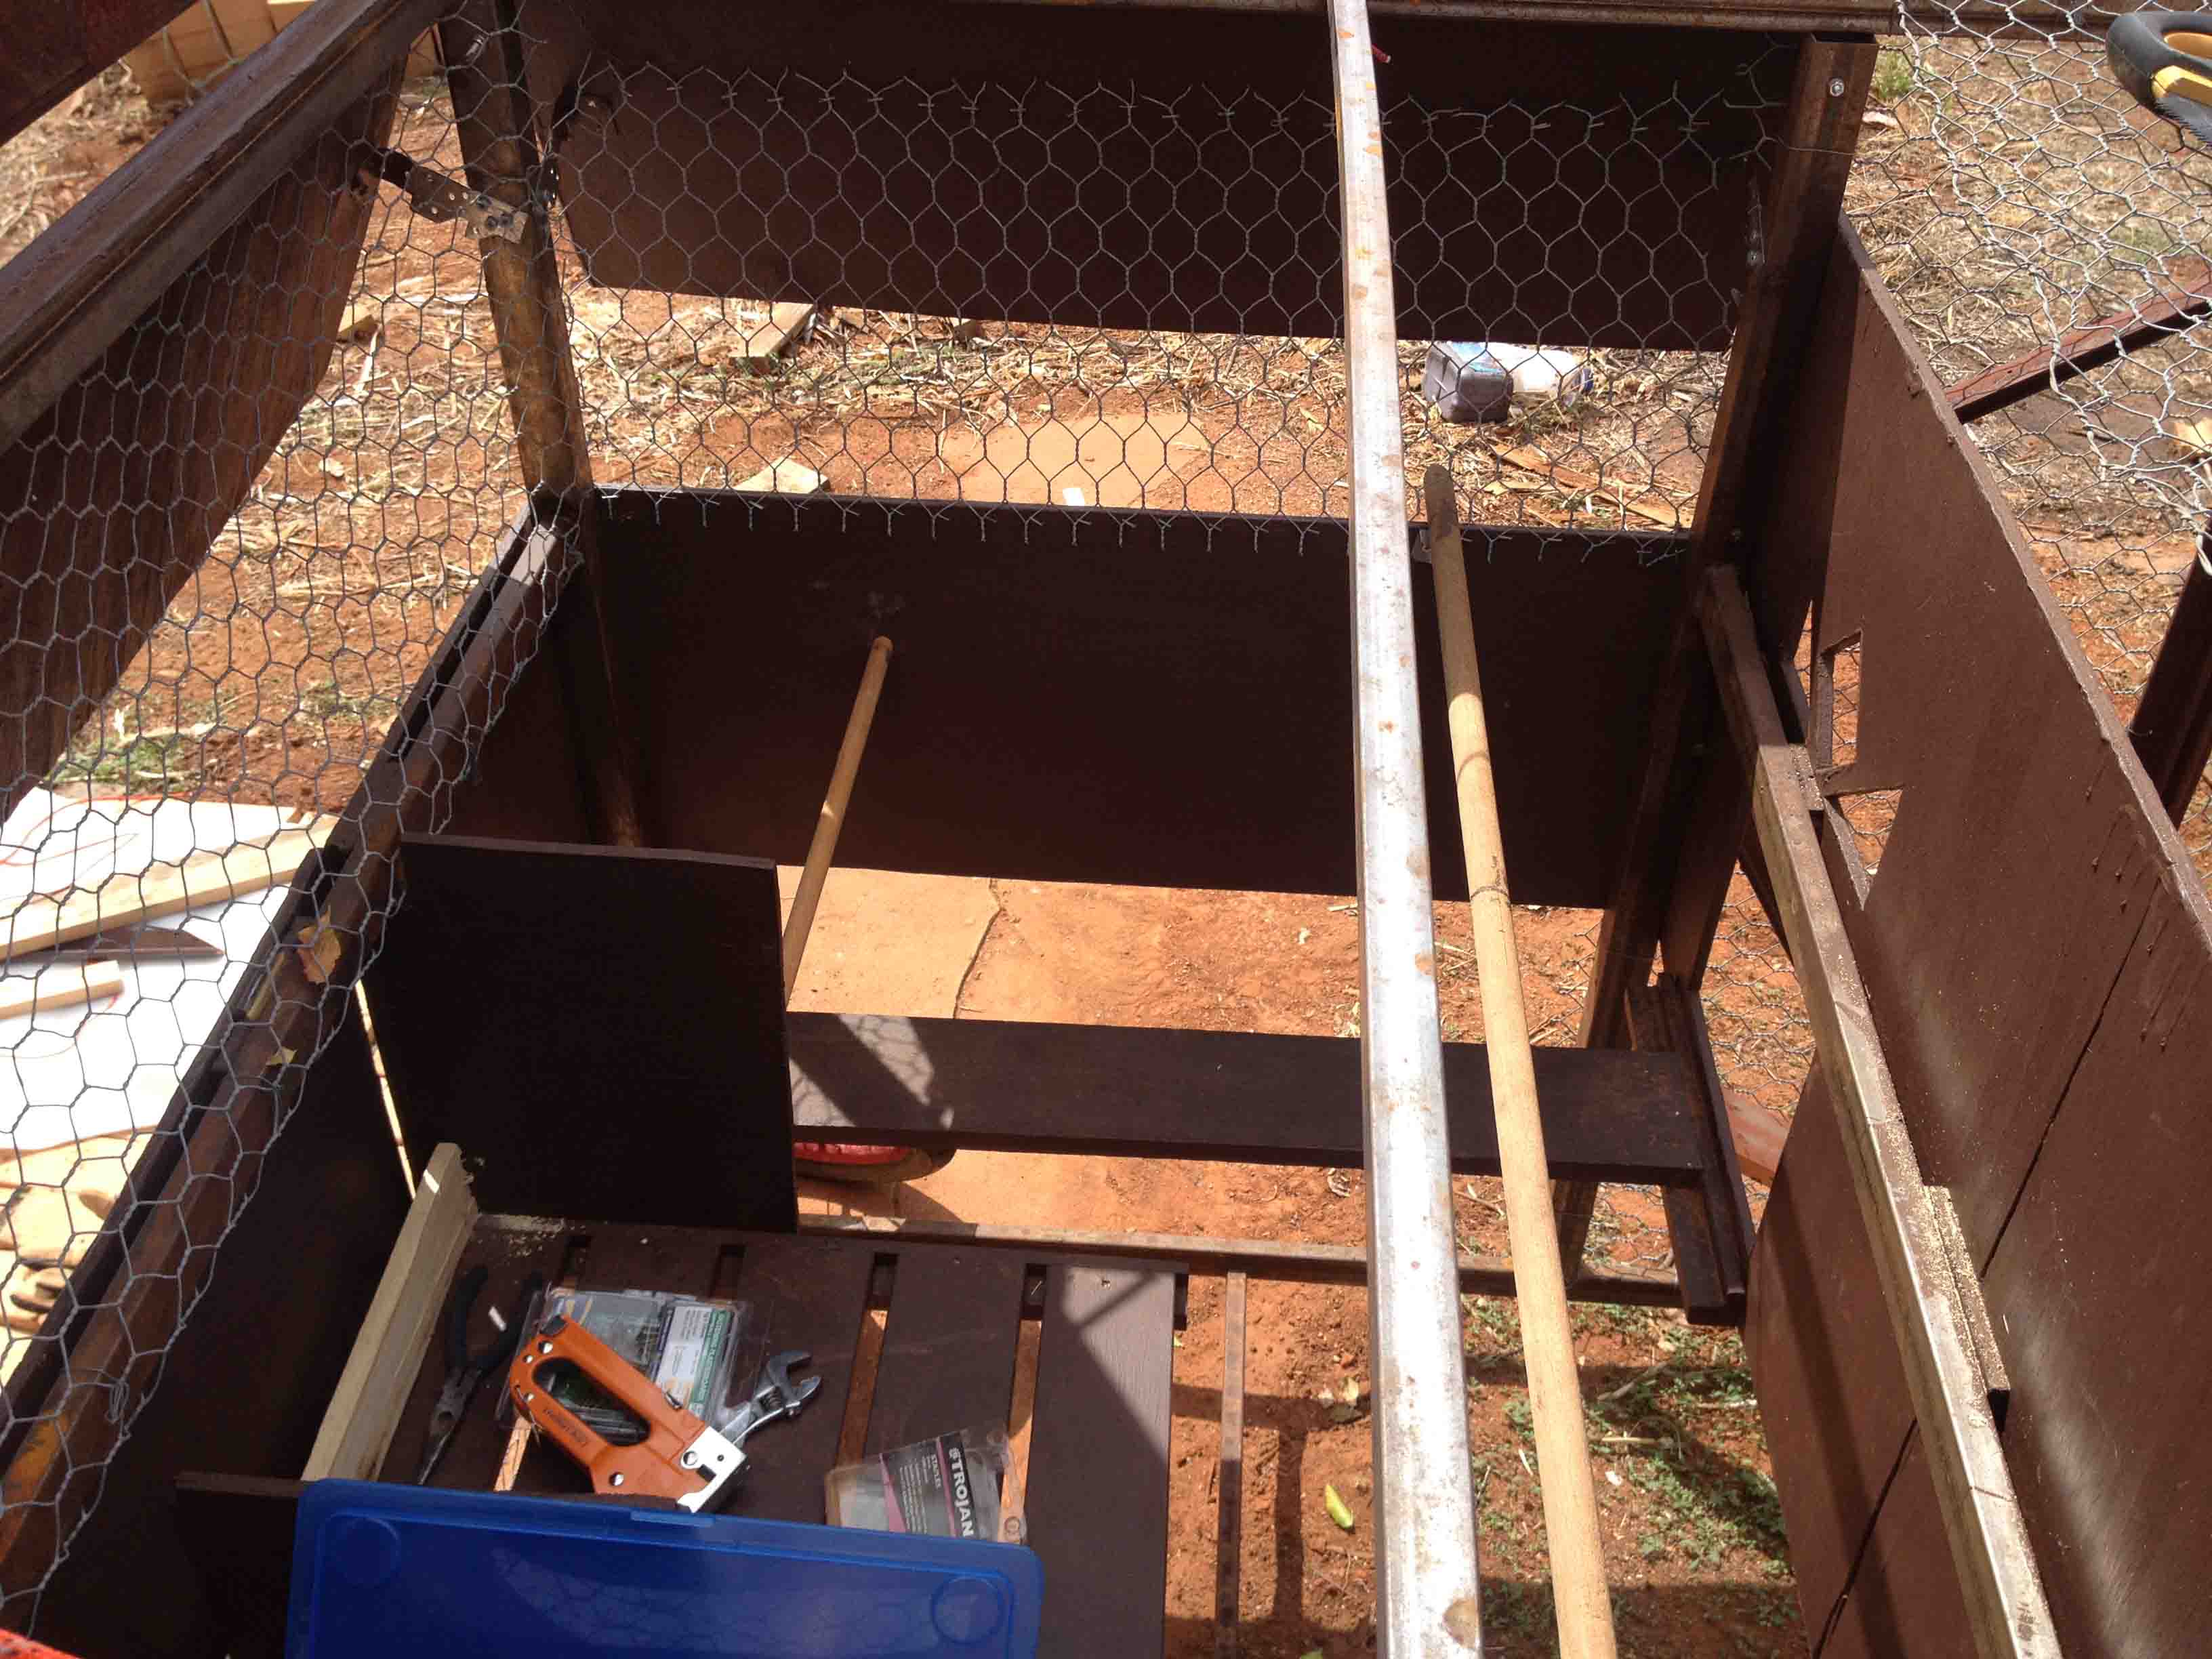
Interior shot. before floor wire.
View from the front before and after wall extension.

The previous wheel axle holes are no longer useful.

The new wheels require an altogether different kind of mount.
Of for a drop grinder.
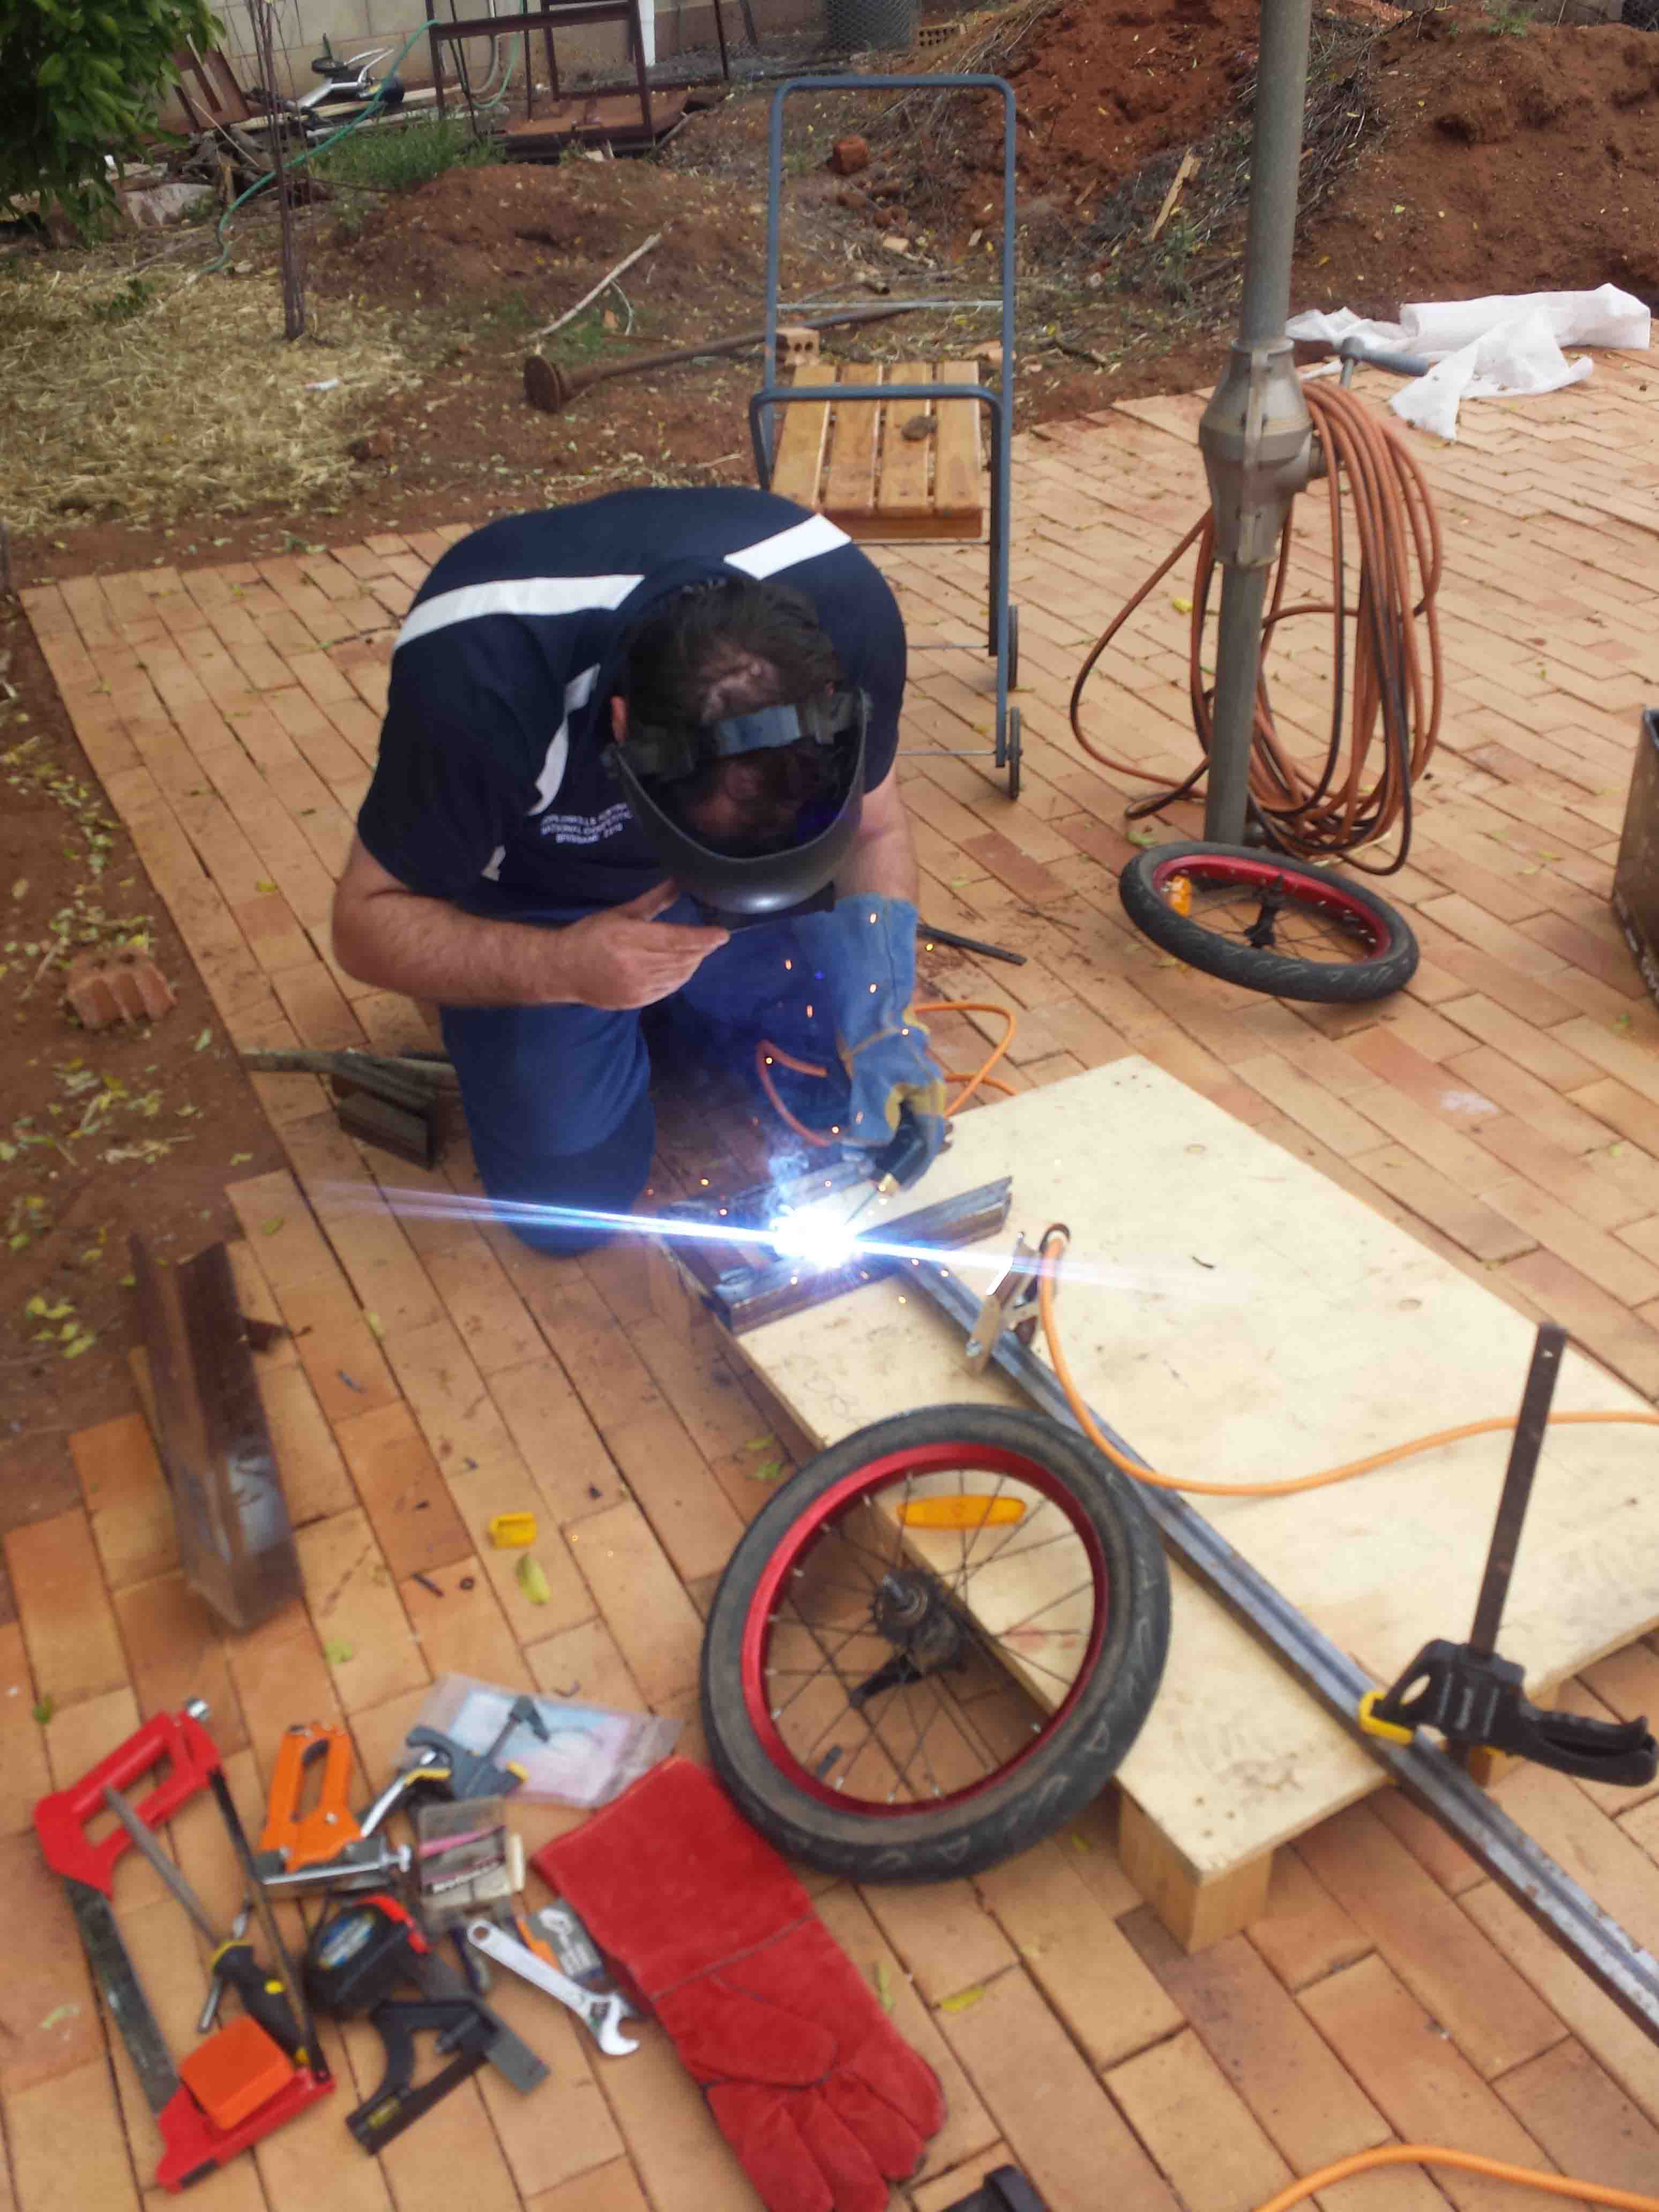
 Ready to weld.
Calling in help from my brother in law for this job. Snapped with welding goggles on of course.
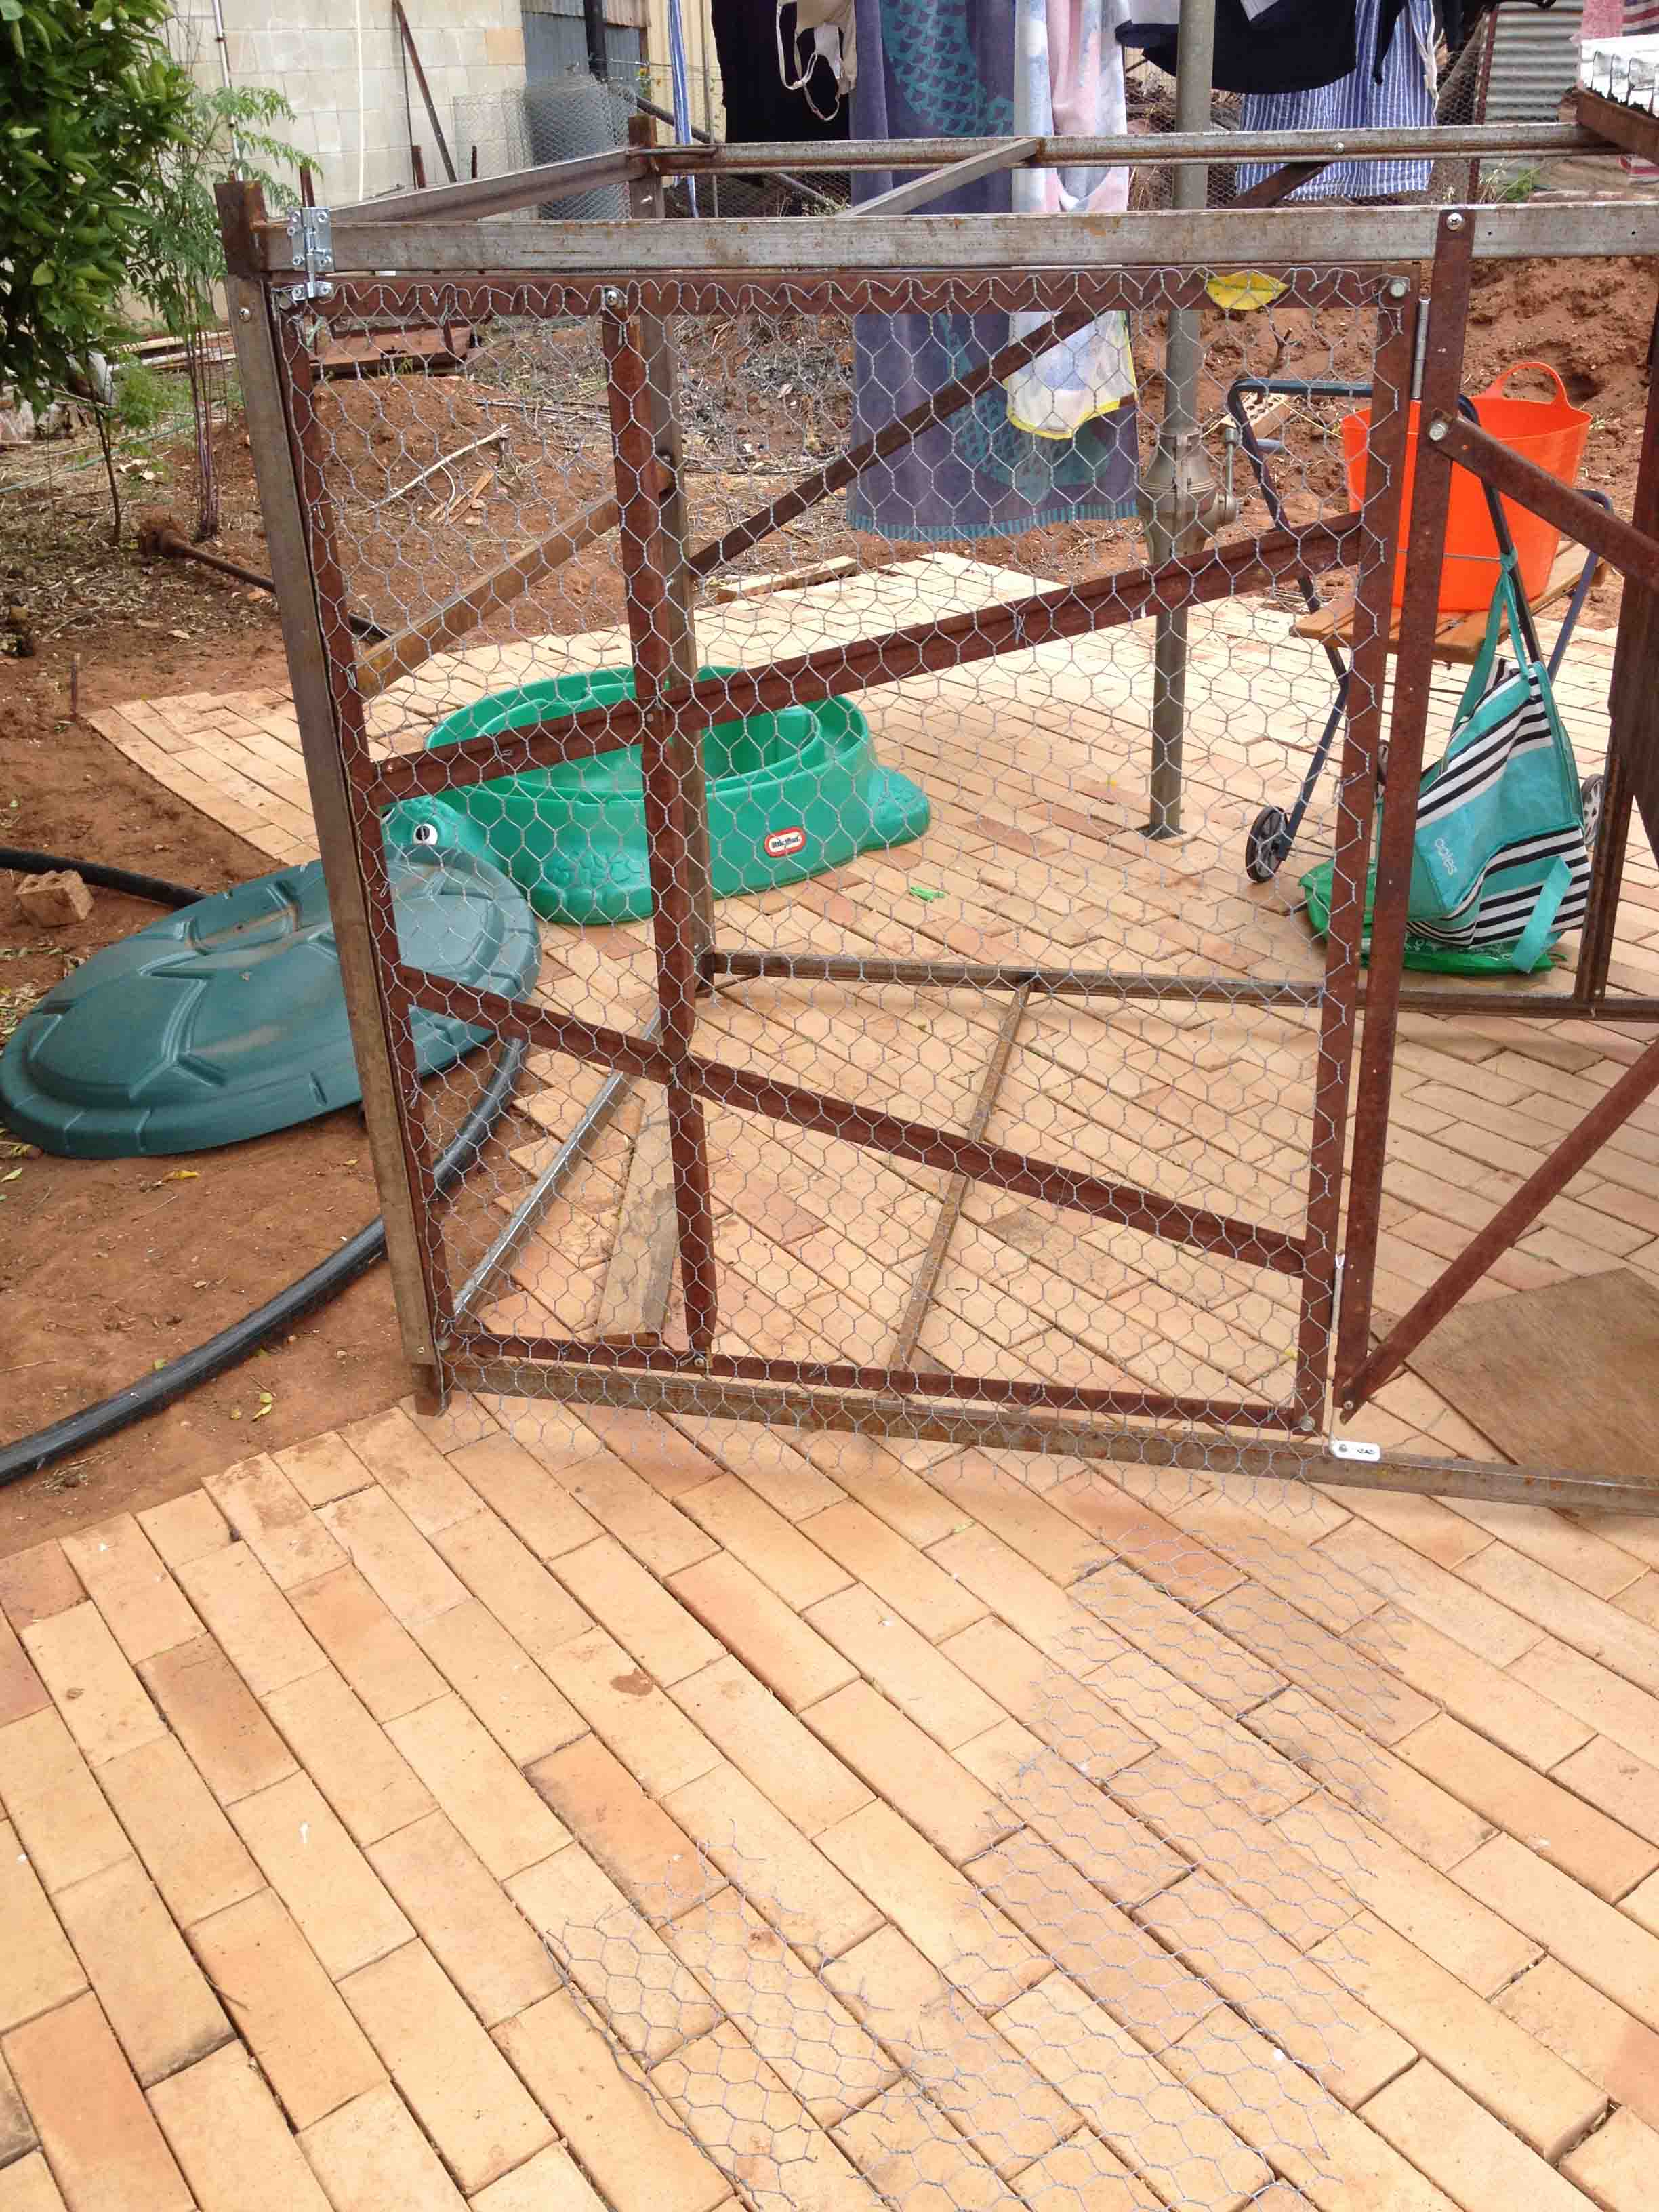
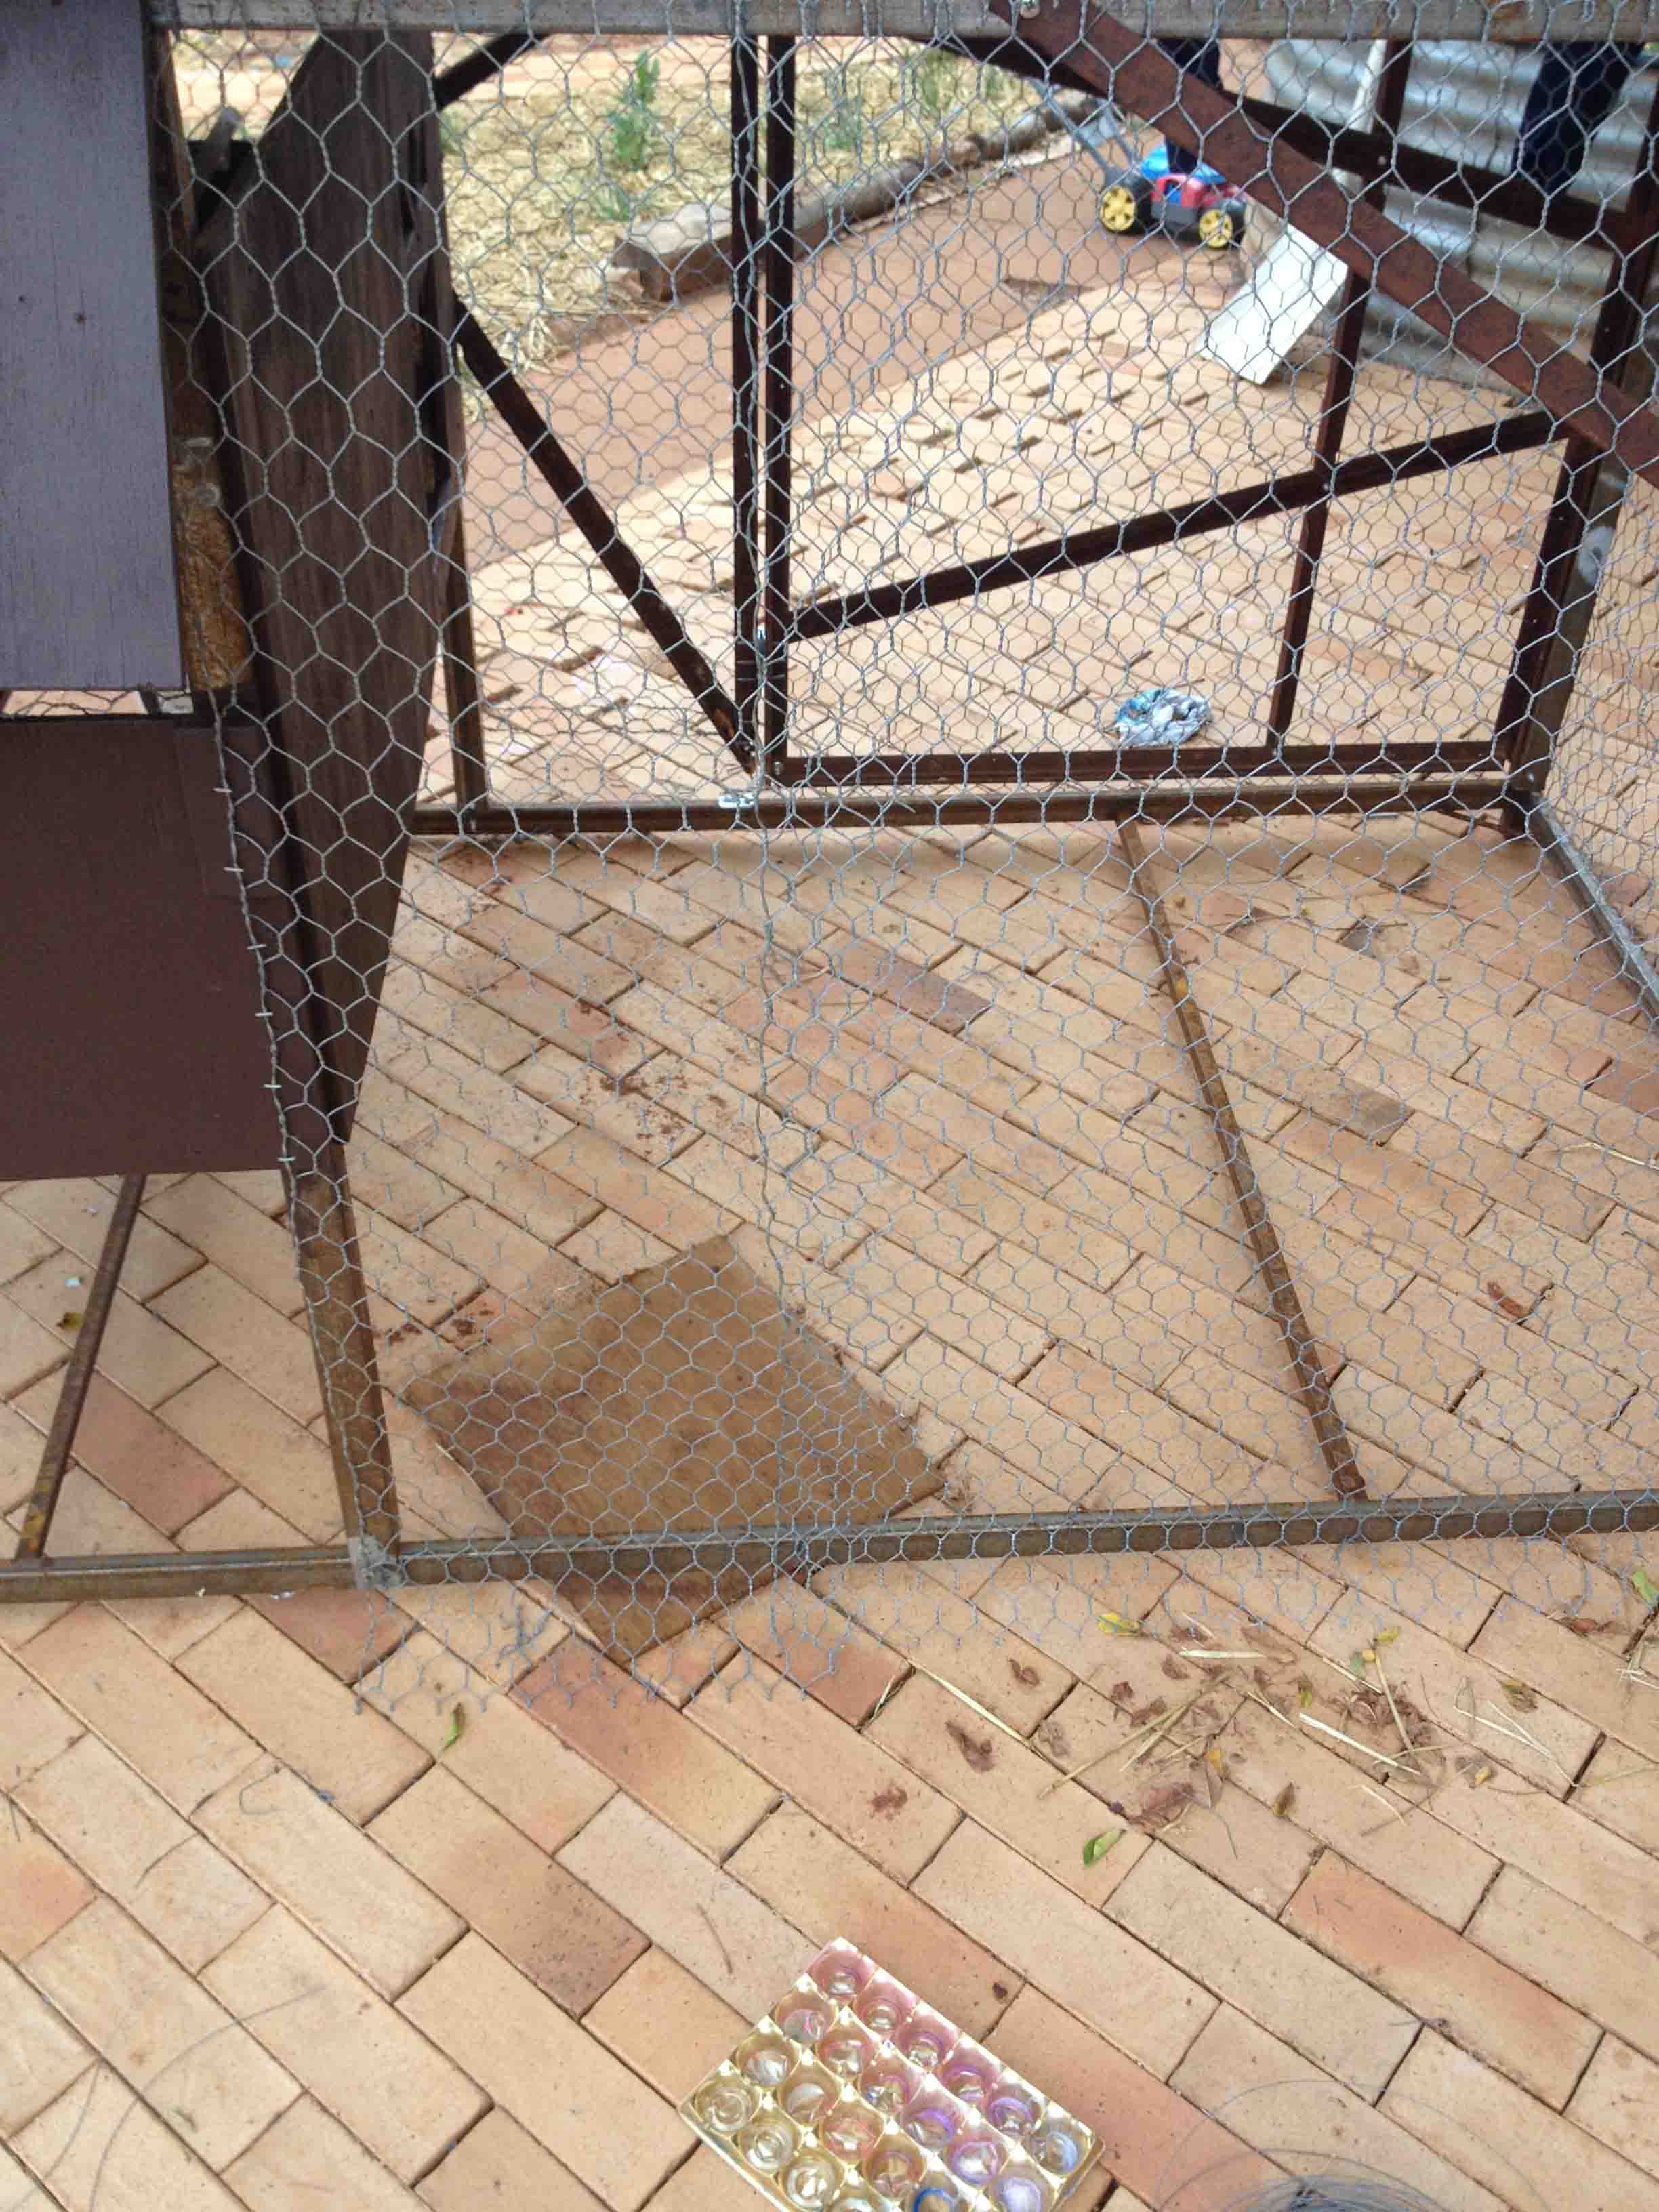
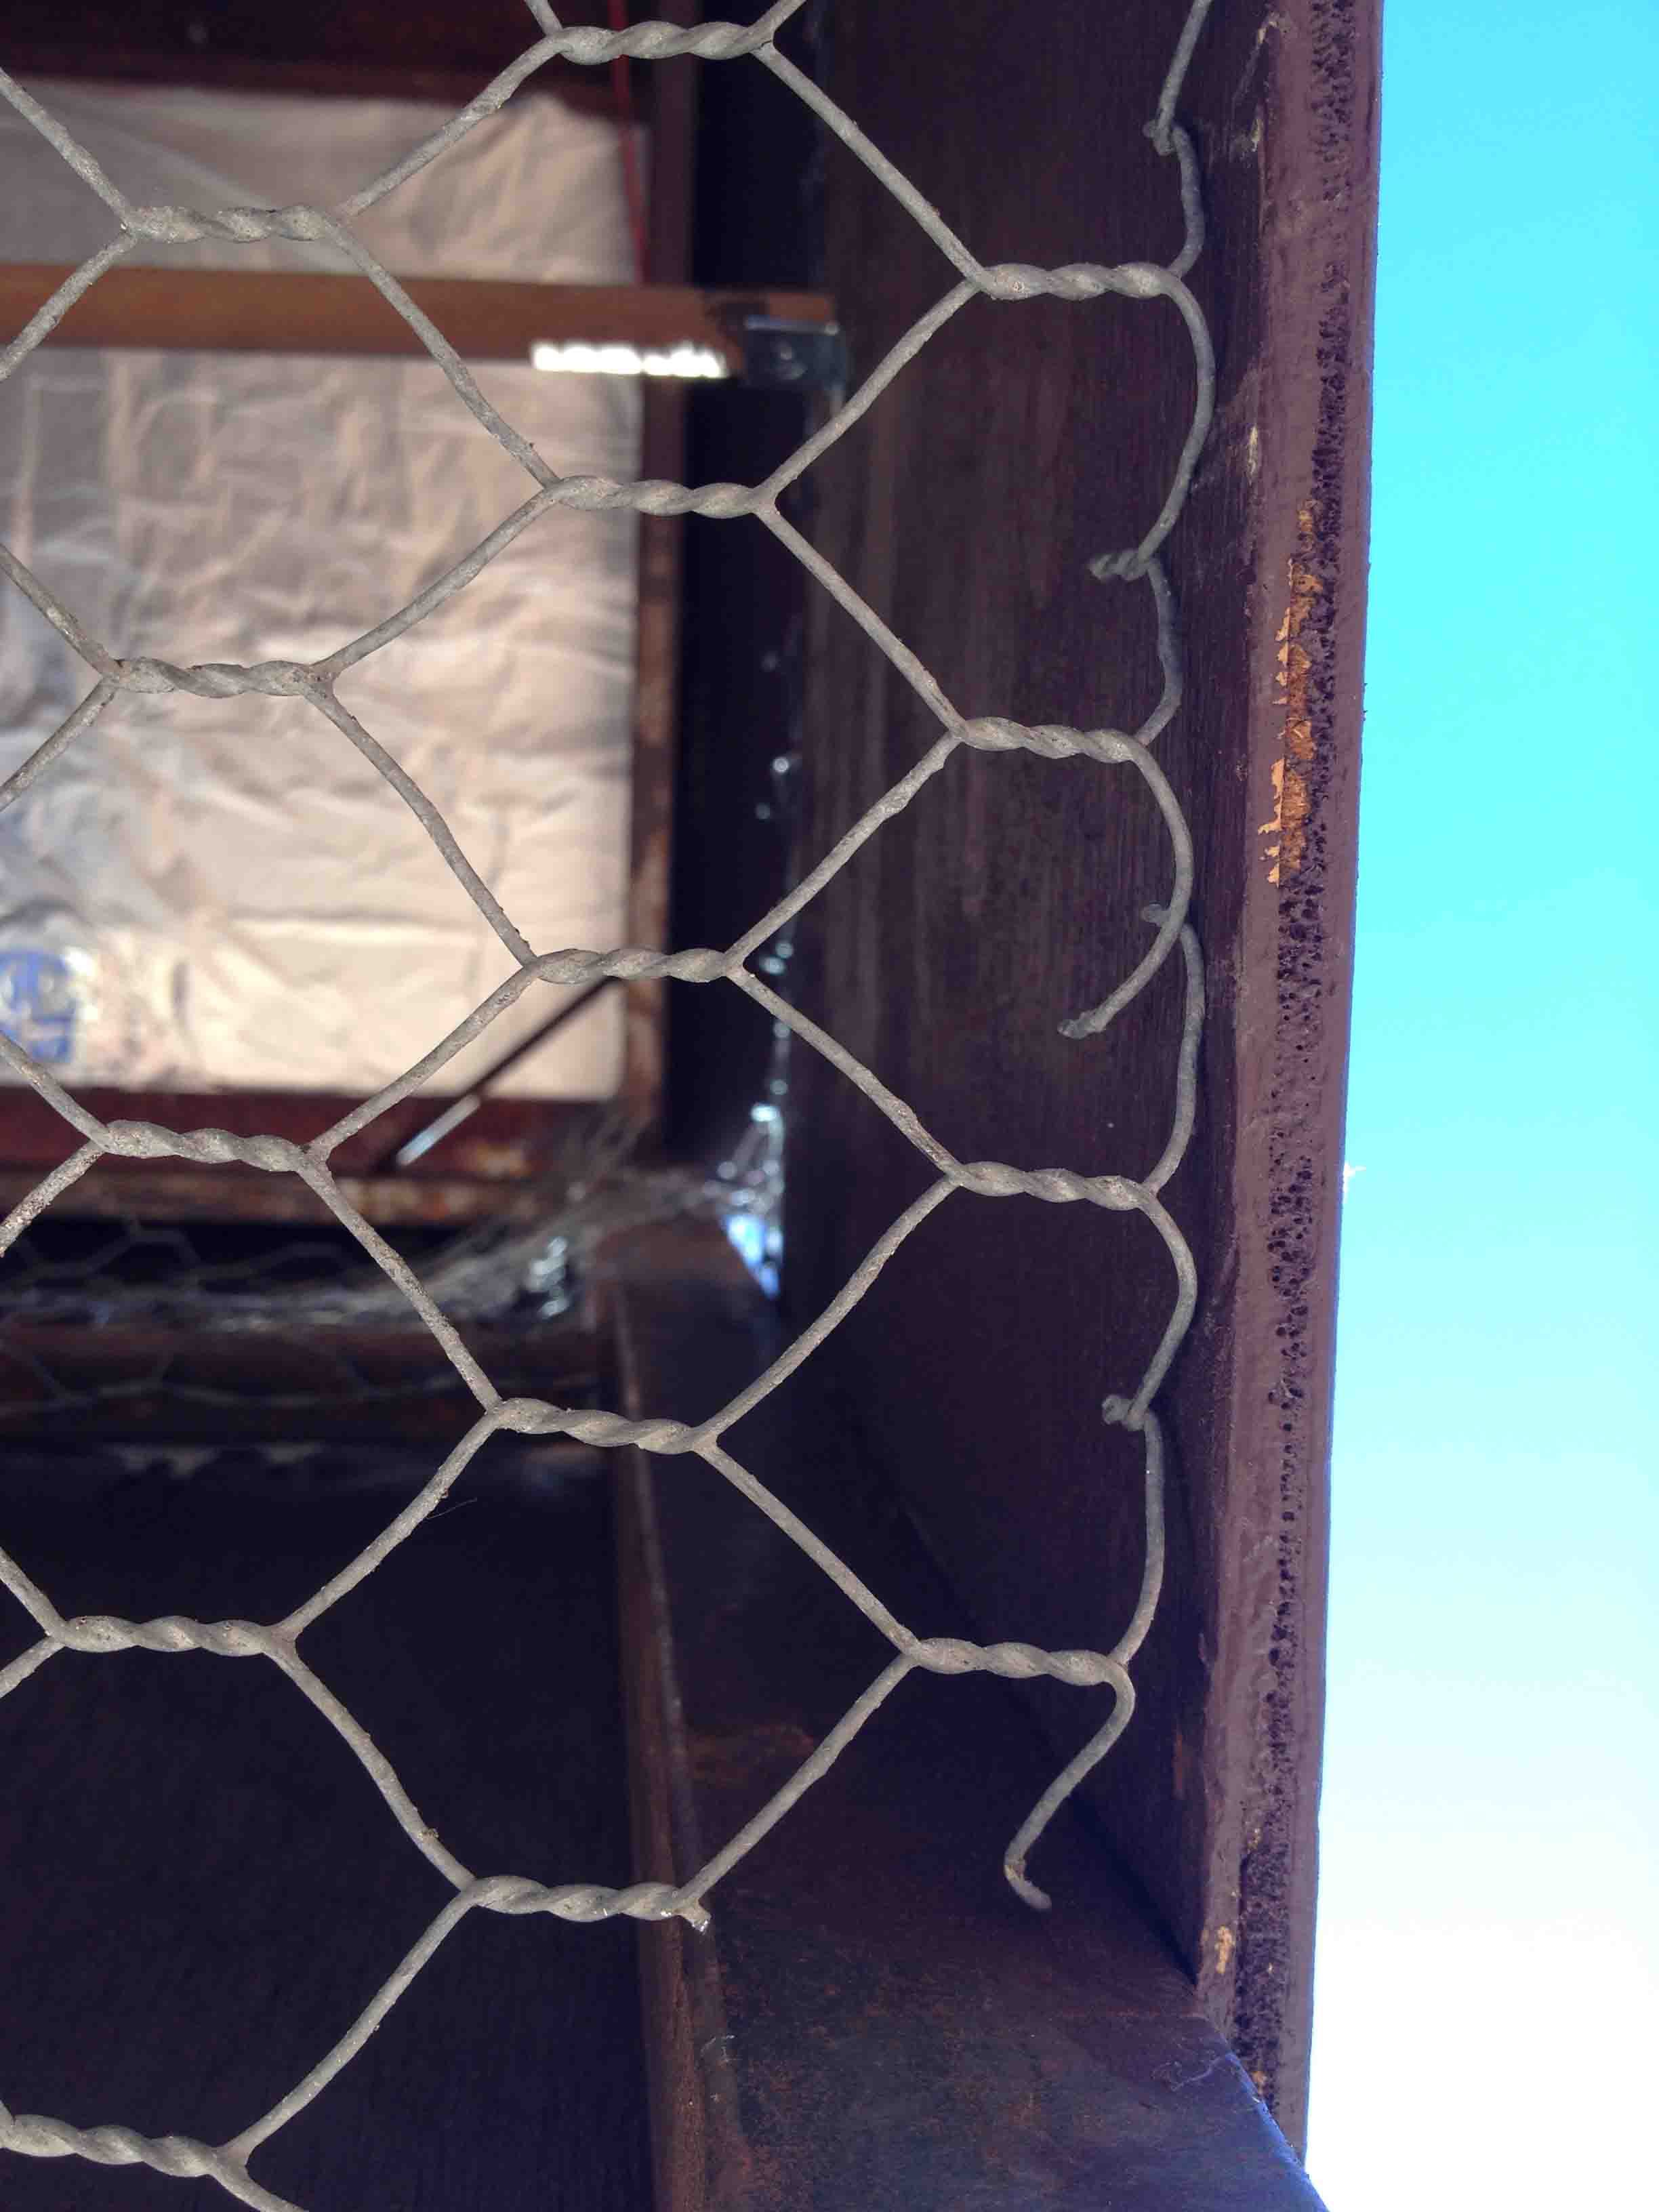
I put the wire floor in so that the hens can be contained during moves and they will be safe if and when a fox gets into the enclosure at night.
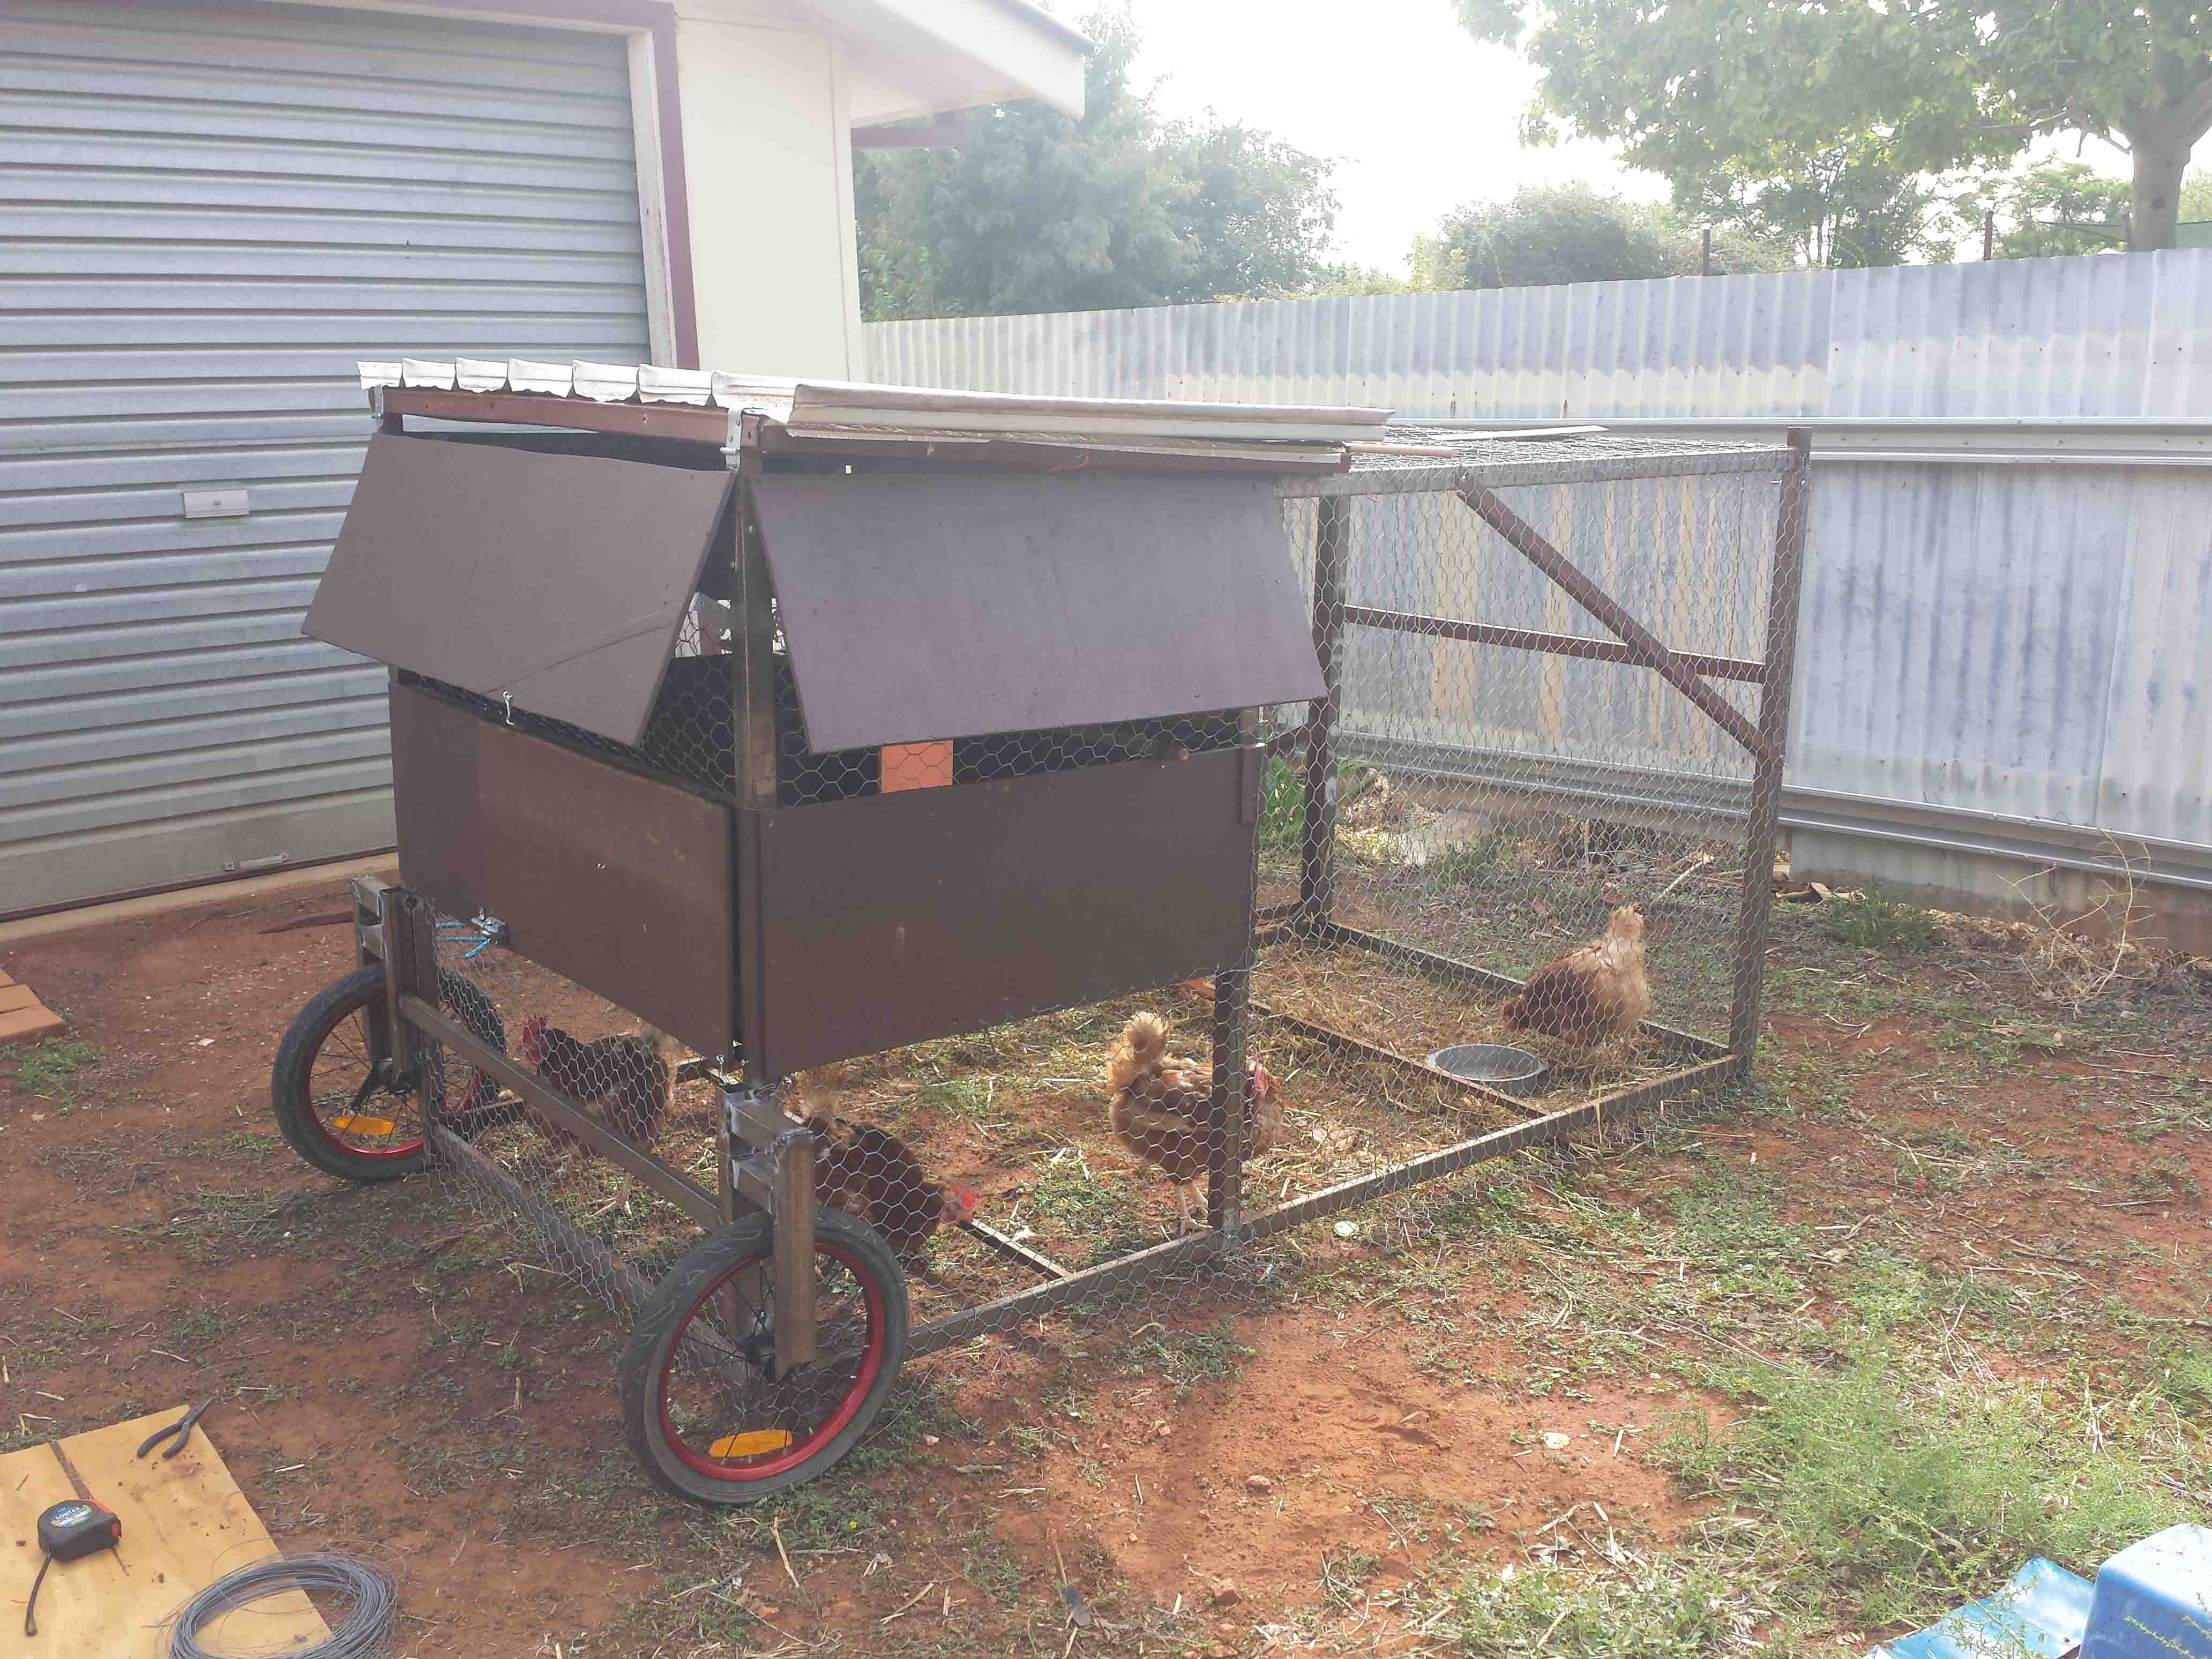
Job done. Last couple of additions today not yet photographed. Gravity water container, hatch so the hens roost door can be opened without entering the enclosure and modifications to the nesting area in the roost to make it a little cosyier. I’ll edit them in at a later date.
Our hens are Isa Brown rescues from an egg farm which disposes of its hens at one year of age. Waiting to establish dominance order before assigning the names we have chosen for this batch. Georgie, Porgie, Pudding and Pie.

Bonus build…
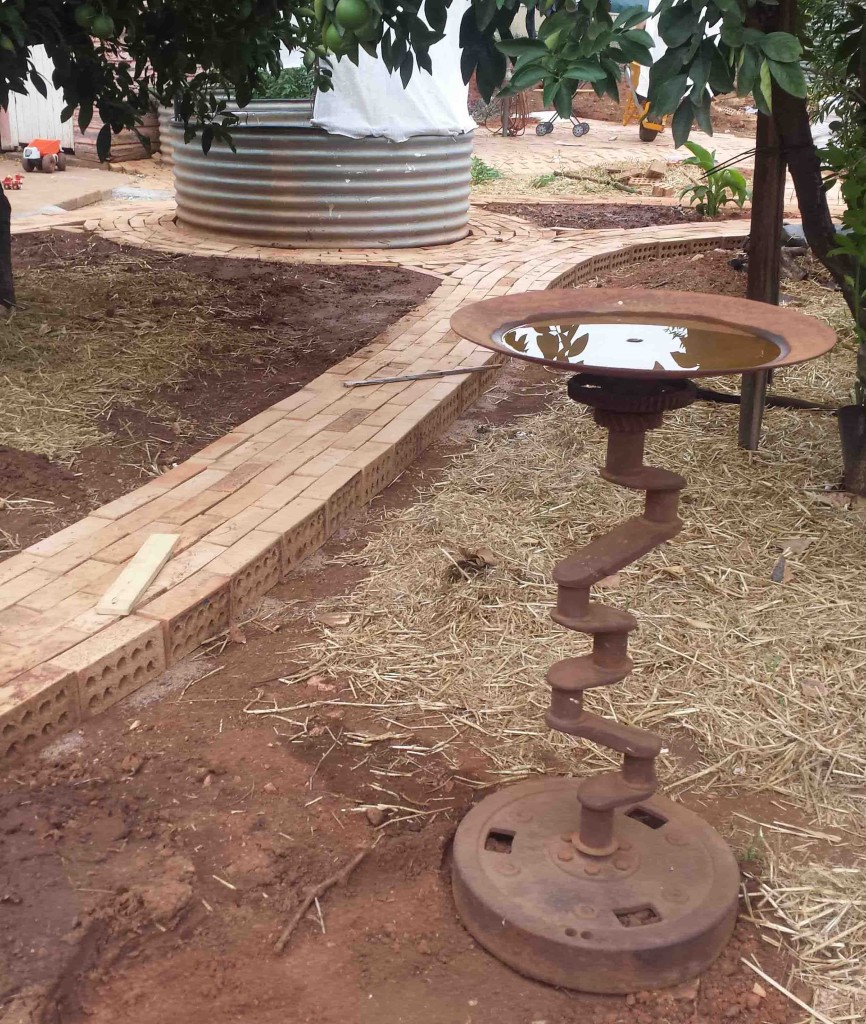
Ancient crank shaft from the metal heap in the back yard

plus plow blade from the farm
plus a little sugru,
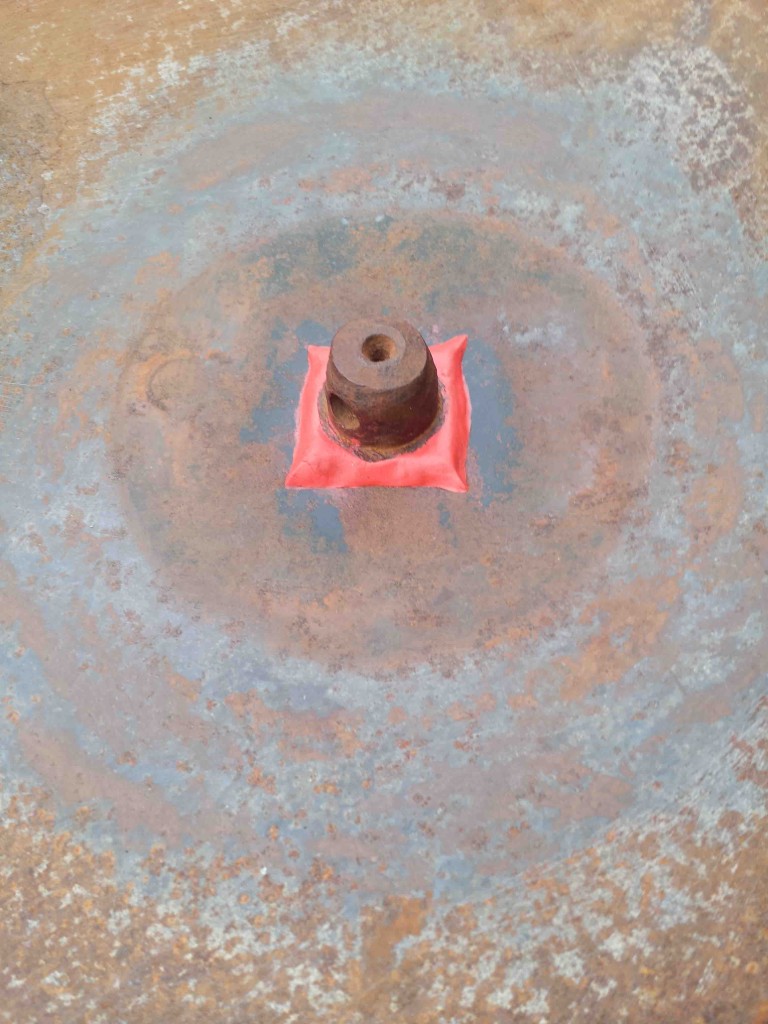
equals distinctive bird bath.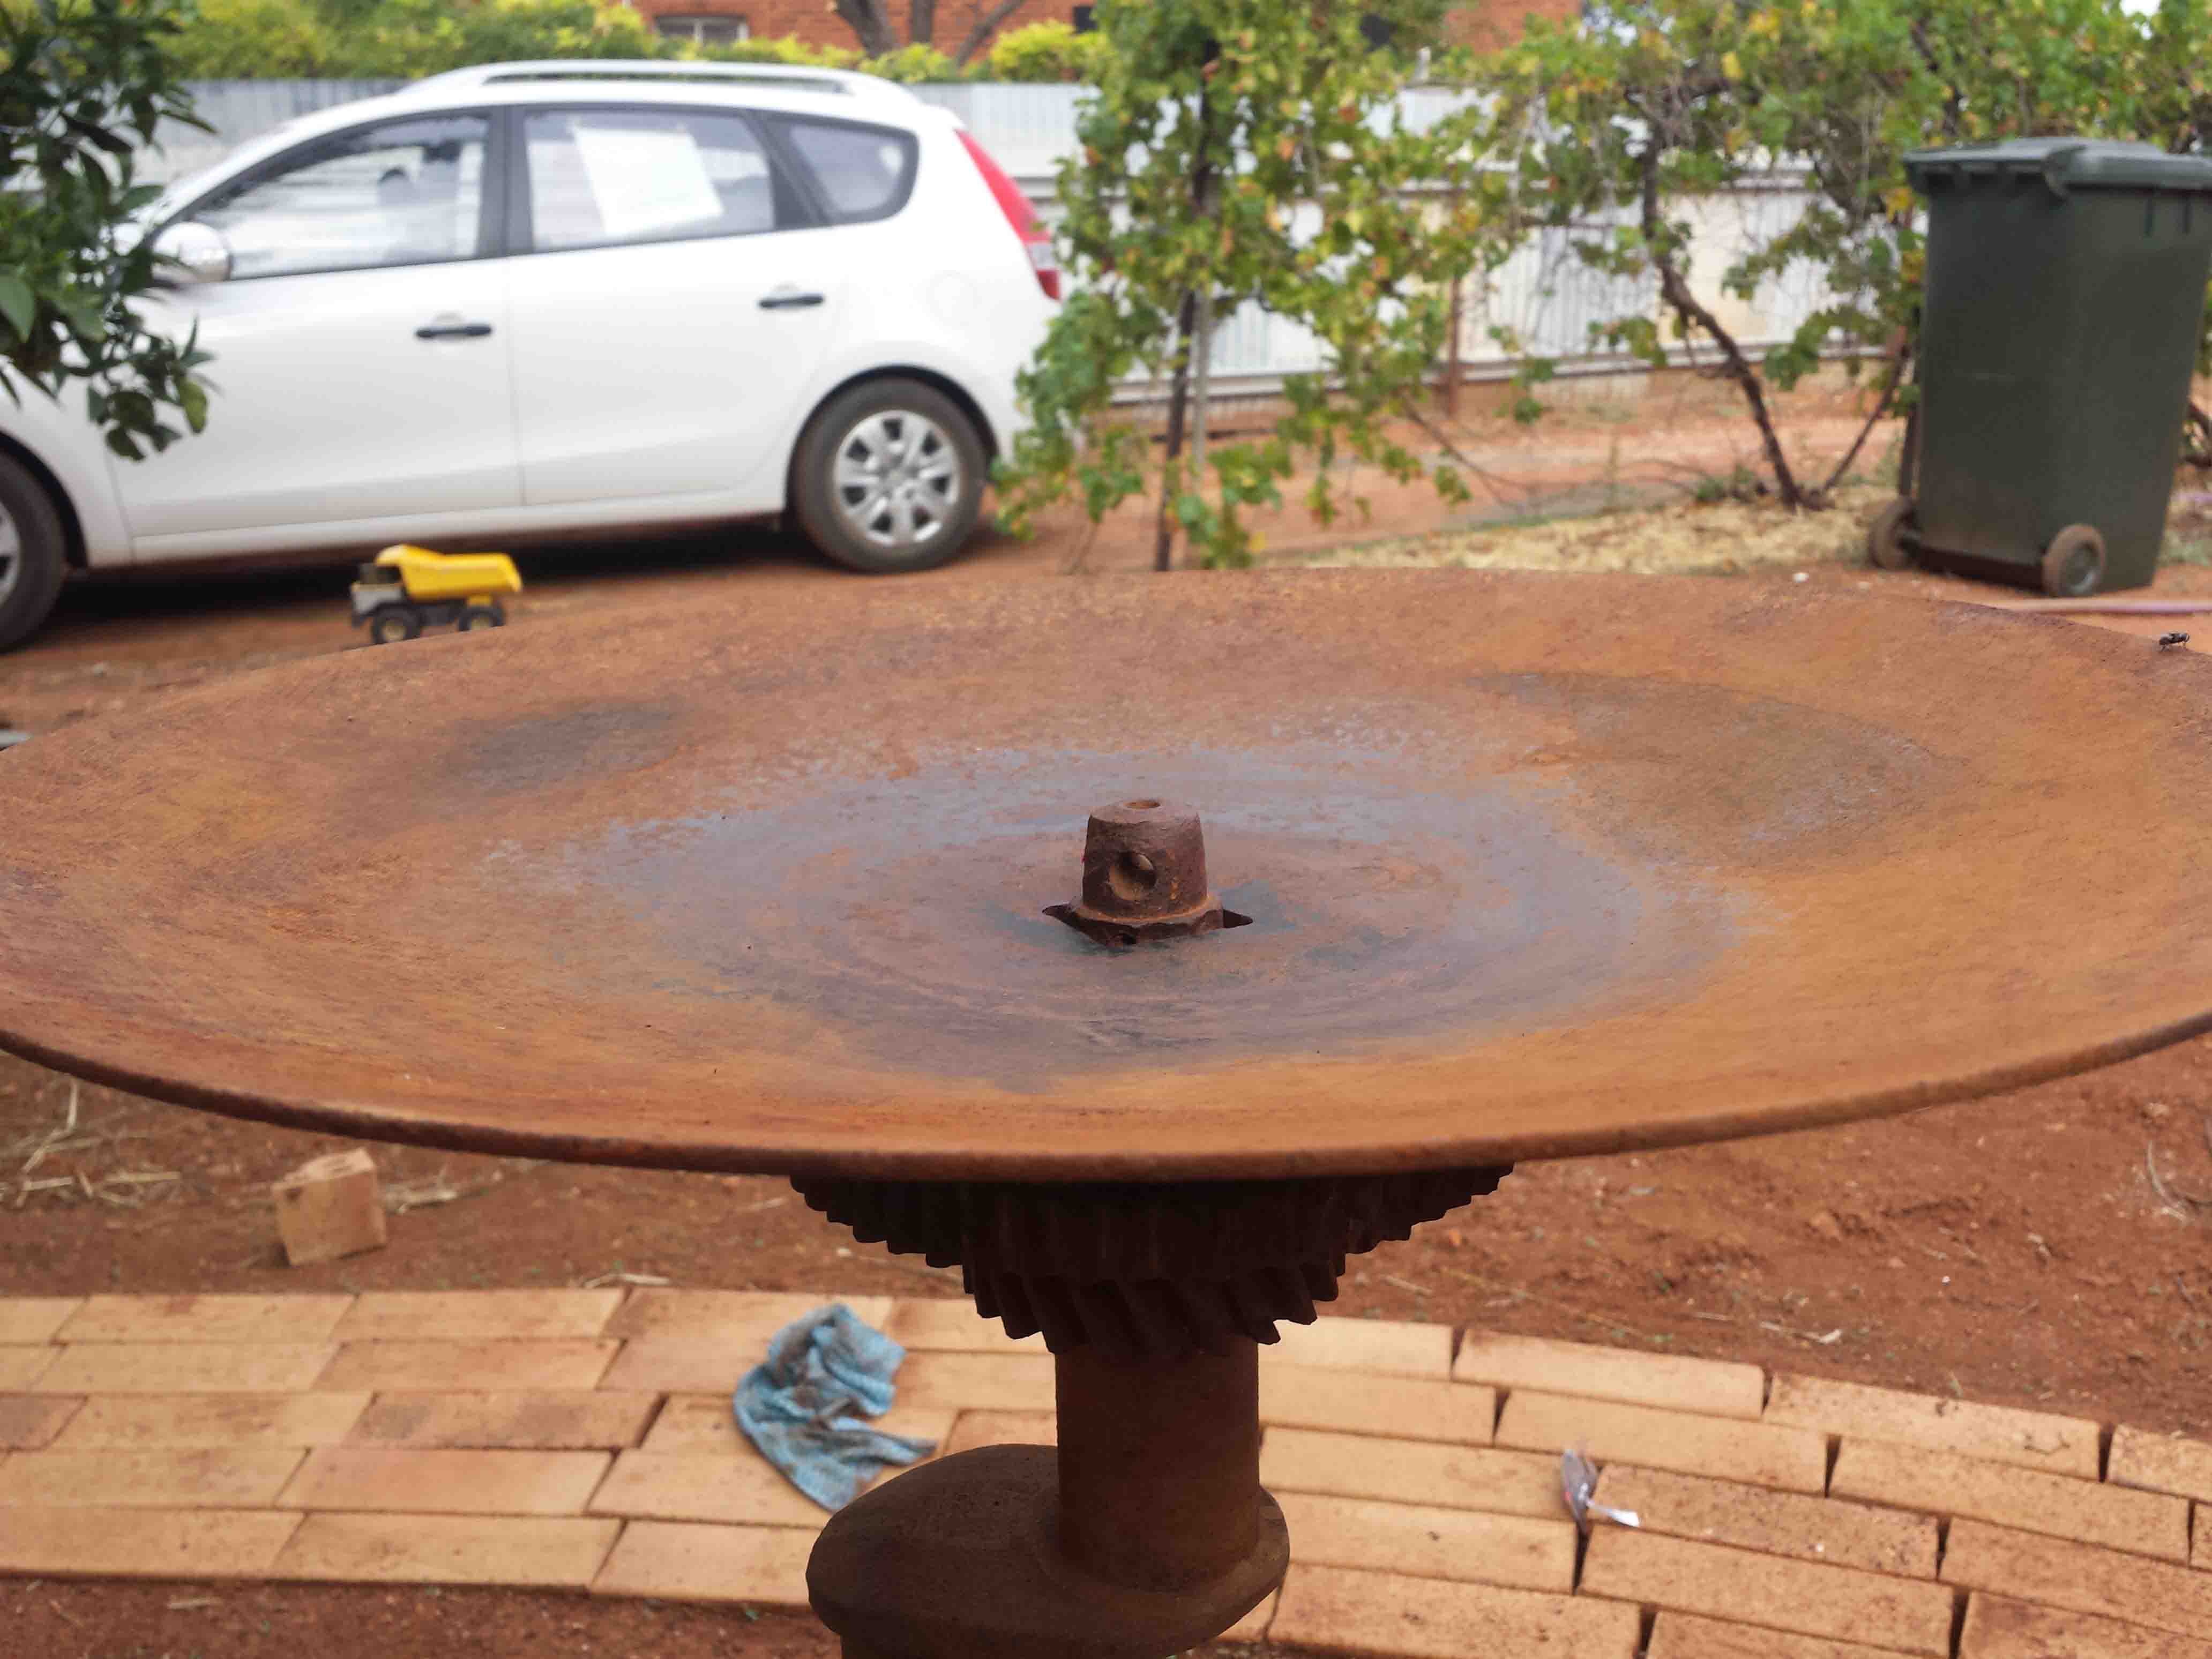
Sugru was still drying at dark so testing will wait for the morning.
Eyeing some much needed sawhorses for my next build. Not that I think I can produce a pair like that.
EDIT:
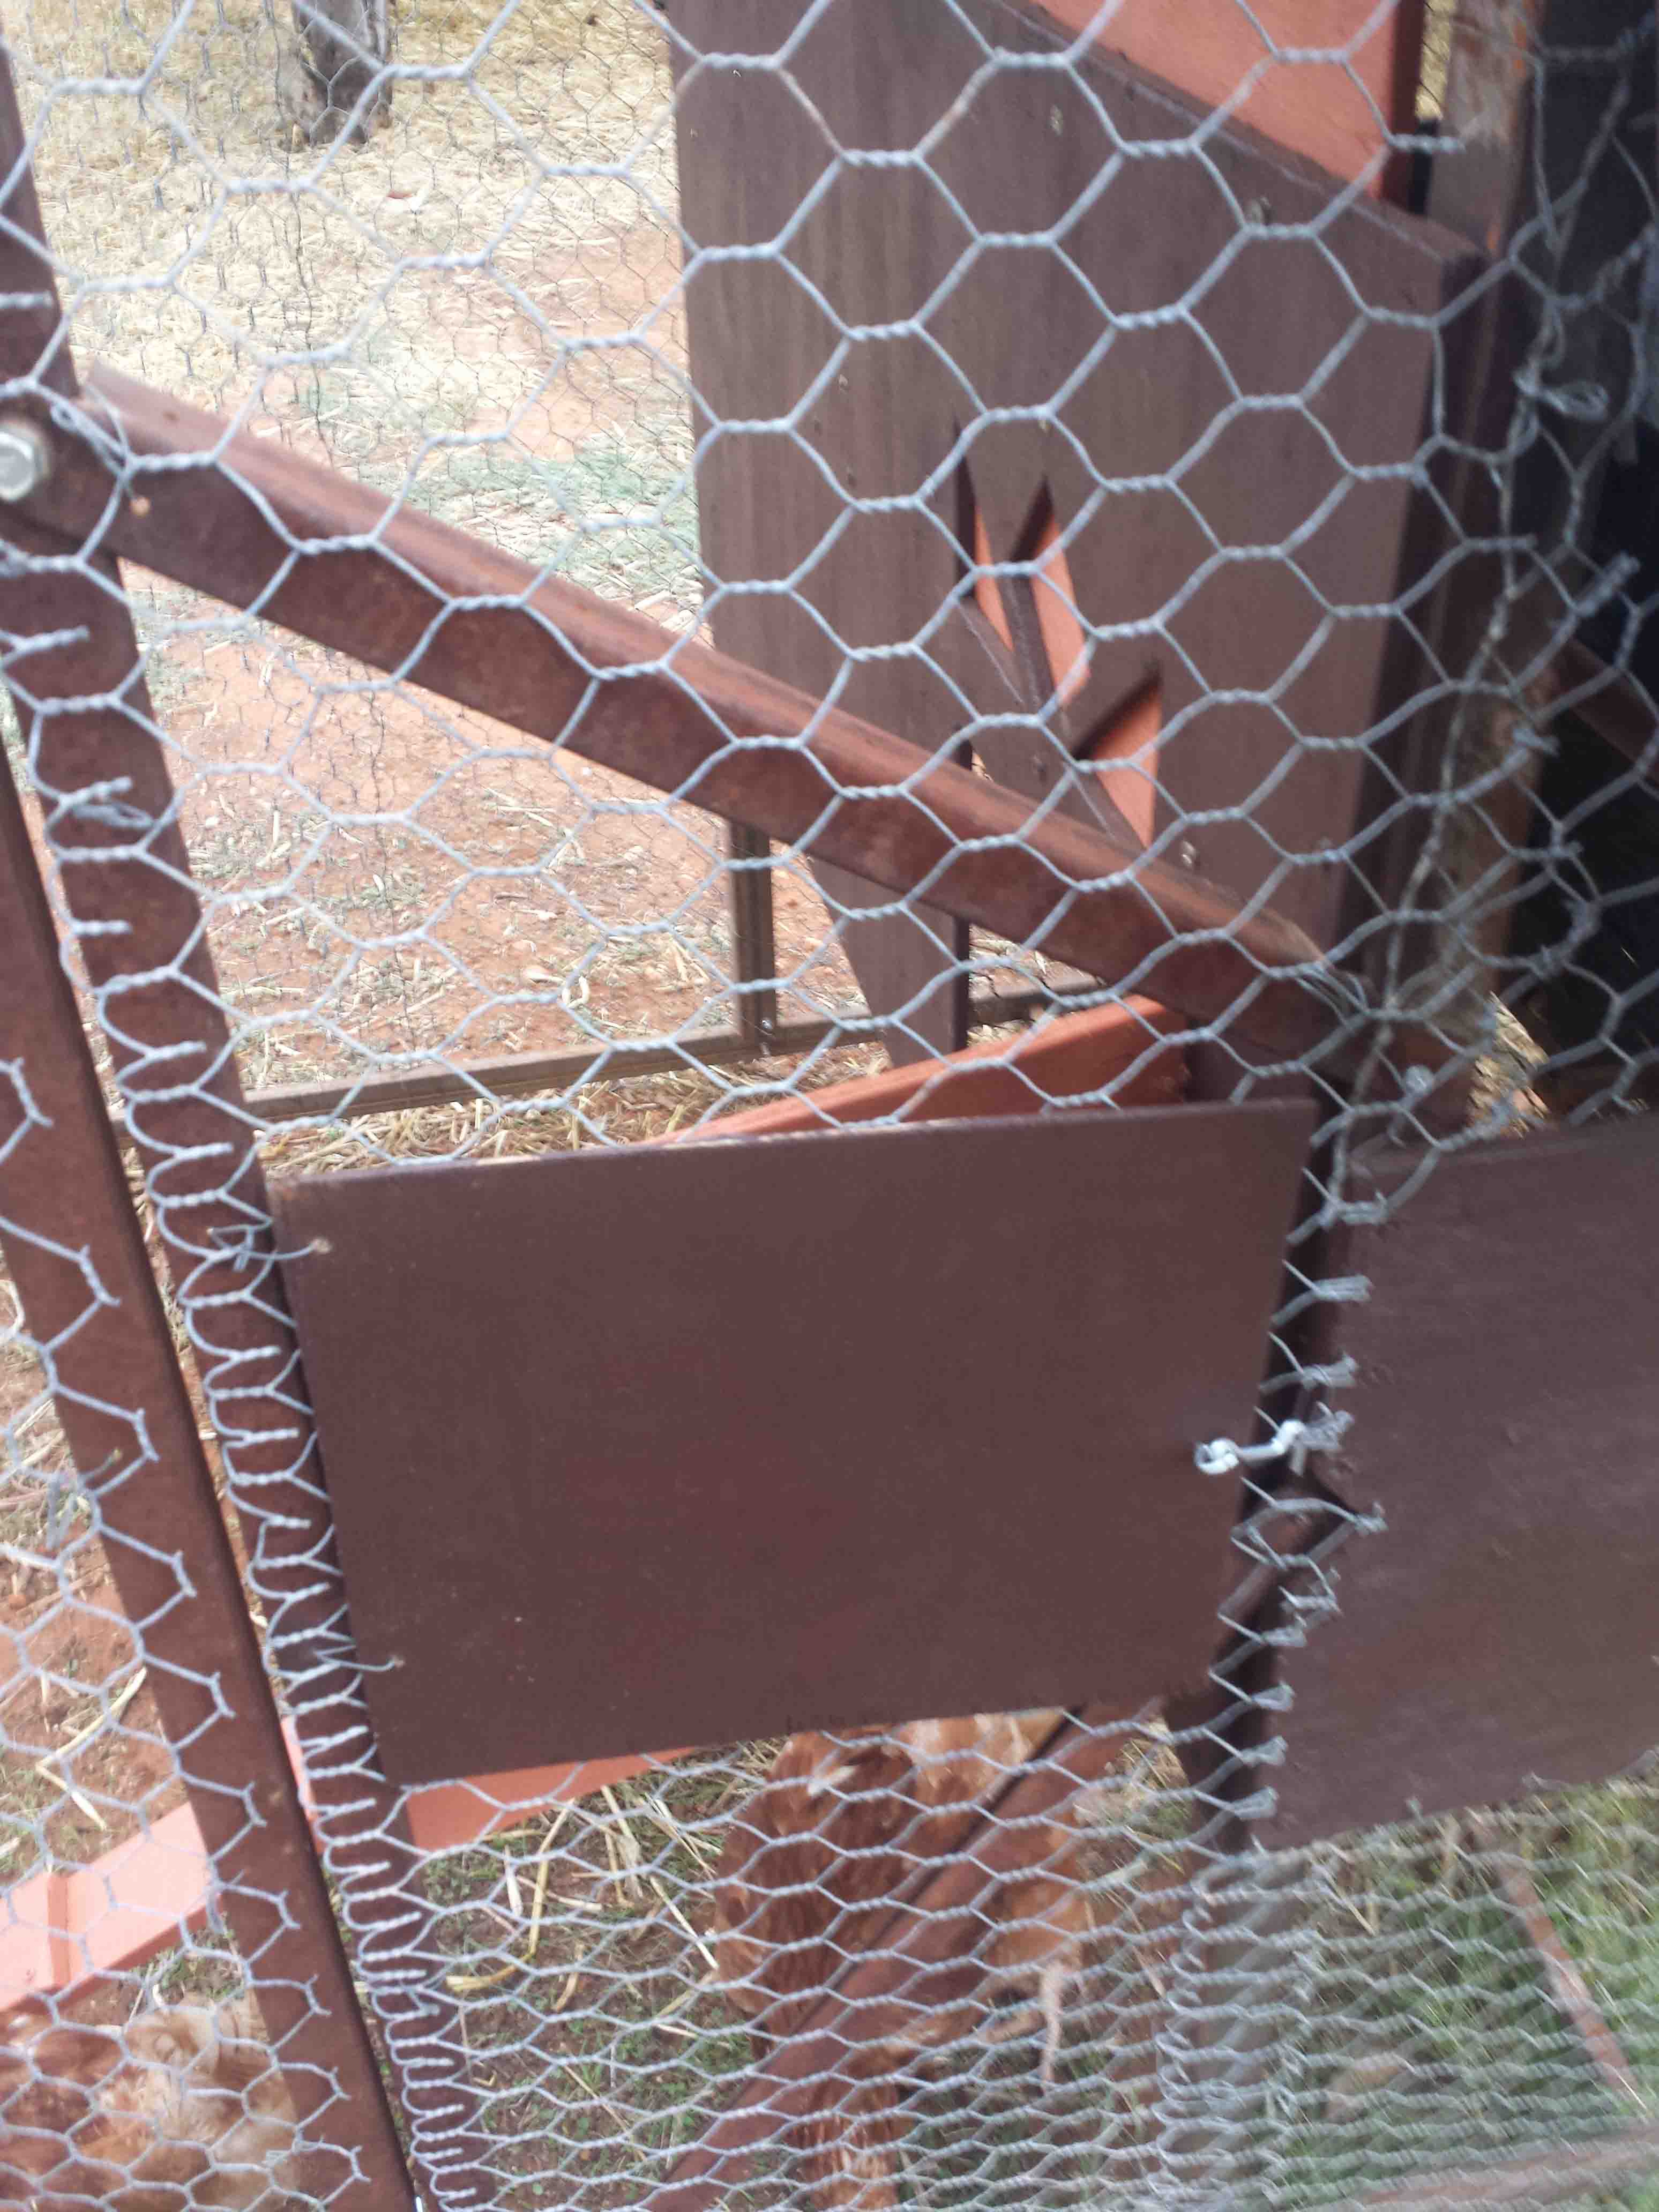
A couple of extra details. As with everything but the one sheet of ply, the hinges on the roof and the boxes of screws, the latches are found, rummaged or reused from somewhere else.
My but those hens can do a number on an interior. two choose to sleep in the nesting boxes two on the bar.
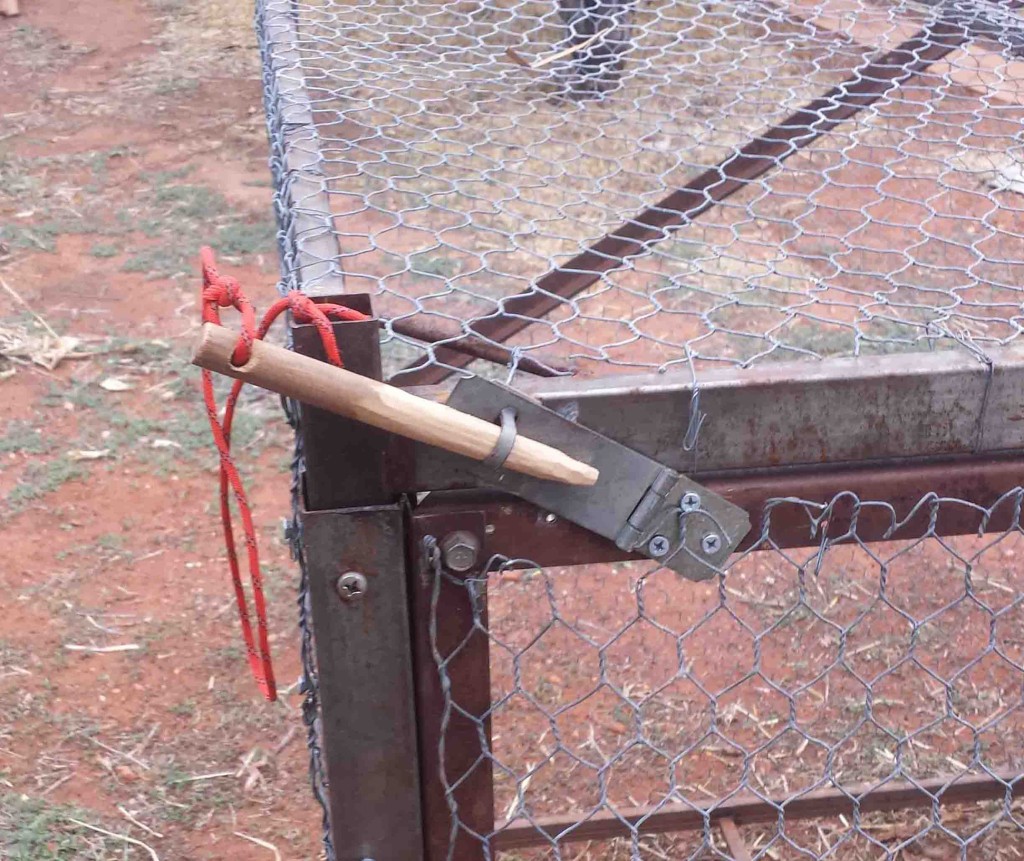
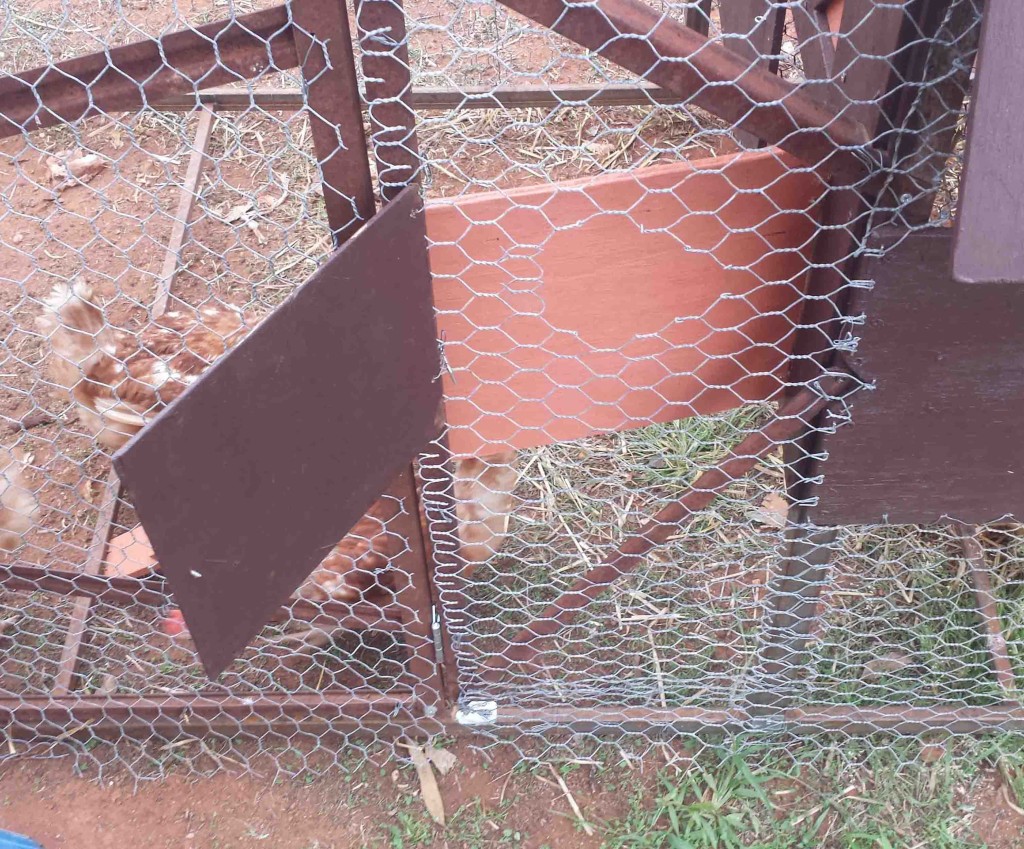
Access hatch for releasing and containing hens without entering the enclosure. Needs a better latch but the local hardware in a now atypical experience have none.
The bird bath holds water and there is spoor to suggest that it has been in use today. No witnessed visitors yet though. The water stains pretty quickly though, I may need to strip it back and seal the dish. Also visible is the new path still in need of edging on this side and fresh sheet mulching on the other.
Great looking birdbath. The chook house looks very functional. Are the hens eating the cat heads?
Devouring the fresh cat head sprouts, millions of which have come up. I doubt they’re taking the seeds though. Bird bath needs work, going to enamel the dish.